
 3D Gel
 Accessories
 Acrylic Brushes
 Art Brushes
 Clippers
 Design
 French Brushes
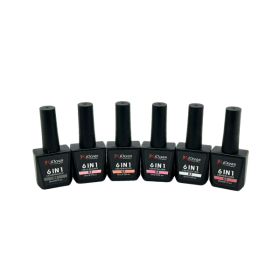 Builder Gel
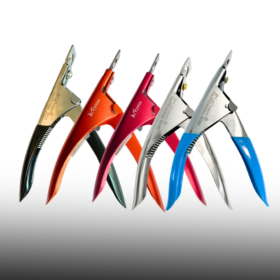 Nail Tip Cutter
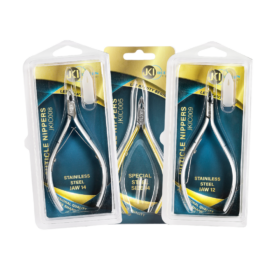 Nippers
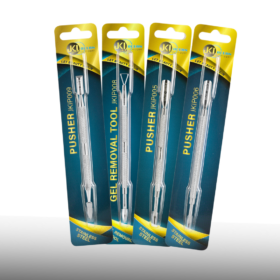 Pusher
 Scissors
 Tweezers
Jul
Blogs
How to Use Toenail Clippers Right Way: A Professional Nail Care Guide
Trimming toenails seems like a simple task, yet it is one of the most commonly mishandled aspects of personal grooming and professional pedicure care. Improper technique can lead to ingrown nails, painful cuts, fungal infections, and uneven nail edges that catch on socks or shoes. Whether you are a nail technician refining your craft or a client wanting to maintain healthy feet between salon visits, understanding how to use toenail clippers right way correctly is essential. This guide walks through proper technique, tool selection, hygiene practices, and the mistakes to avoid so that every trim results in clean, healthy, and comfortable nails.
Why Proper Toenail Clipper Technique Matters
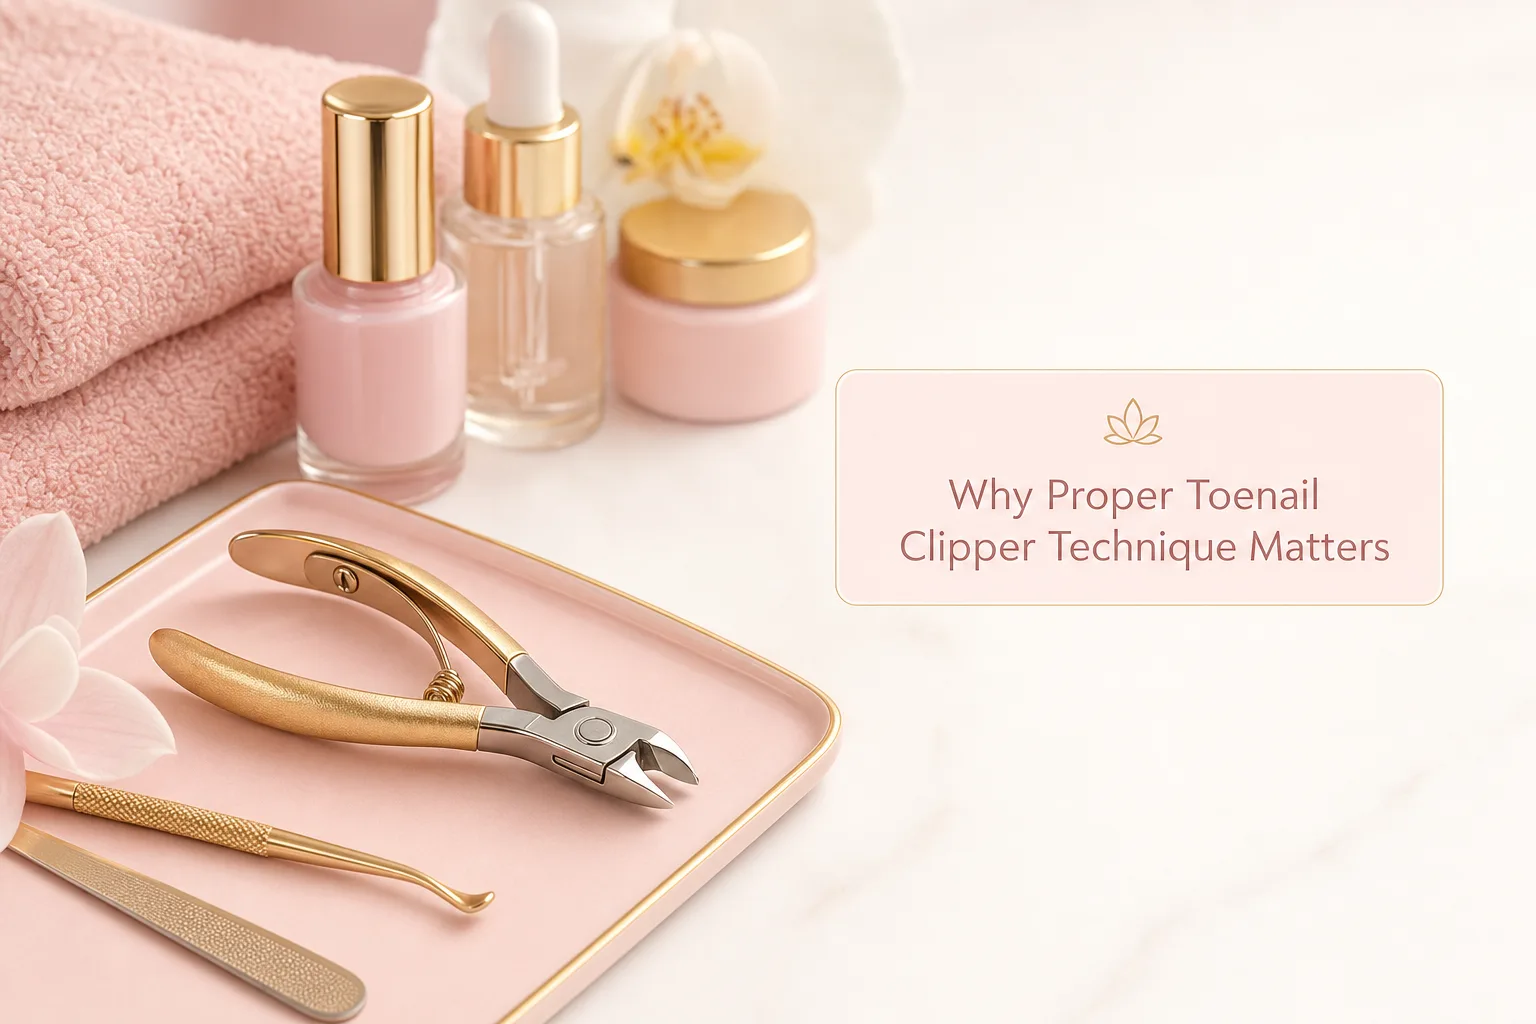
Toenails are thicker and grow differently than fingernails, which means they require a different approach and different tools. Using the wrong technique or the wrong clipper can cause the nail to split, crack, or dig into the surrounding skin. This is particularly problematic for clients with thicker nails, diabetic clients, or those prone to ingrown toenails. A precise, controlled cut reduces the risk of injury and helps the nail grow in a healthy, even shape.
For nail professionals, mastering this basic skill builds client trust. A pedicure that starts with a clean, pain-free trim sets the tone for the rest of the service and reflects the overall quality of the salon experience.
The Difference Between Fingernail and Toenail Clippers
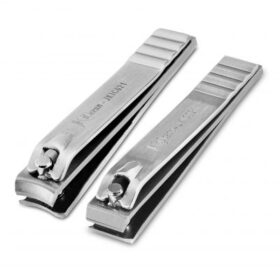
Fingernail clippers are curved to match the natural arc of the fingernail, while toenail clippers are typically straighter and larger, designed to accommodate the flatter, thicker structure of toenails. Using fingernail clippers on toenails often results in uneven cuts and unnecessary pressure on the nail bed, which is why investing in the correct tool is the first step toward proper technique.
Choosing the Right Toenail Clippers
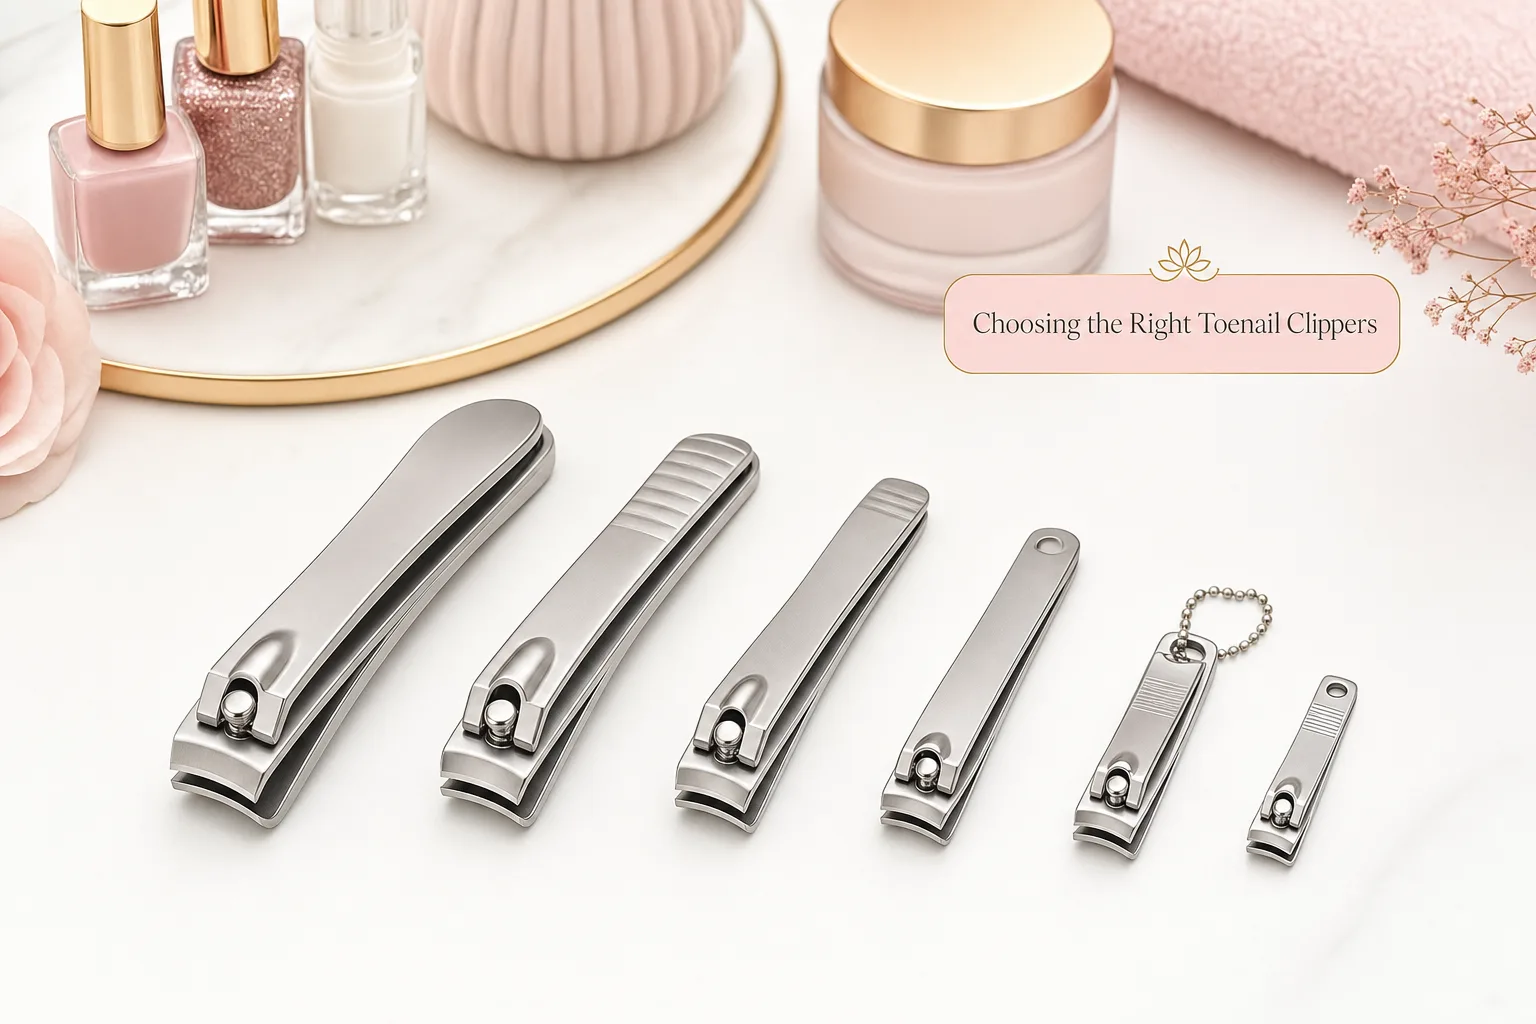
Not all toenail clippers are created equal. The material, blade angle, and handle design all influence how effectively and safely you can trim nails. Selecting a well-made tool is especially important for salons handling multiple clients daily, where durability and hygiene compliance are non-negotiable.
Material and Blade Quality
Stainless steel clippers with hardened, precision-ground blades hold a sharp edge longer and resist corrosion, which is critical in a salon environment where tools are sterilized frequently. Dull blades crush rather than cut, causing nail splitting and discomfort, so blade quality should never be an afterthought when purchasing professional tools.
Handle Design and Grip
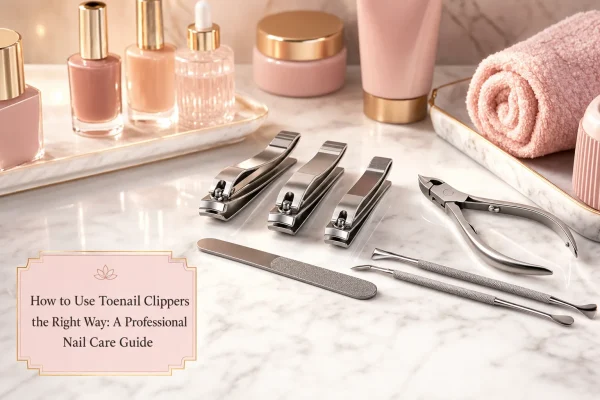
A comfortable, ergonomic handle allows for better control, especially important when working on thicker nails that require more force. Wide-jaw clippers are ideal for large or thick nails, while standard clippers work well for average nail sizes. Many professional-grade sets also include a lever-style handle that provides more leverage with less hand fatigue during repeated use throughout a workday.
Salons sourcing tools in bulk often turn to specialized suppliers like JKIOCEAN, which offers stainless steel clippers designed specifically for professional pedicure use, balancing durability, hygiene compliance, and ergonomic comfort for technicians performing multiple services daily.
Step-by-Step: How to Use Toenail Clippers Correctly
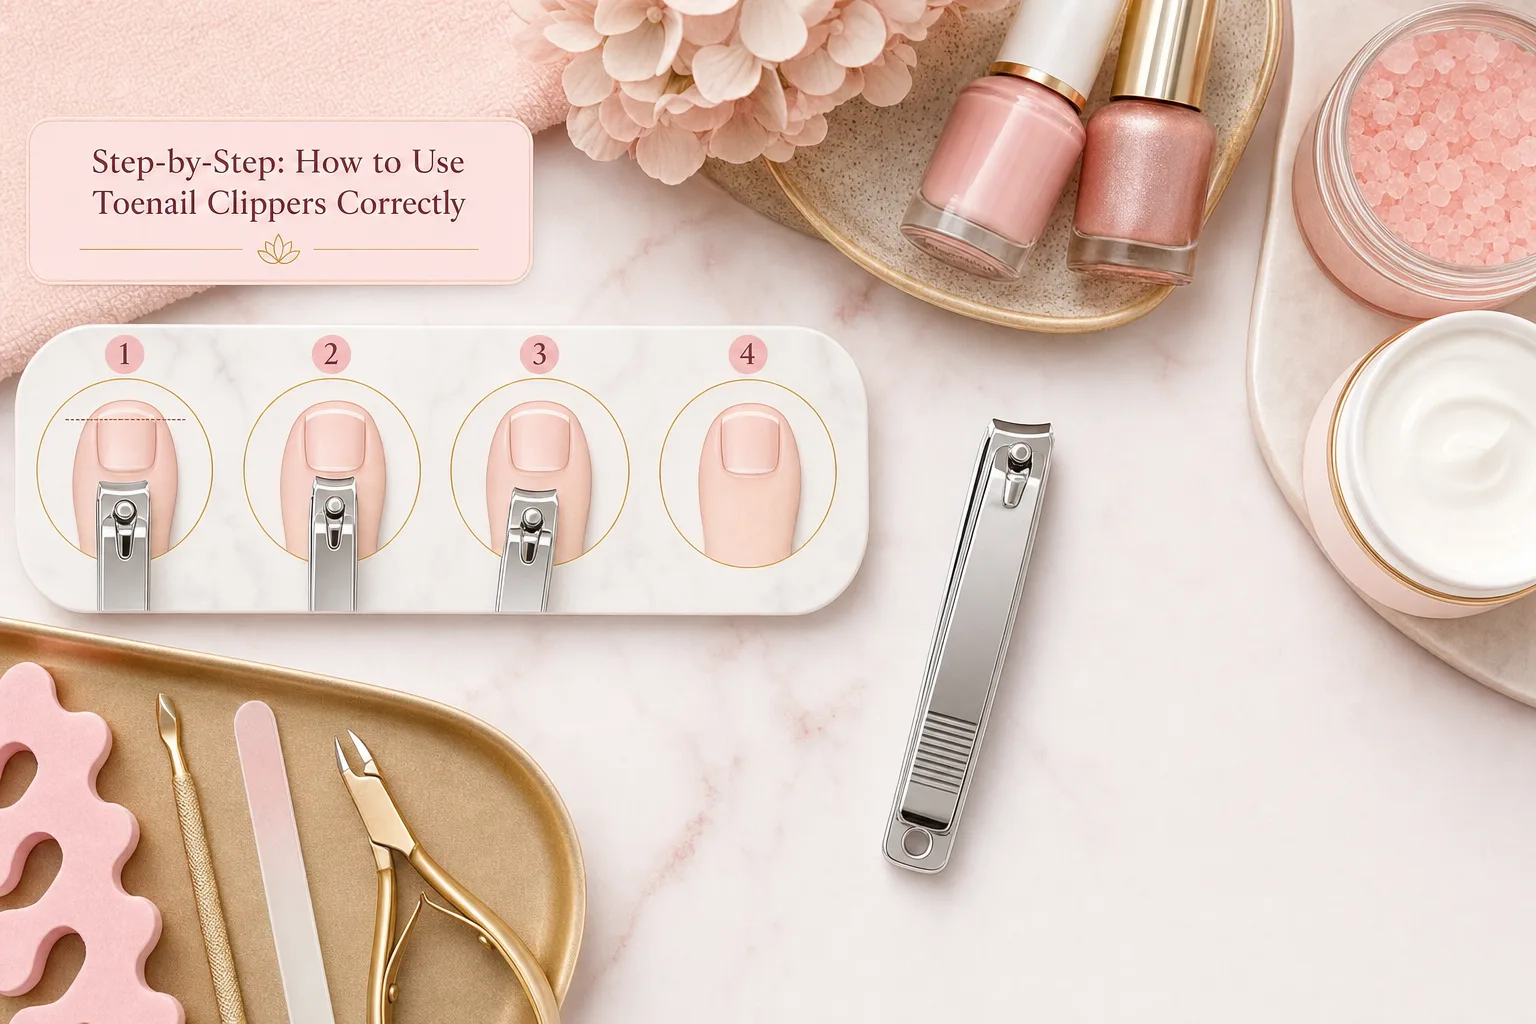
Following a consistent, methodical process ensures a clean cut every time and minimizes the risk of injury or ingrown nails. Below is the professional approach used in most reputable salons.
Step 1: Soften and Clean the Nails
Toenails are easier and safer to trim after a warm soak, which softens the keratin and reduces resistance during cutting. In a salon setting, this typically happens during the foot soak portion of a pedicure. At home, soaking feet in warm water for five to ten minutes achieves a similar effect.
Step 2: Position the Clipper Correctly
Hold the clipper so the blade sits flat against the nail, following its natural curve rather than cutting at an angle. The jaws should be positioned evenly across the width of the nail to avoid uneven pressure on one side.
Step 3: Cut Straight Across
Unlike fingernails, toenails should be trimmed straight across rather than rounded at the corners. Cutting straight helps prevent the nail from growing into the surrounding skin, which is the leading cause of ingrown toenails. Avoid cutting too close to the skin on either side of the nail.
Step 4: Trim in Small Sections for Thick Nails
For thicker or harder nails, cutting in small, controlled sections rather than one large snip reduces the risk of splitting or cracking the nail plate. This is especially relevant for older clients or those with naturally thick toenails.
Step 5: File the Edges
After clipping, use a nail file to smooth any rough or sharp edges left behind. This step prevents the nail from catching on socks or shoes and gives a polished, finished appearance.
Step 6: Check Length and Symmetry
The ideal length allows the nail to be even with or slightly beyond the tip of the toe, avoiding both overly short cuts that expose the nail bed and overly long nails that can catch or break unexpectedly.
Salon Use Case: Professional Pedicure Nail Trimming
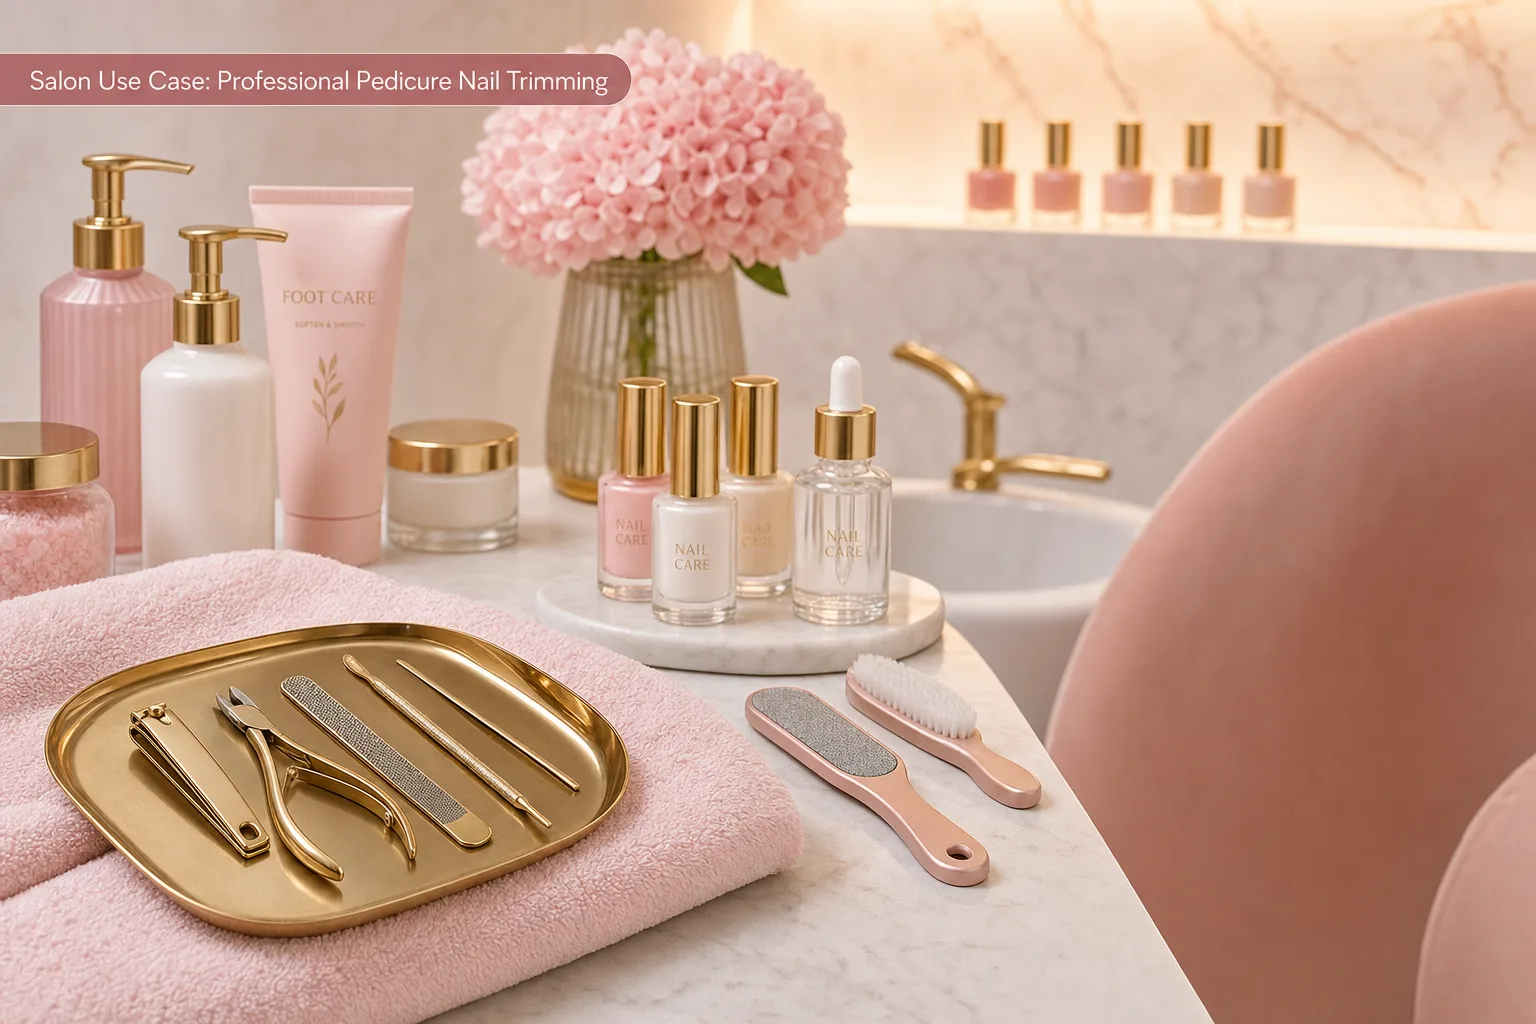
Consider a busy salon offering back-to-back pedicure appointments. A technician begins each service with a foot soak to soften the nails, then selects a stainless steel toenail clipper sized appropriately for the client’s nail thickness. Working under proper lighting, the technician trims each nail straight across in small, controlled movements, checking symmetry after each cut. For a client with notably thick nails, the technician switches to a wide-jaw clipper designed for added leverage, cutting in smaller sections to avoid cracking.
After trimming, the technician files the edges smooth and inspects for any signs of ingrown nails or irritation before proceeding to cuticle care and polish application. Because the salon uses a consistent, well-maintained set of clippers sourced from a reliable supplier, the technician can move efficiently between clients without worrying about dull blades slowing down the service or compromising results. This kind of workflow reflects how proper technique and quality tools directly translate into a smoother, higher-quality client experience.
Common Mistakes to Avoid When Clipping Toenails
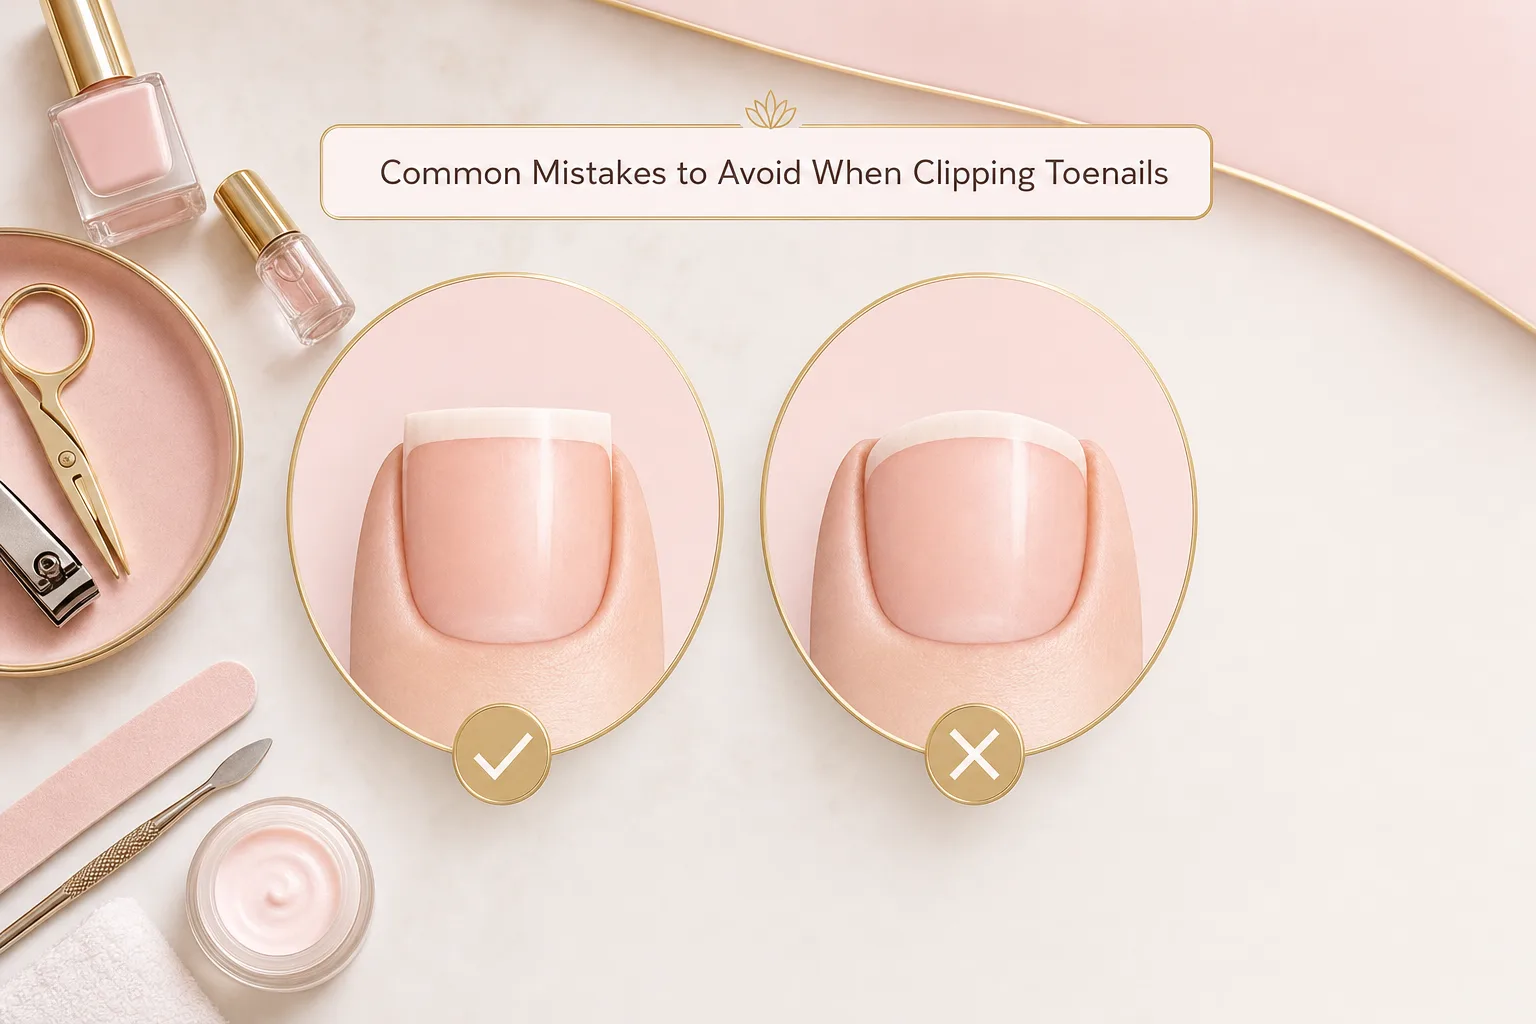
Even experienced hands can fall into habits that compromise nail health. Recognizing these common errors helps both professionals and at-home users achieve better, safer results.
Cutting Nails Too Short
Trimming too close to the skin exposes the nail bed to irritation and increases the risk of infection. Nails should always retain a small margin of white tip after trimming.
Rounding the Corners
Unlike fingernails, rounding toenail corners increases the likelihood of the nail growing into the surrounding skin. Straight-across cuts with slightly filed corners are the safer standard.
Using Dull or Low-Quality Clippers
Dull blades crush the nail instead of slicing cleanly through it, which can cause splitting, uneven edges, and unnecessary discomfort. Regularly inspecting and replacing worn tools is essential for both salons and individuals.
Skipping Sanitization Between Clients
Reusing clippers without proper sterilization poses a serious risk of spreading fungal infections or bacteria between clients. This is one of the most critical hygiene failures a salon can make, and it should never be overlooked regardless of how busy the schedule is.
Rushing the Process
Cutting quickly without checking angle or nail thickness often leads to uneven trims or accidental nicks to the skin. Taking a few extra seconds per nail significantly reduces the risk of injury.
Maintaining and Sterilizing Your Toenail Clippers
Proper maintenance extends the life of toenail clippers and ensures they remain safe for repeated use, whether in a personal grooming kit or a professional salon setting.
Cleaning After Each Use
Wipe away any nail debris immediately after use, then wash the clipper with soap and water to remove residue before disinfecting.
Disinfection Protocols
Professional salons should follow local health board regulations for tool sterilization, typically involving hospital-grade disinfectant solutions or autoclave sterilization between each client. Stainless steel clippers are well suited to this process since they resist corrosion from repeated exposure to disinfectants.
Storage and Blade Care
Store clippers in a dry, clean case to prevent moisture buildup, which can dull blades or promote rust over time. Periodically check the blade edge for sharpness and replace the tool if cutting performance declines noticeably.
Sourcing Professional-Grade Toenail Clippers
For salons and individual professionals alike, the quality of the tool directly affects the quality of the service. Investing in well-crafted, durable clippers reduces long-term costs by minimizing replacements and improving client satisfaction through cleaner, more comfortable trims.
What to Look for in a Supplier
A reliable supplier should offer clippers made from high-grade stainless steel, with precision-ground blades and options suited to different nail thicknesses and salon volumes. Consistency across batches matters too, since salons need dependable performance across dozens of tools used daily.
Suppliers such as JKIOCEAN cater specifically to the professional nail industry, providing clippers and pedicure tools designed with durability, hygiene, and technician comfort in mind. For salon owners building or restocking their toolkits, working with a supplier that understands the specific demands of professional nail care can make a noticeable difference in daily workflow and client outcomes.
Final Thoughts
Knowing how to use toenail clippers correctly is a foundational skill that benefits both individuals maintaining their own foot care and professionals delivering consistent, safe pedicure services. From choosing the right blade and handle design to mastering the straight-across cutting technique and maintaining proper hygiene between uses, every step contributes to healthier nails and a more comfortable experience. Whether you are stocking a salon or simply refining your at-home routine, investing in quality tools and proper technique pays off in the long run through fewer injuries, better nail health, and a more polished, professional result.