
 3D Gel
 Accessories
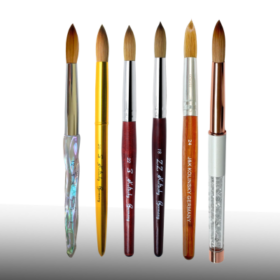 Acrylic Brushes
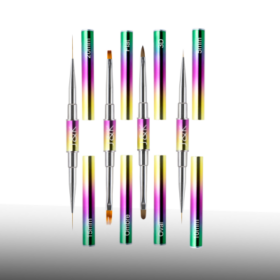 Art Brushes
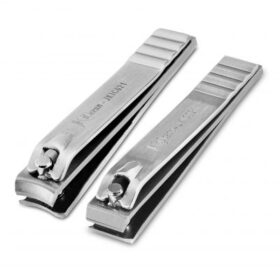 Clippers
 Design
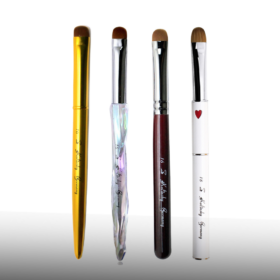 French Brushes
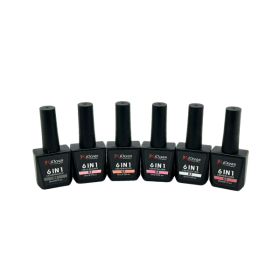 Builder Gel
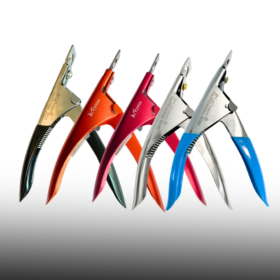 Nail Tip Cutter
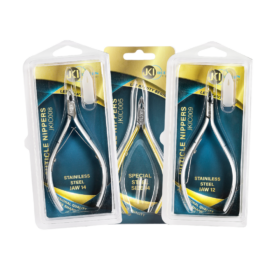 Nippers
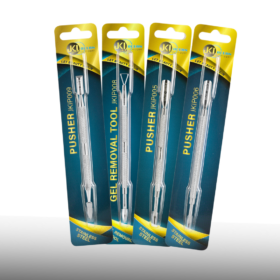 Pusher
 Scissors
 Tweezers
Jun
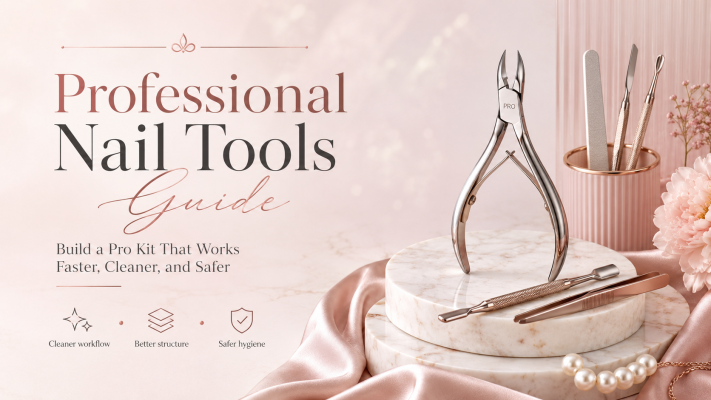
A “professional nail tools guide” should do more than list clippers and files. Real pros choose tools based on outcomes: clean cuticles, strong structure, smooth finishes, and safe hygiene. If you are a nail tech, salon owner, or serious learner, this guide will help you build a kit that makes your work more consistent and your clients more comfortable, without buying a hundred random items.
Below is a practical framework you can use to audit what you already have, spot weak links, and upgrade with purpose.
Start with outcomes, not tool names
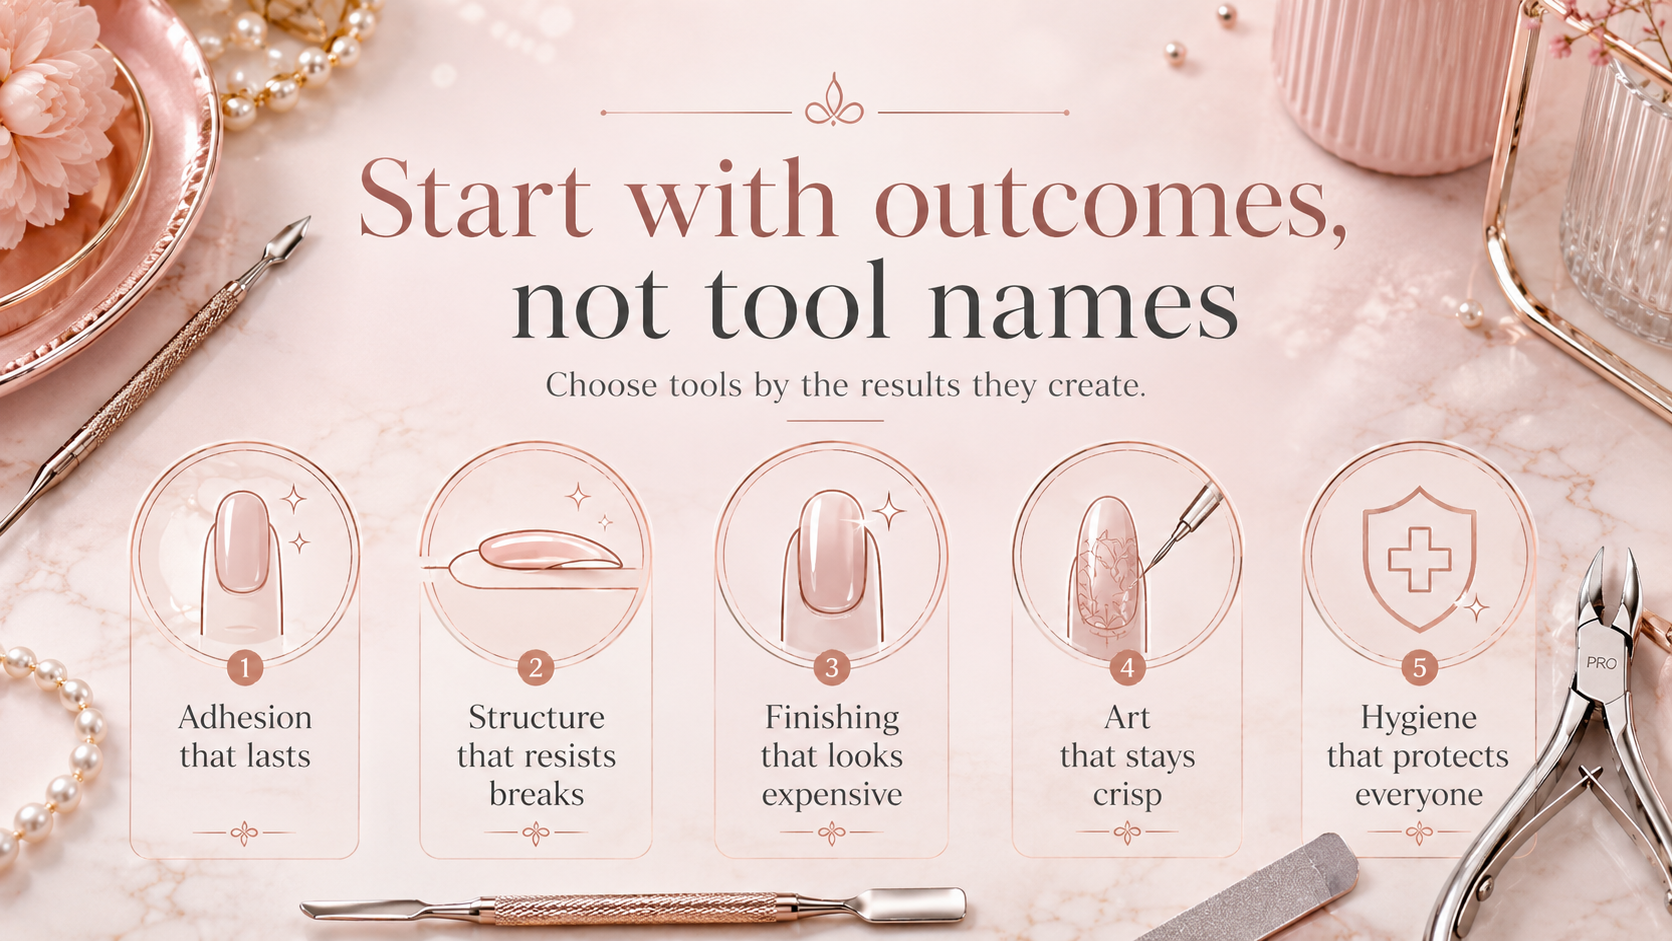
Instead of asking “What tools do I need,” ask “What problems do I need to solve.” Most nail services come down to five outcomes.
-
Adhesion that lasts
-
Structure that resists breaks
-
Finishing that looks expensive
-
Art that stays crisp
-
Hygiene that protects everyone
If a tool does not improve at least one outcome, it is optional.
The five zones of a professional nail station
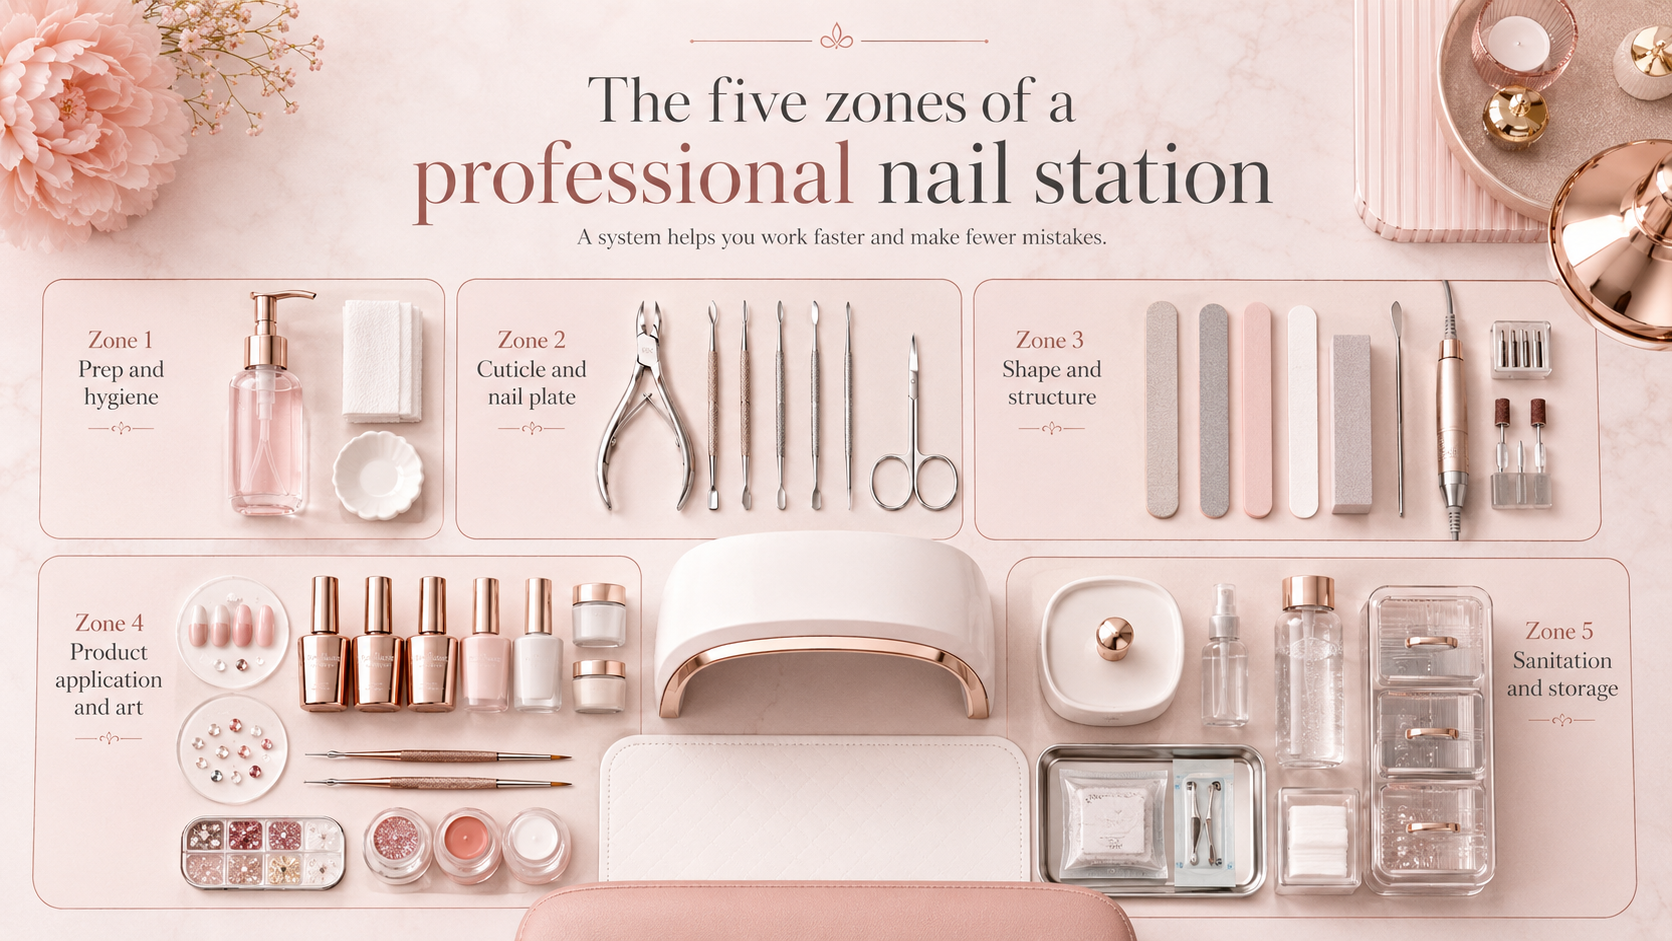
A professional setup is easiest to maintain when it is organized by zones. You do not need a huge desk. You need a system.
Zone 1. Prep and hygiene
Zone 2. Cuticle and nail plate
Zone 3. Shape and structure
Zone 4. Product application and art
Zone 5. Sanitation and storage
When tools live in the zone they belong to, you move faster and make fewer mistakes.
Zone 1: Prep and hygiene essentials
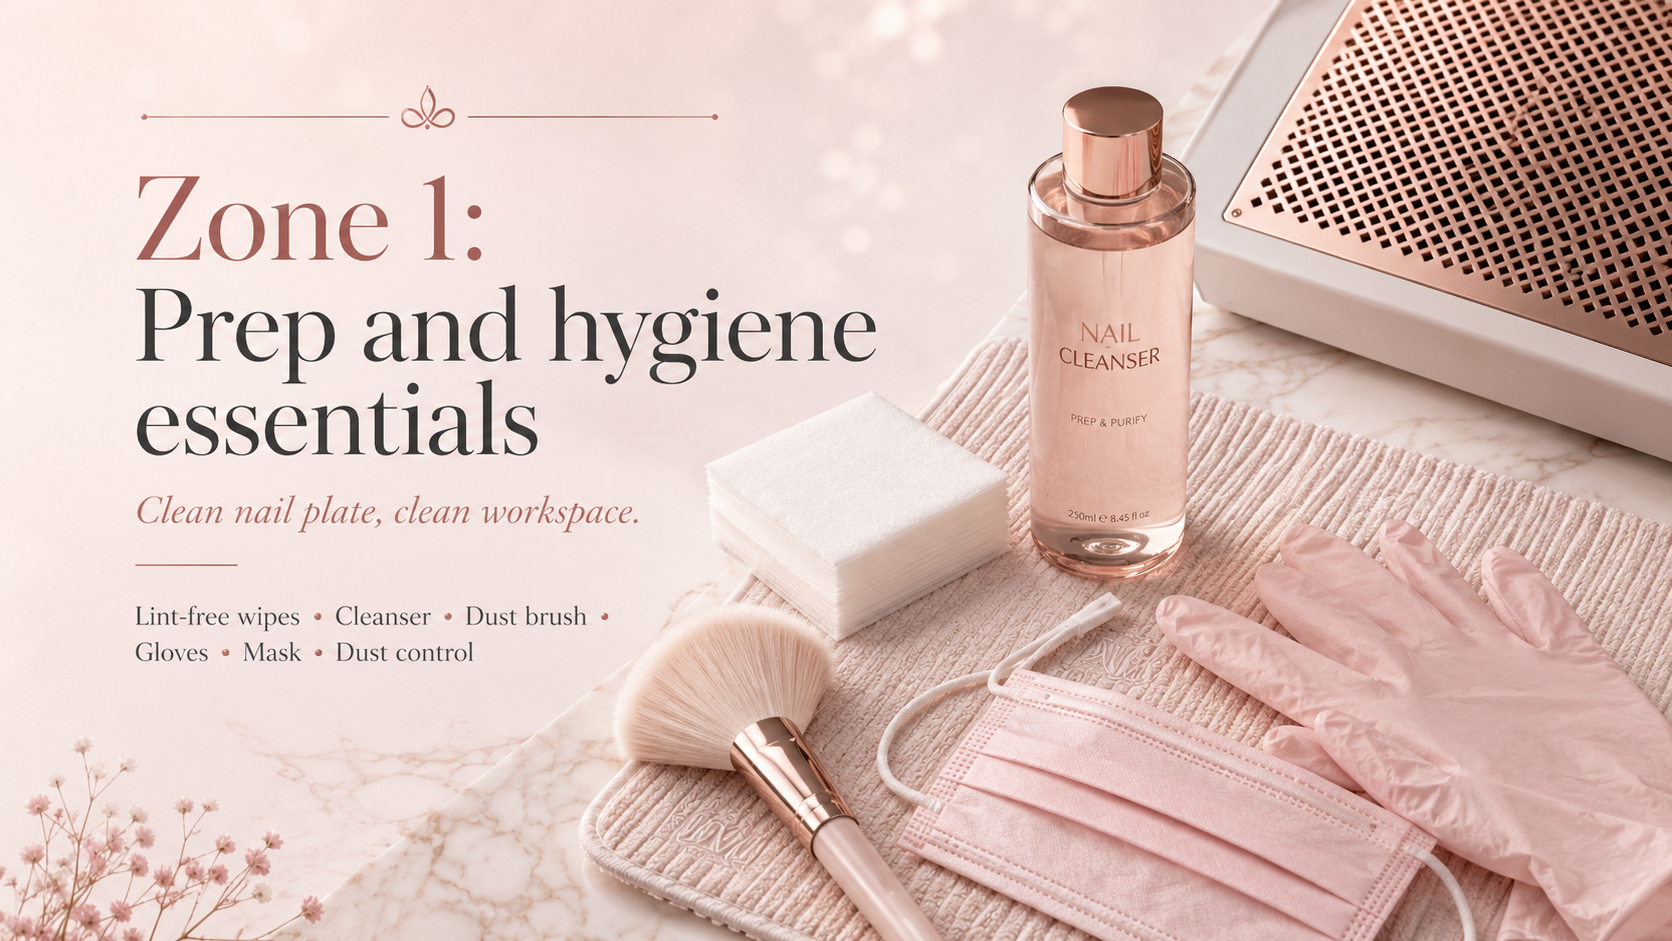
This is where many “lifting problems” actually begin. Your goal is a clean nail plate and a clean workspace.
Tools and equipment that matter here:
-
Lint free wipes and a reliable cleanser
-
Nail dust brush with soft bristles
-
Gloves and a mask for filing days
-
A desk dust collector or extractor if you do frequent removals
Best practice: keep a clean towel or mat under the hand. Dust and residue should never migrate back onto the nail plate right before base coat.
Zone 2: Cuticle and nail plate tools
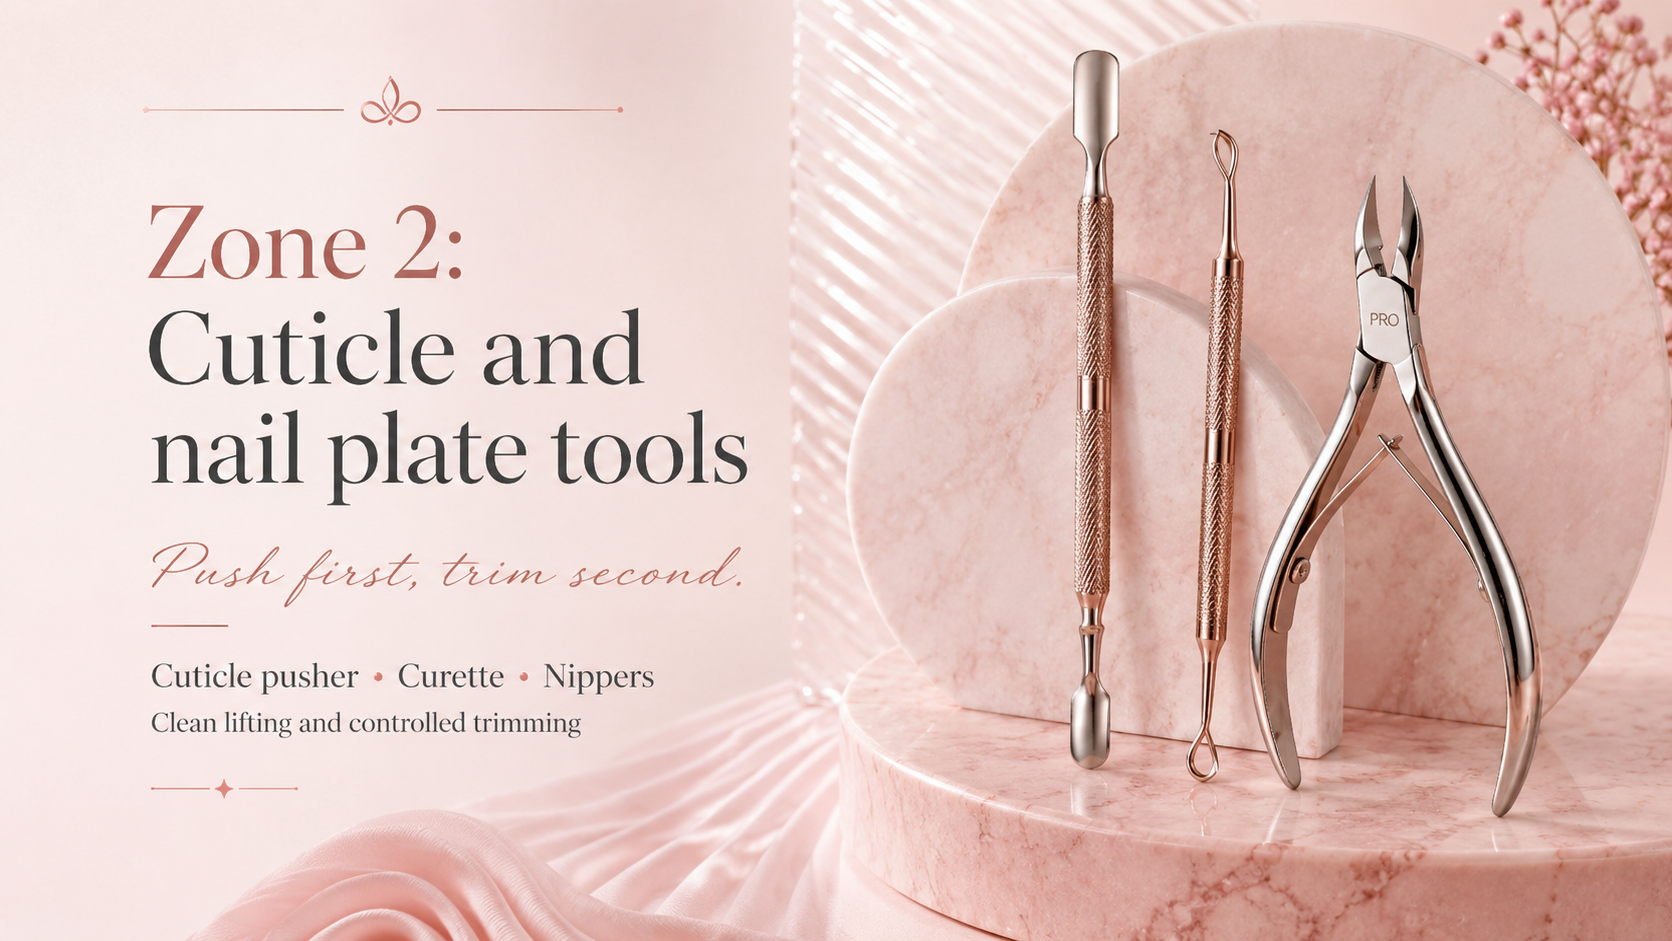
This zone controls the cuticle line and influences how long gel or acrylic stays on. You do not need aggressive cutting. You need clean lifting and controlled trimming.
Core tools:
-
A dual end cuticle pusher, spoon and bevel ends
-
A curette or gentle eponychium cleaner, optional but helpful
-
Cuticle nippers for lifted dead tissue only
Pro rule: push first, trim second. If you cut without lifting, you are guessing, and guessing leads to irritation.
Quick quality test for nippers: close the jaws under light. If there is a gap near the tip, the tool will pinch or tug.
Zone 3: Shape and structure tools
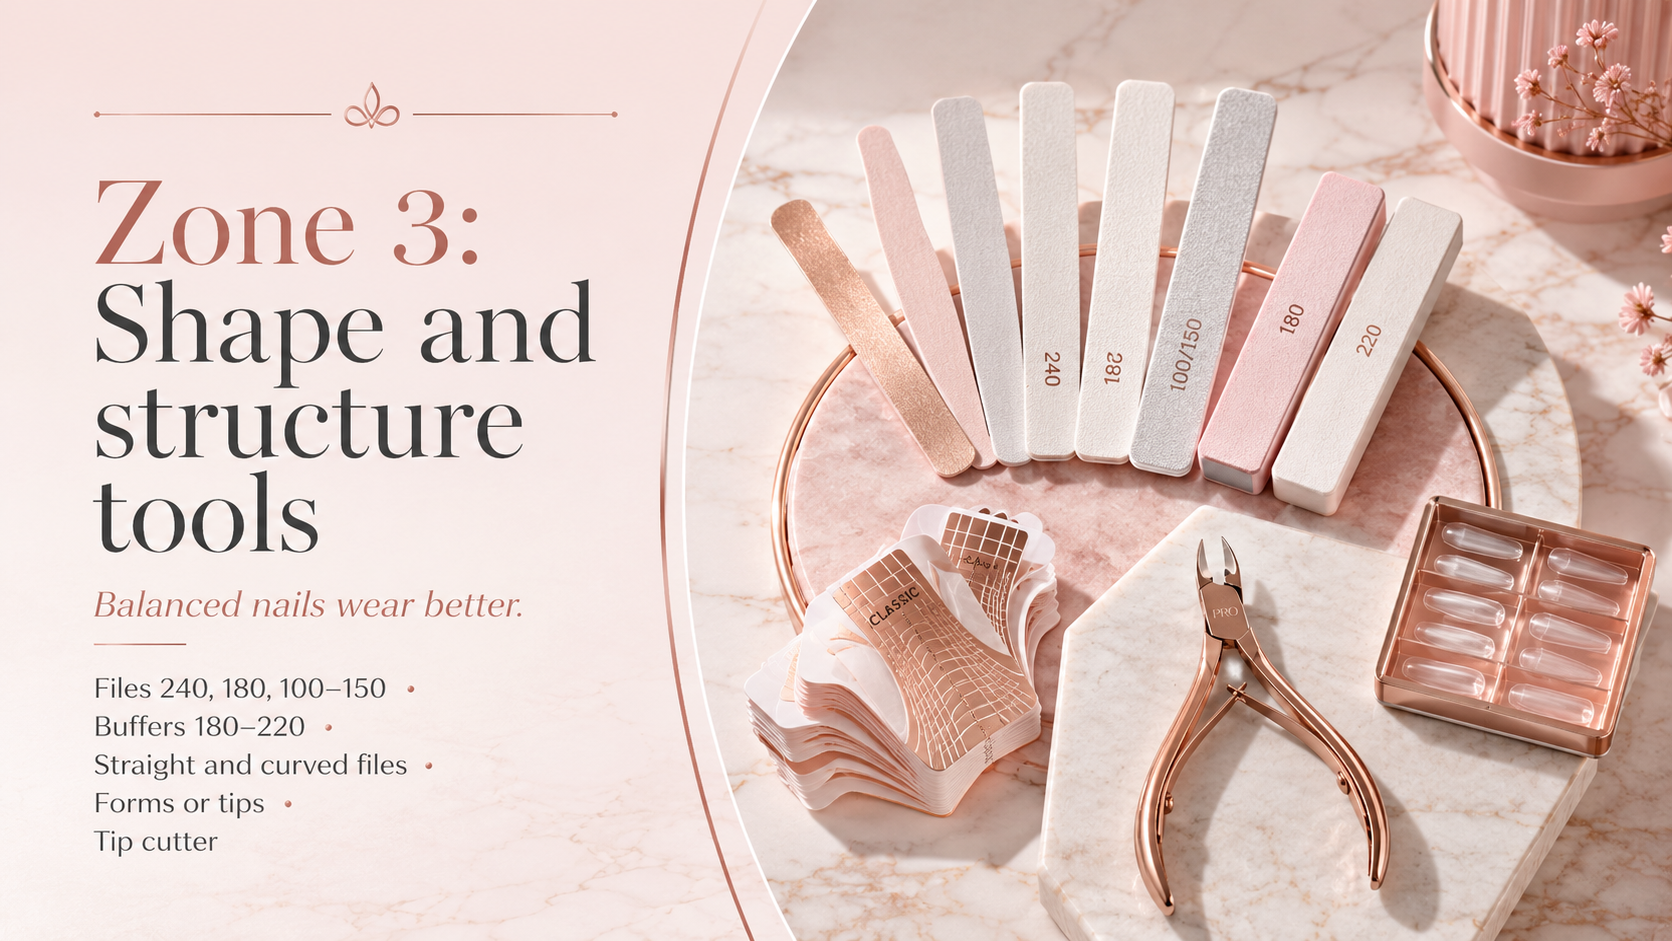
This zone determines whether nails look balanced and wear well. The most common pro mistake is over filing sidewalls and thinning stress areas.
Core tools:
-
Nail files in a simple grit set, 240 for natural nails, 180 for refinement, 100 to 150 for enhancement bulk only
-
Buffers, 180 to 220 sponge for surface smoothing
-
A straight edge file for crisp shapes, and a curved file for contour work
If you offer enhancements, add:
-
Forms or tips, based on your preferred method
-
Tip cutter for plastic tips, not for hardened acrylic
Pro tip: your file does the shaping, your clipper does the shortening. When you try to shape with clippers, edges split and corners crack.
Zone 4: Application and art tools
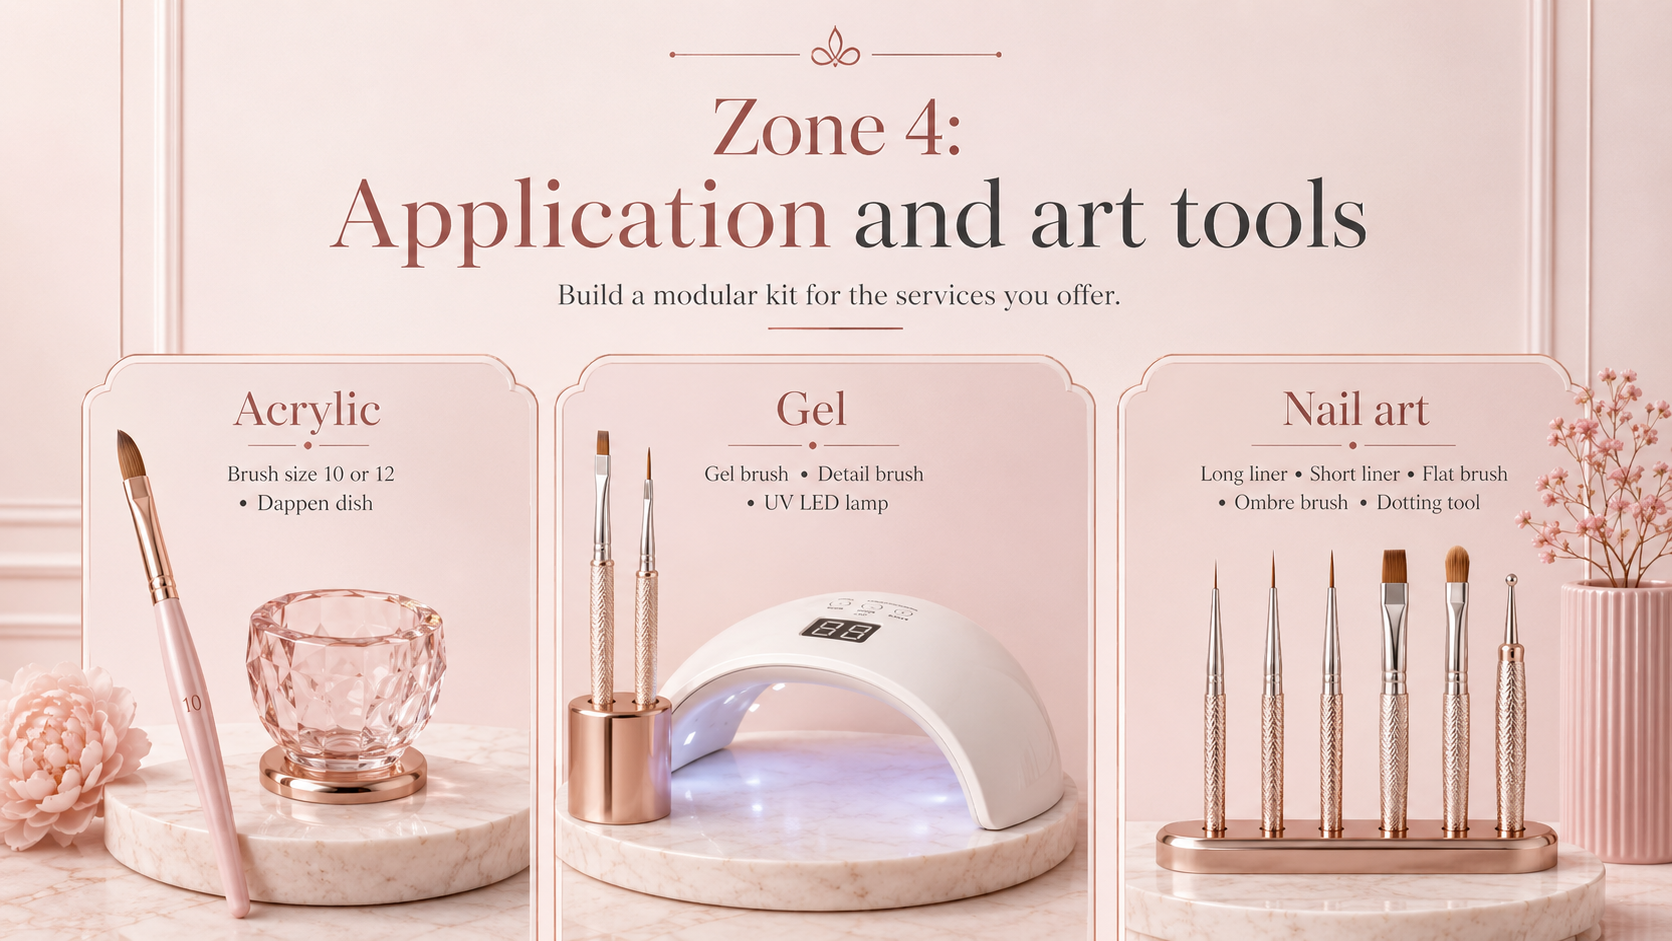
This zone depends on your services. A strong kit is modular. You do not need everything if you do not offer everything.
If you do acrylic:
-
One primary acrylic brush size 10 or 12 for most salon work
-
A clean dappen dish and a separate clean monomer dish for brush wiping
-
A brush cap or case, because crushed tips create messy cuticles
If you do gel overlays and builder systems:
-
One quality gel brush for building, plus a detail brush for cleanup
-
A UV LED lamp you trust, with consistent cure times
-
A clean workflow that prevents gel from touching skin
If you do nail art:
-
A long liner, a short liner, a flat brush, an ombre brush, and a dotting tool
This covers most art styles without clutter.
Pro rule: keep “cleanup tools” separate from “color tools.” Using one brush for everything is how lines get muddy.
Zone 5: Sanitation and storage
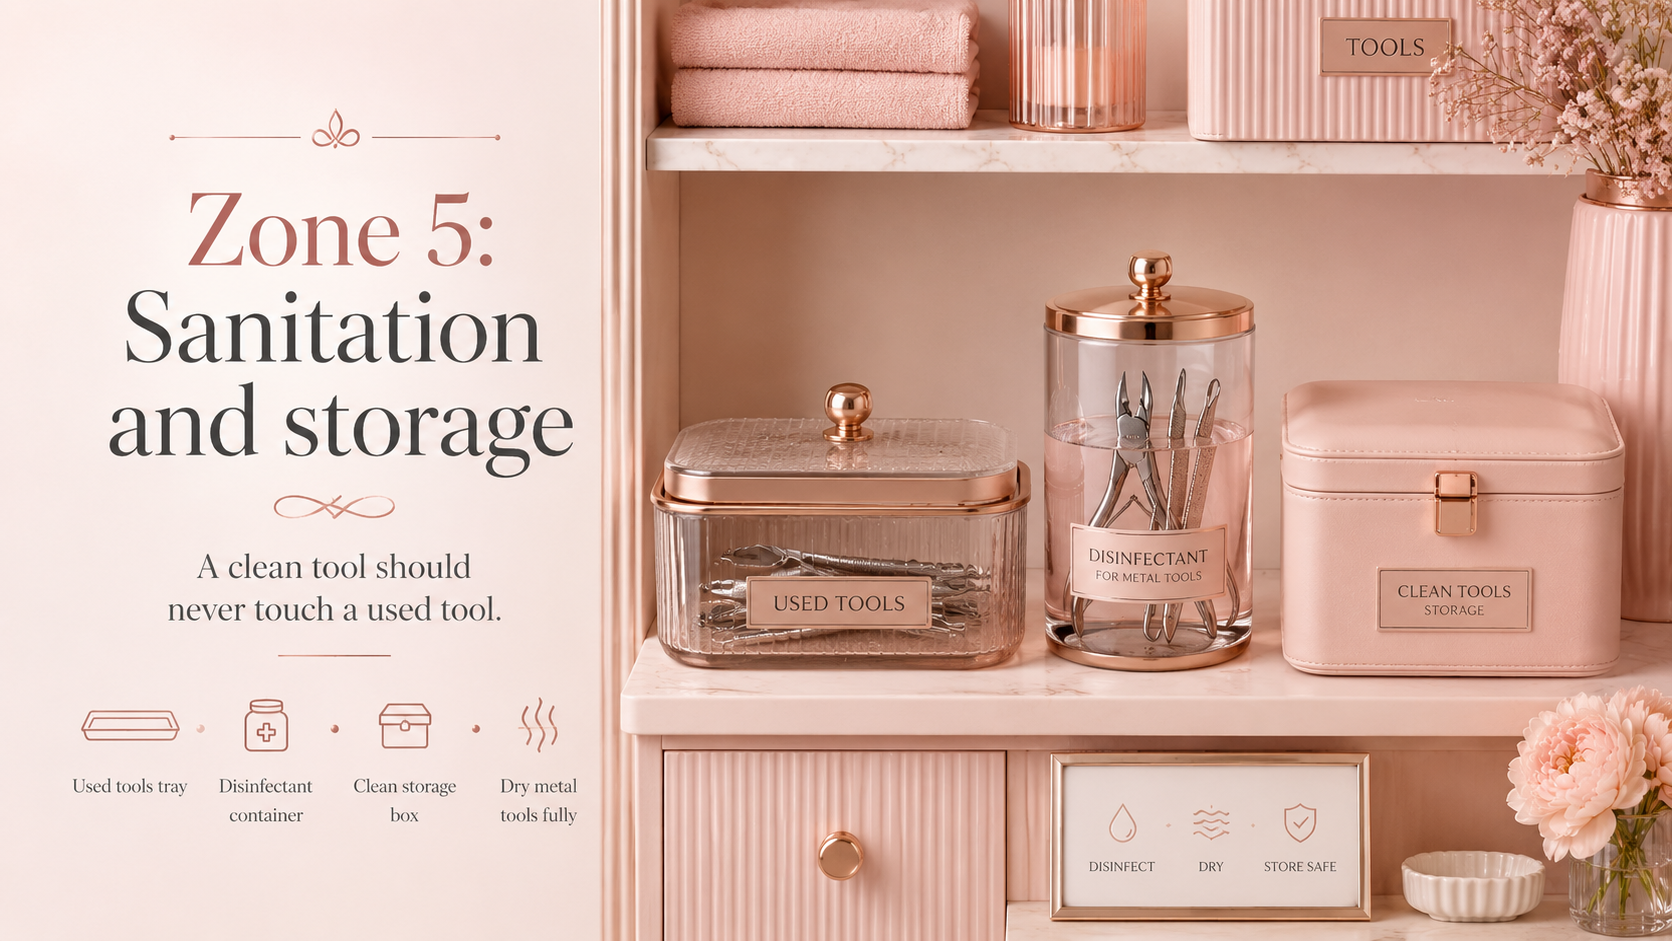
Professional tools are only professional if they are safe. Storage is part of hygiene. A clean tool should never touch a used tool.
Minimum system:
-
A lidded “used tools” tray
-
A disinfectant container for metal tools
-
A clean, closed box for sanitized tools
Tool life tip: dry metal tools completely before storage. Moisture is the fastest path to rust and dullness.
Build your kit by service menu
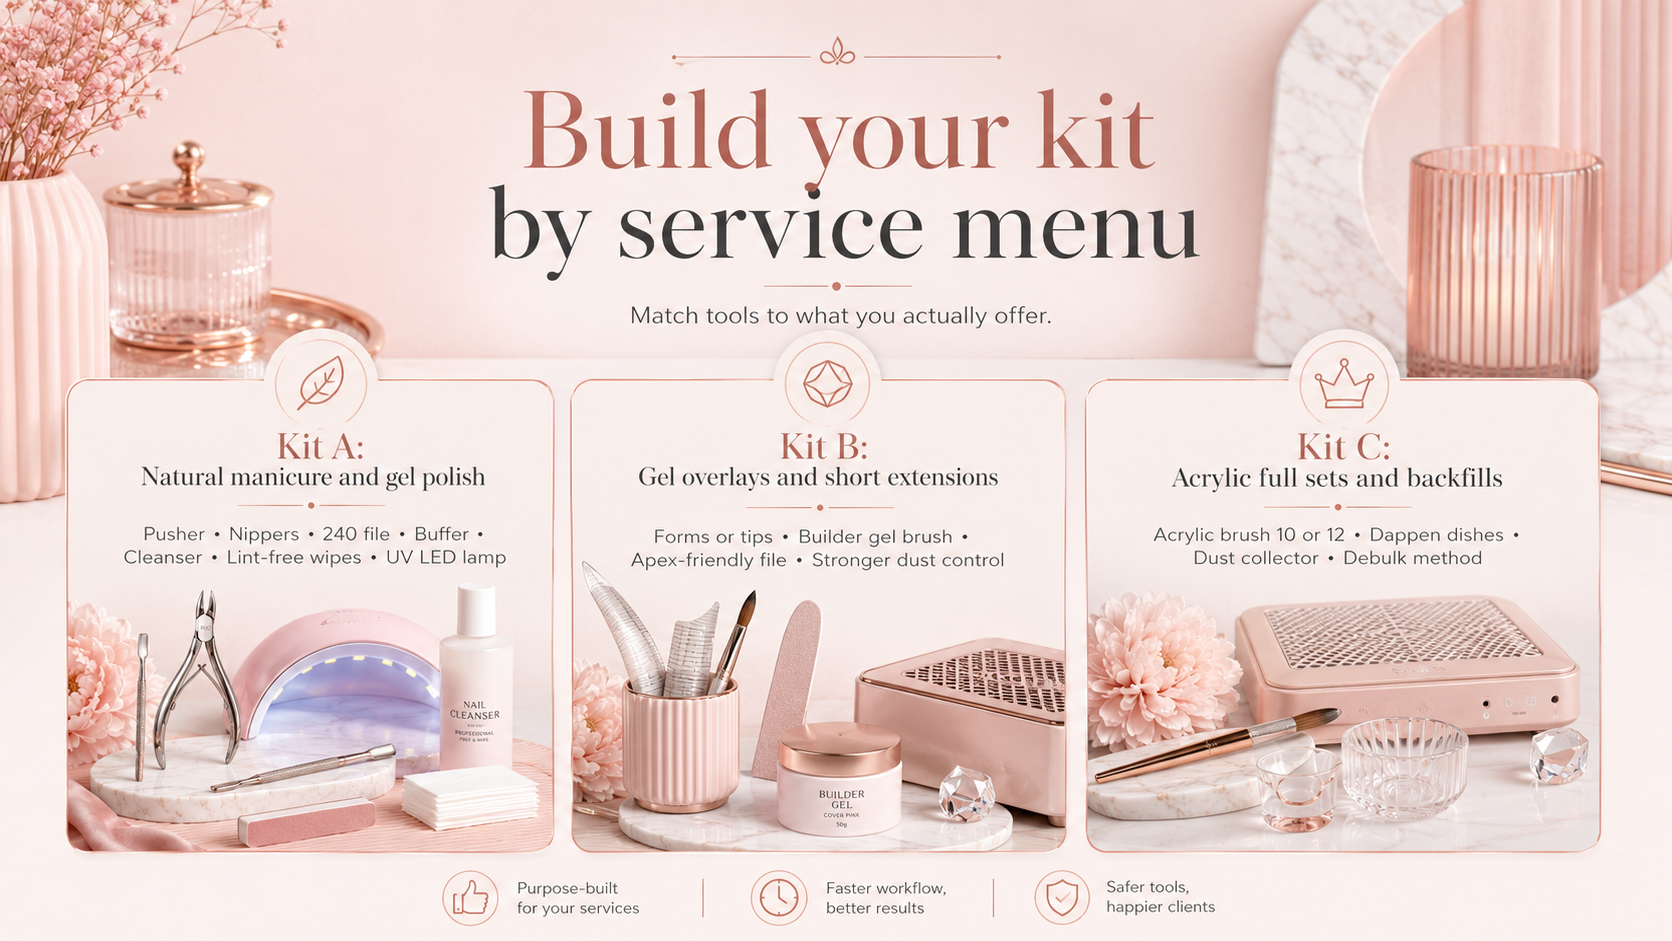
A professional nail tools guide should help you match tools to what you actually offer. Here are three clean kit builds.
Kit A: Natural manicure and gel polish
-
Cuticle pusher, nippers, 240 file, buffer, cleanser, lint free wipes, UV LED lamp, cleanup brush, top coat tools
Kit B: Gel overlays and short extensions
-
Add forms or tips, a builder gel brush, an apex friendly file, and a stronger dust control setup
Kit C: Acrylic full sets and backfills
-
Add acrylic brush size 10 or 12, dappen dishes, dust collector, and a reliable debulk method, either hand file or e file if trained
The smartest salons standardize kits by service. It speeds training and prevents messy stations.
The fast “pro quality” test for any tool
Use this simple test before buying or assigning tools to your main station.
Precision: does it cut or shape cleanly with light pressure
Stability: does it wobble or shift during use
Comfort: can you hold it for 30 minutes without gripping hard
Sanitation: can you disinfect it without damage
Consistency: does it perform the same on day 1 and day 30
If a tool fails any category, it belongs in backup, not in your main kit.
Upgrade path that makes sense
If your budget is limited, upgrade in this order because it impacts results fastest.
-
Nippers and cuticle pusher quality
-
Lamp reliability if you do gel
-
Acrylic brush quality if you do acrylic daily
-
Dust control for comfort and hygiene
-
Specialty art brushes
This order reduces client discomfort, improves retention, and saves rework time.
A professional kit is not a big kit. It is a consistent kit. When your tools are organized by workflow zones, chosen by outcomes, and maintained with simple hygiene habits, your sets last longer and your services feel smoother. Use this guide as a checklist, refine your station step by step, and your work will start to look more confident, even before you change products.

hanna
HANA is a Nail Tool Consultant at JKIOCEAN with years of hands-on experience helping customers find the perfect tools for their salon needs. With deep product knowledge and a passion for the nail industry, Hana specializes in guiding both beginners and professionals toward the best choices in acrylic brushes, clippers, nippers, and more. Her insights are trusted by salon owners and nail artists across the U.S.