
 3D Gel
 Accessories
 Acrylic Brushes
 Art Brushes
 Clippers
 Design
 French Brushes
 Builder Gel
 Nail Tip Cutter
 Nippers
 Pusher
 Scissors
 Tweezers
May
Blogs
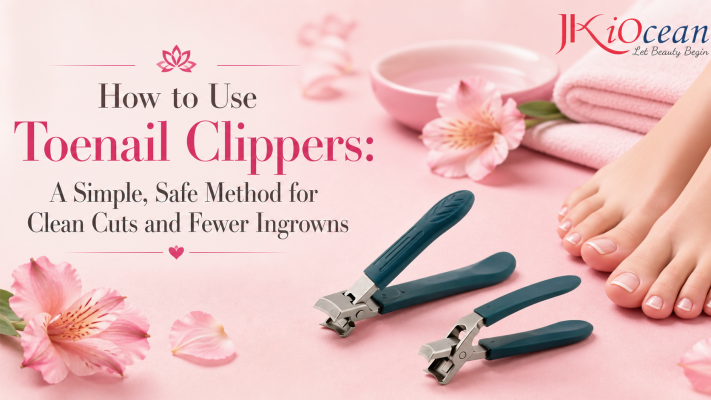
How to Use Toenail Clippers: A Simple, Safe Method for Clean Cuts and Fewer Ingrowns
If you’re searching how to use toenail clippers, you’re probably trying to solve one of these problems: thick toenails that are hard to cut, rough edges that snag socks, or the fear of creating an ingrown toenail. Toenails behave differently than fingernails. They’re thicker, grow slower, and get compressed by shoes—so the cutting technique matters more than people realize.
This guide walks you through a safe, repeatable method that works for most people, plus smarter habits that help prevent splitting, pain, and ingrowns.
What a Good Toenail Clip Should Do
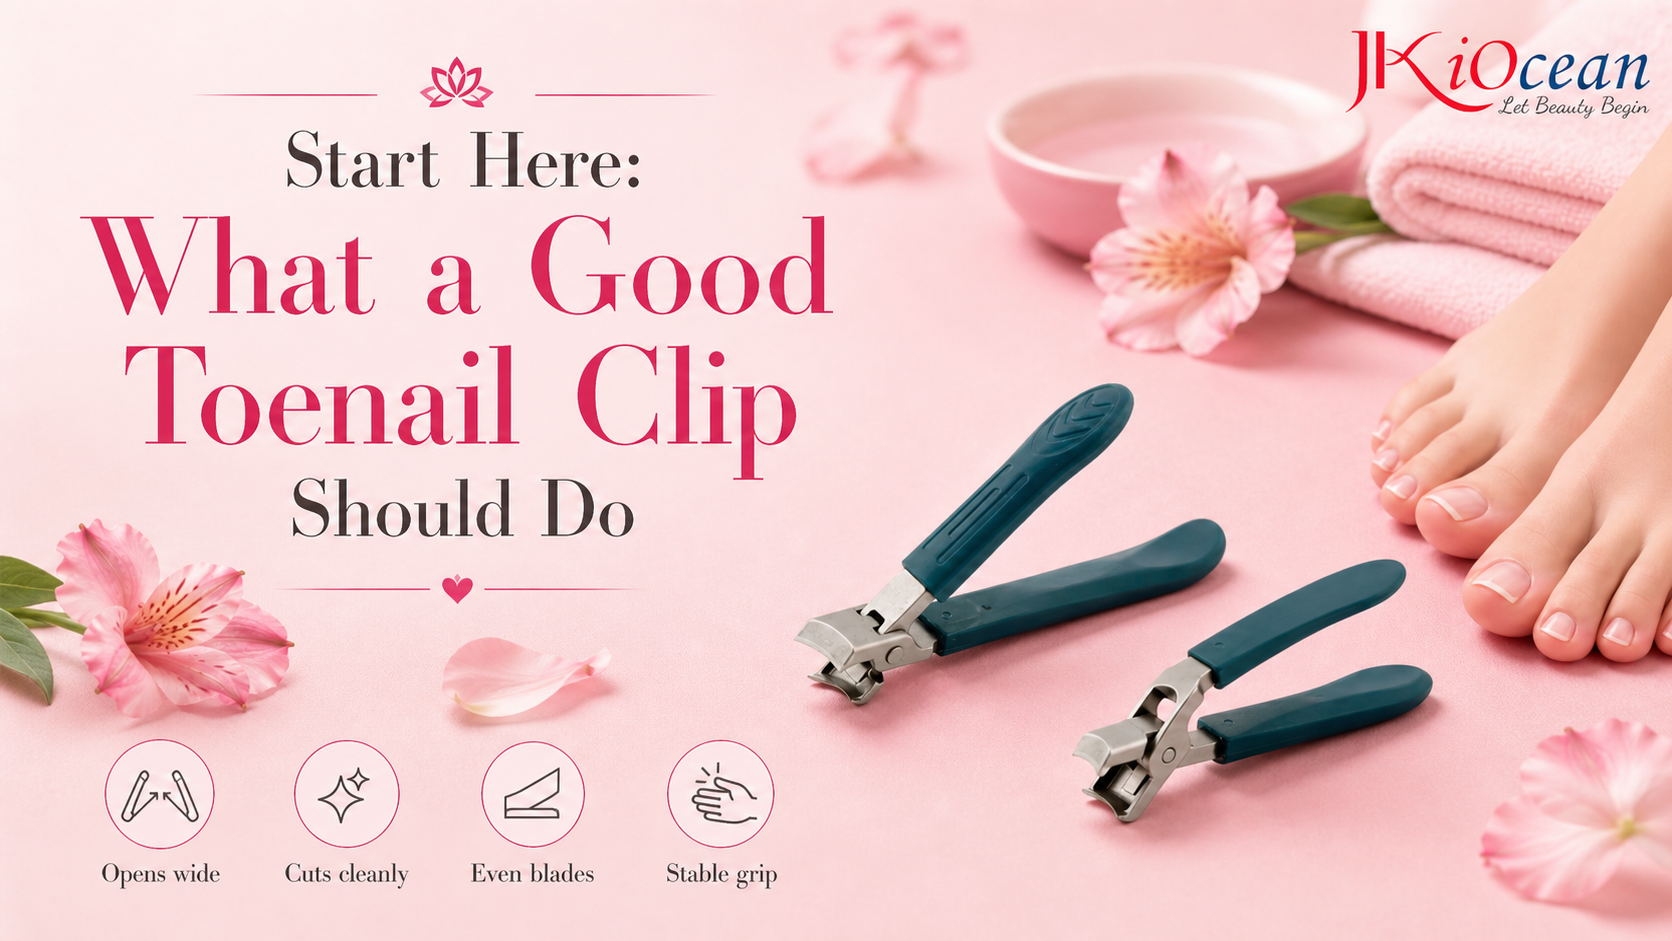
Before technique, check your tool. A good toenail clipper should:
- Open wide enough for thick nails
- Cut cleanly without crushing
- Close evenly (no blade gap)
- Feel stable in your hand (no wobble)
If your clipper bends the nail, slips, or leaves ragged edges, you’ll end up cutting more aggressively—and that’s when problems begin.
The 3 Rules That Prevent Most Toenail Problems

- Cut mostly straight across
- Take small bites, not one big snap
- File corners smooth instead of cutting them deep
These three habits alone reduce a large percentage of ingrown toenails and nail splitting.
A Safe Routine: How to Use Toenail Clippers Step by Step
Step 1: Check the toe before you cut
Do not trim if you see:
- Swelling, heat, or spreading redness
- Pus or discharge
- Severe pain that makes you flinch
- A nail edge buried deep into skin
Those are signs you may need professional care. Home cutting can worsen infection.
Step 2: Choose the right moment (and don’t over-soak)
Many people think soaking is required. It can help, but only briefly:
- If nails are very hard, soak for 5–7 minutes in warm water
- Then dry completely
Cutting soaking-wet nails can cause tearing or a crumbly edge. Dry nails cut cleaner.
Step 3: Position the clipper correctly
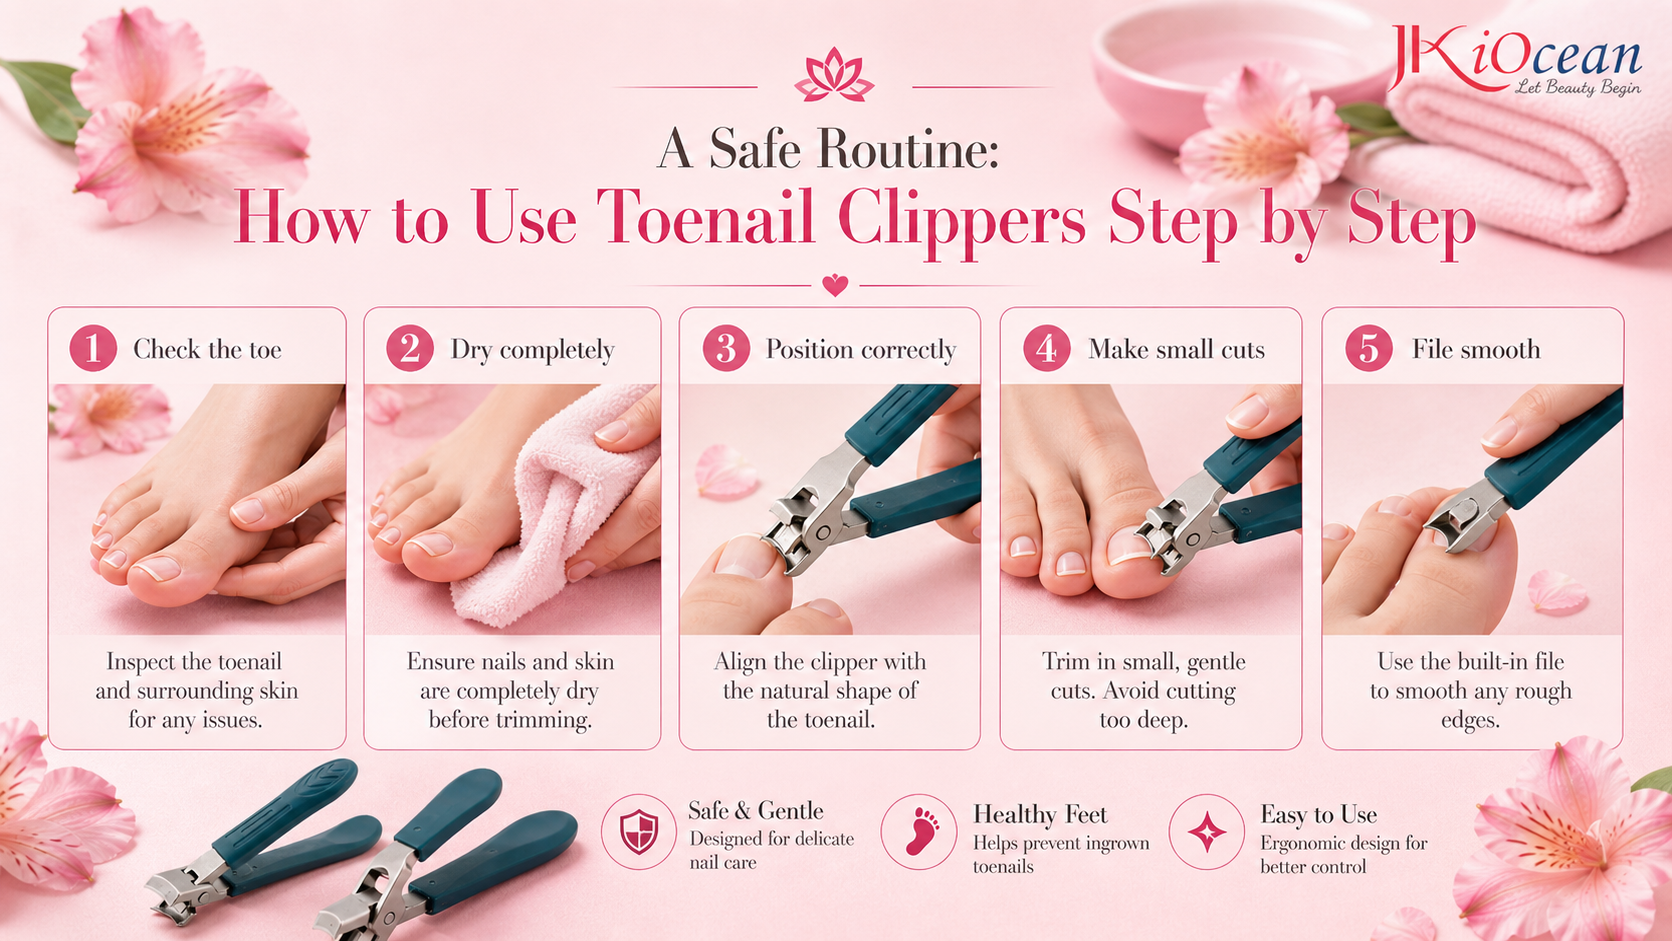
Hold the clipper so the blades are:
- Parallel to the nail edge
- Level (not tilted downward into skin)
If you angle too far down, you’re more likely to cut into corners and irritate the nail fold.
Step 4: Make small, controlled cuts across the edge
Instead of one big cut:
- Start near the center of the nail
- Take small bites moving outward
- Keep the shape mostly straight
- Stop before you reach “deep corner territory”
Small cuts reduce stress on thick nails and prevent cracks.
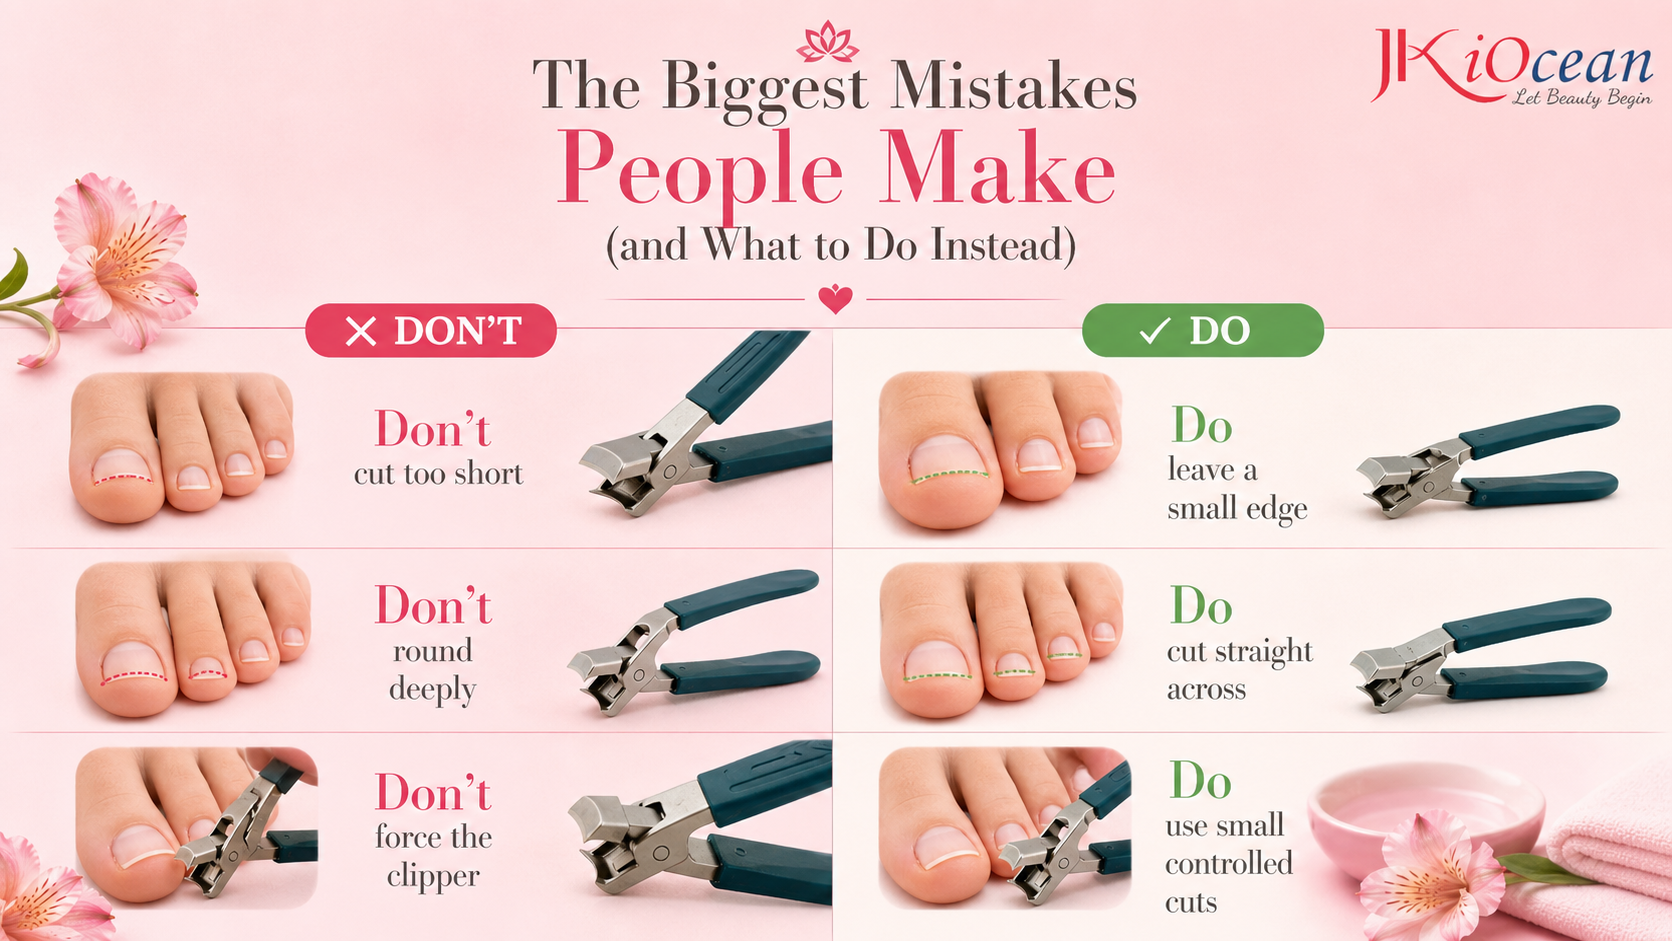
Step 5: Leave a small free edge
One of the most common mistakes is cutting too short. A tiny free edge acts like a buffer. If you cut down to the nail bed, it increases sensitivity and raises the chance of the nail growing into the skin.
A simple guideline: the nail edge should sit roughly level with the tip of the toe, not below it.
Step 6: Smooth corners with a file (this is the hidden key)
After clipping, use a nail file to soften sharp corners. Do not carve a curve with the clipper.
If a corner feels uncomfortable, filing is safer than cutting deeper. The goal is comfort, not a rounded “U” shape.
Step 7: Clean, moisturize, and reassess
Rinse the toe, dry well, and apply a small amount of foot cream (avoid making the soles slippery if you’re walking). If your cuticles are dry, a touch of cuticle oil helps reduce future hangnails around the toe.
If Your Toenails Are Thick: How to Clip Without Splitting

Thick nails require patience, not force.
Try this approach:
- Use a wide-jaw or heavy-duty toenail clipper
- Clip in even smaller bites than usual
- If the edge feels brittle, file lightly between cuts
- Avoid twisting or rocking the clipper mid-cut
If you constantly struggle, consider a nail nipper designed for thick toenails—these cut using leverage and micro-snips rather than one crushing motion.
The Biggest Mistakes People Make (and What to Do Instead)
Mistake 1: Rounding toenails like fingernails
This is a major trigger for ingrowns.
Do this instead: cut straight across and file corners smooth.
Mistake 2: Cutting the corners “extra deep”
Feels like relief in the moment, but often worsens ingrowns later.
Do this instead: reduce pressure by filing and wearing wider shoes.
Mistake 3: Cutting immediately after a long shower
Soft nails bend and tear.
Do this instead: dry thoroughly and clip later.
Mistake 4: Using a dull clipper
A dull blade crushes the nail.
Do this instead: replace the clipper or sharpen it.
Mistake 5: Ignoring pain
Pain is a warning sign.
Do this instead: stop and seek professional help if pain is significant.
Hygiene: How to Clean Toenail Clippers Properly
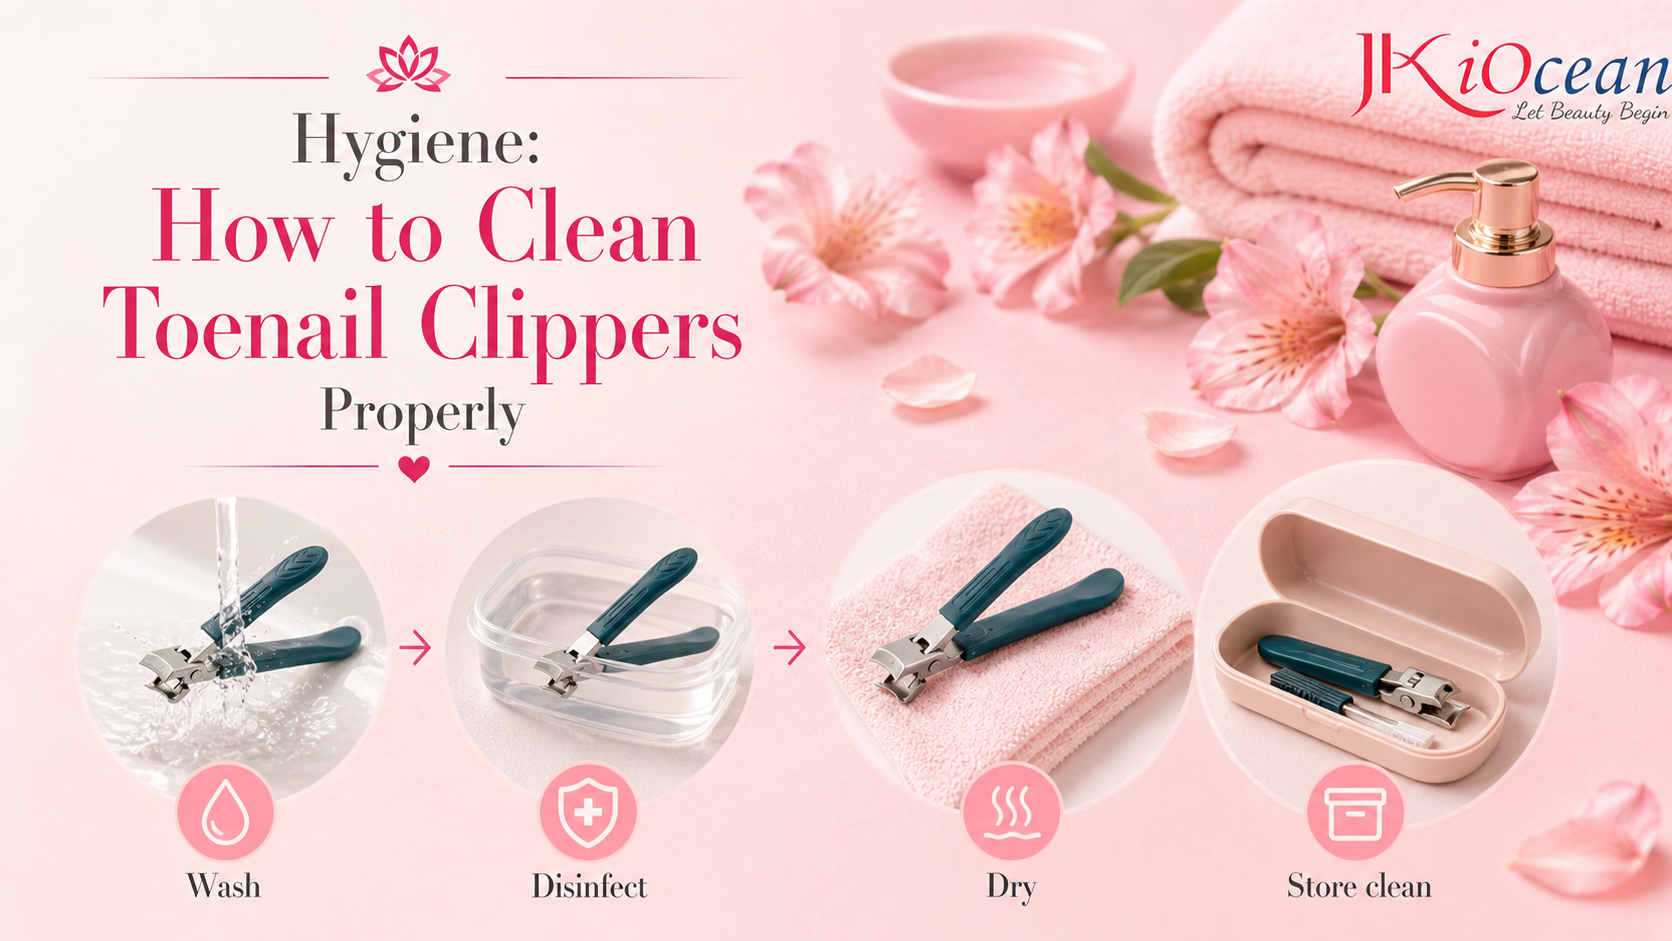
Toenails are exposed to more moisture and bacteria than fingernails. Tool hygiene matters.
Basic cleaning:
- Rinse off visible debris
- Wash with soap and warm water
- Disinfect with alcohol or an appropriate disinfectant
- Dry completely
- Store in a clean, closed case
Do not share toenail clippers with other people. Sharing increases the risk of spreading fungus.
How Often Should You Clip Toenails?
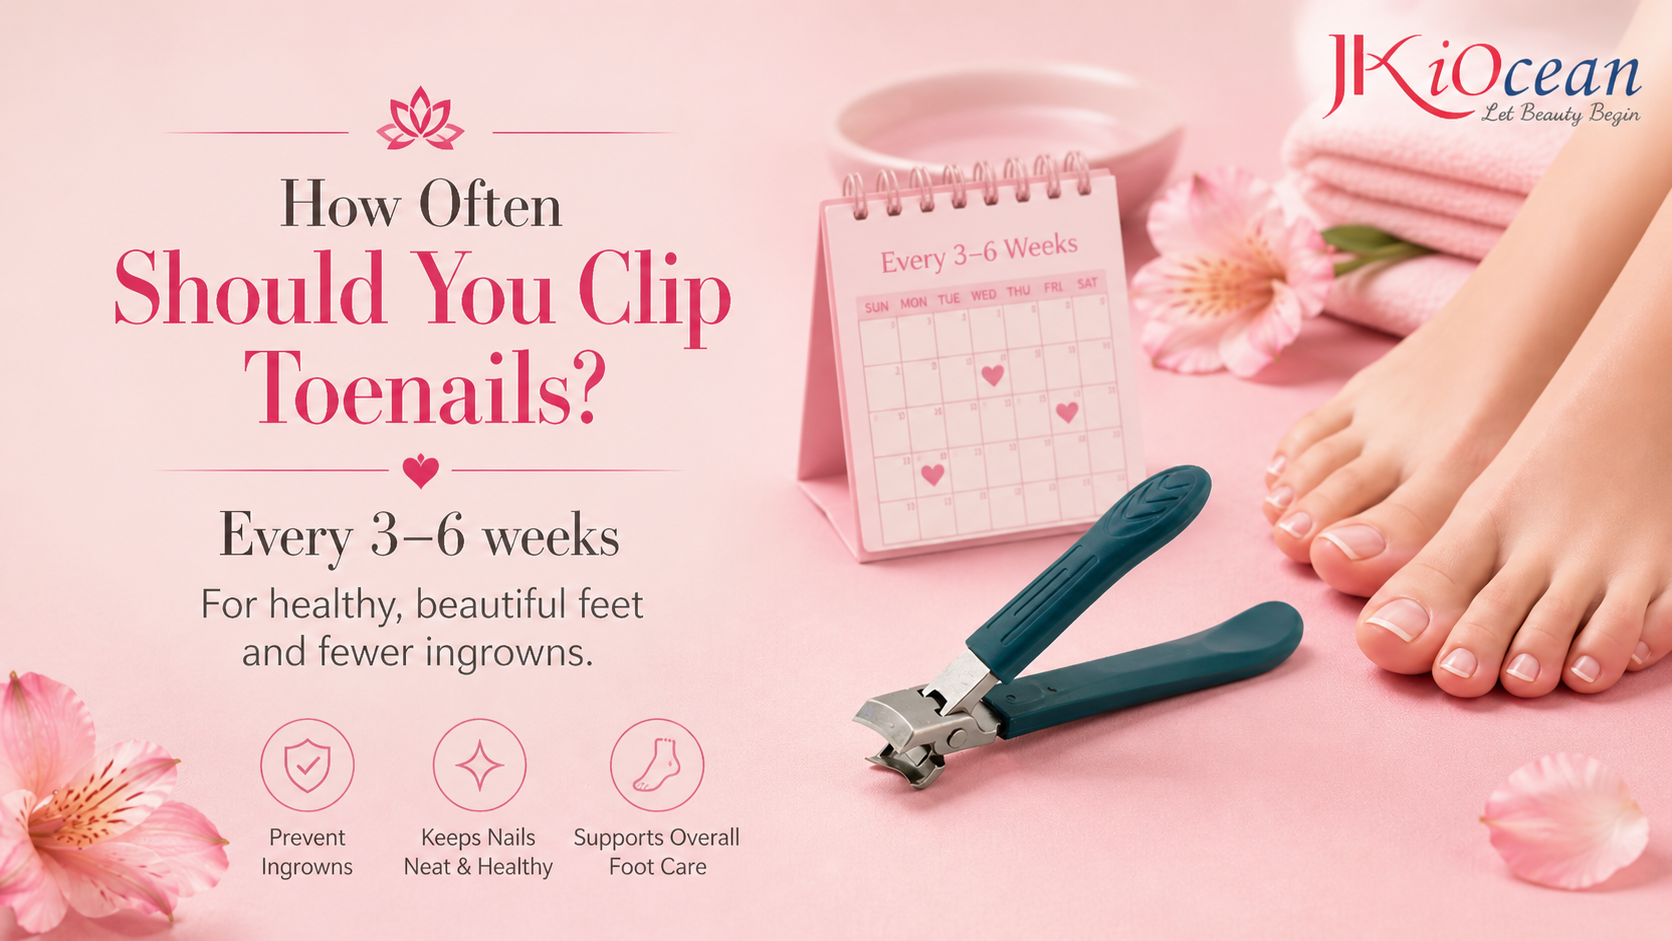
Most people need toenail trimming every 3–6 weeks, depending on growth and lifestyle. If you cut too frequently and too short, you increase sensitivity and ingrown risk. Let nails grow enough to trim comfortably, then maintain with light filing in between.
When to Stop DIY and See a Podiatrist
Get professional help if:
- There’s swelling, discharge, or severe redness
- You have diabetes, circulation issues, or neuropathy
- The nail is extremely thick, curved, or painful
- Ingrowns keep returning
- You can’t reach your feet safely or see the corners clearly
A podiatrist can trim safely and may treat underlying conditions.
Learning how to use toenail clippers isn’t about cutting more—it’s about cutting smarter. Small straight cuts, a small free edge, and gentle corner filing prevent most common toenail problems. Add good hygiene and you’ll get cleaner trims, fewer snags, and a lower chance of ingrowns.
Toenail care doesn’t need to be complicated. It just needs to be consistent and safe.