
 3D Gel
 Accessories
 Acrylic Brushes
 Art Brushes
 Clippers
 Design
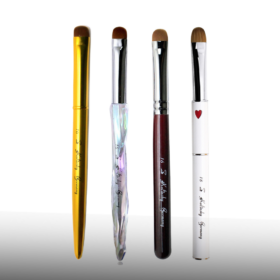 French Brushes
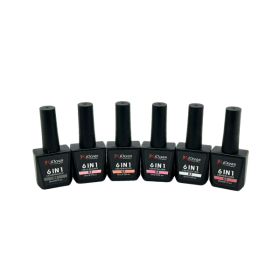 Builder Gel
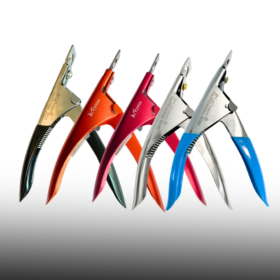 Nail Tip Cutter
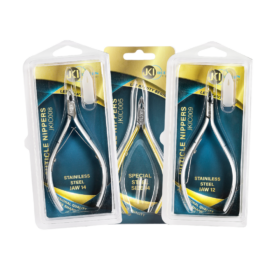 Nippers
 Pusher
 Scissors
 Tweezers
Sep
Blogs
How to Apply Builder Gel for Strong Nails
Applying builder gel is a key technique for achieving strong, beautiful, and long-lasting nail enhancements. Builder gel, also known as hard gel, is a versatile product used to extend the nail, strengthen natural nails, or create durable overlays. Unlike soft gels, builder gels are typically cured under a UV or LED lamp and cannot be soaked off; they must be filed or e-filed off. This makes them incredibly resilient and suitable for those who desire significant nail strength and length. Understanding how to apply builder gel correctly ensures professional-looking results and minimizes the risk of lifting or breakage.
What is Builder Gel and Why Use It?
Builder gel is a type of gel nail product that is thicker and more viscous than traditional gel polish. Its primary purpose is to add strength, structure, and length to natural nails. It can be used to create nail extensions by sculpting them over nail forms or tips, or it can be applied as a protective overlay on natural nails to prevent breakage and promote growth. The inherent strength of builder gel makes it an excellent choice for clients with brittle or weak nails, or for those seeking durable manicures that can withstand daily wear. The application process involves carefully layering the gel, shaping it to create a desired structure, and curing each layer under a UV or LED lamp. The final result is a hard, durable surface that can be filed and shaped like acrylic but without the strong odor.
Essential Tools and Materials for Builder Gel Application
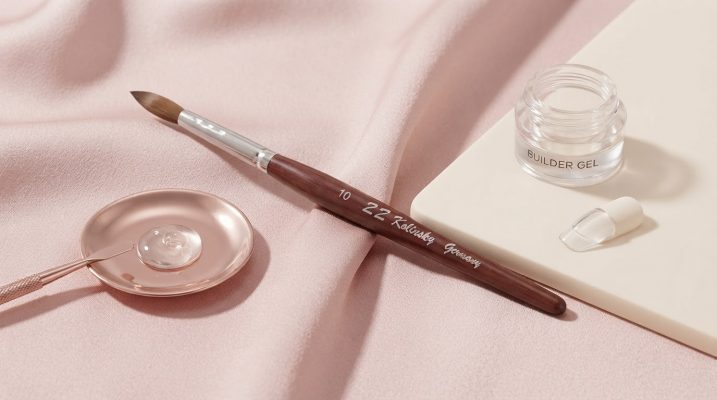
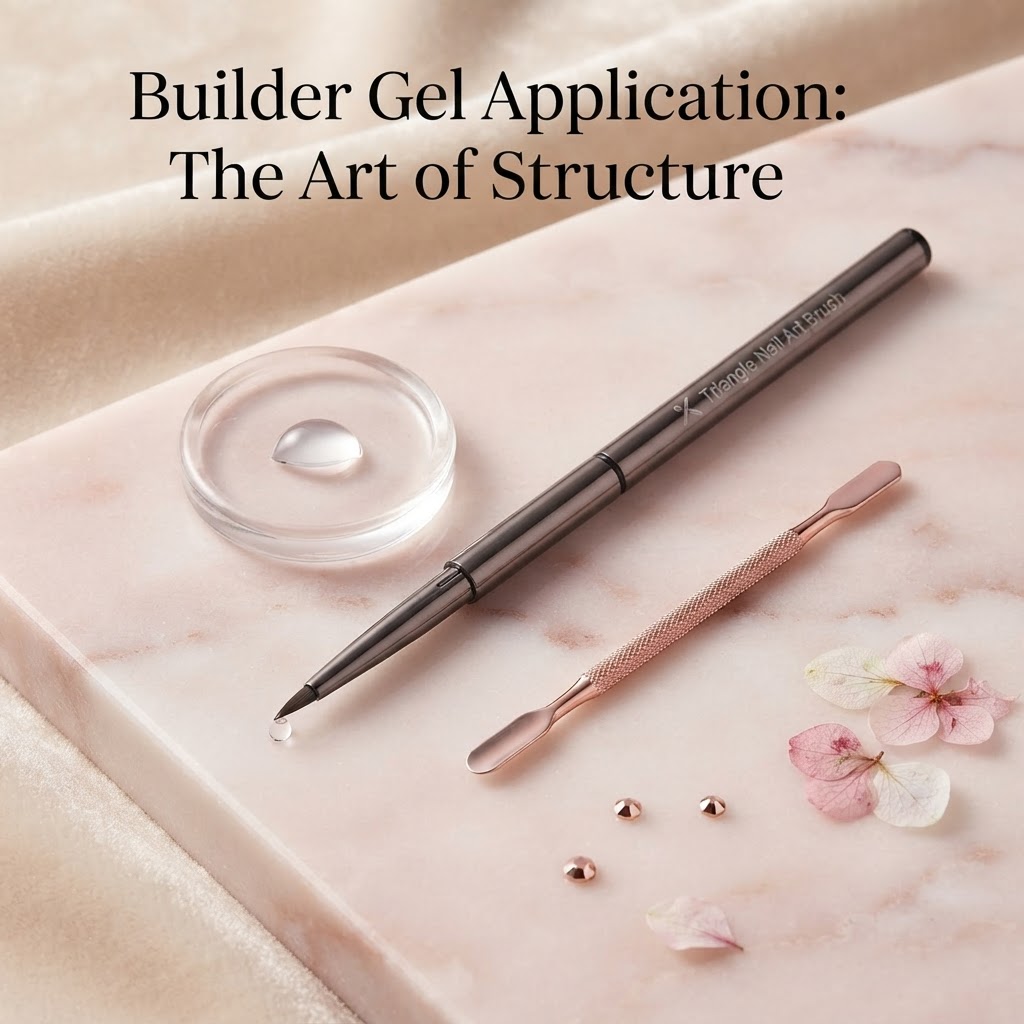
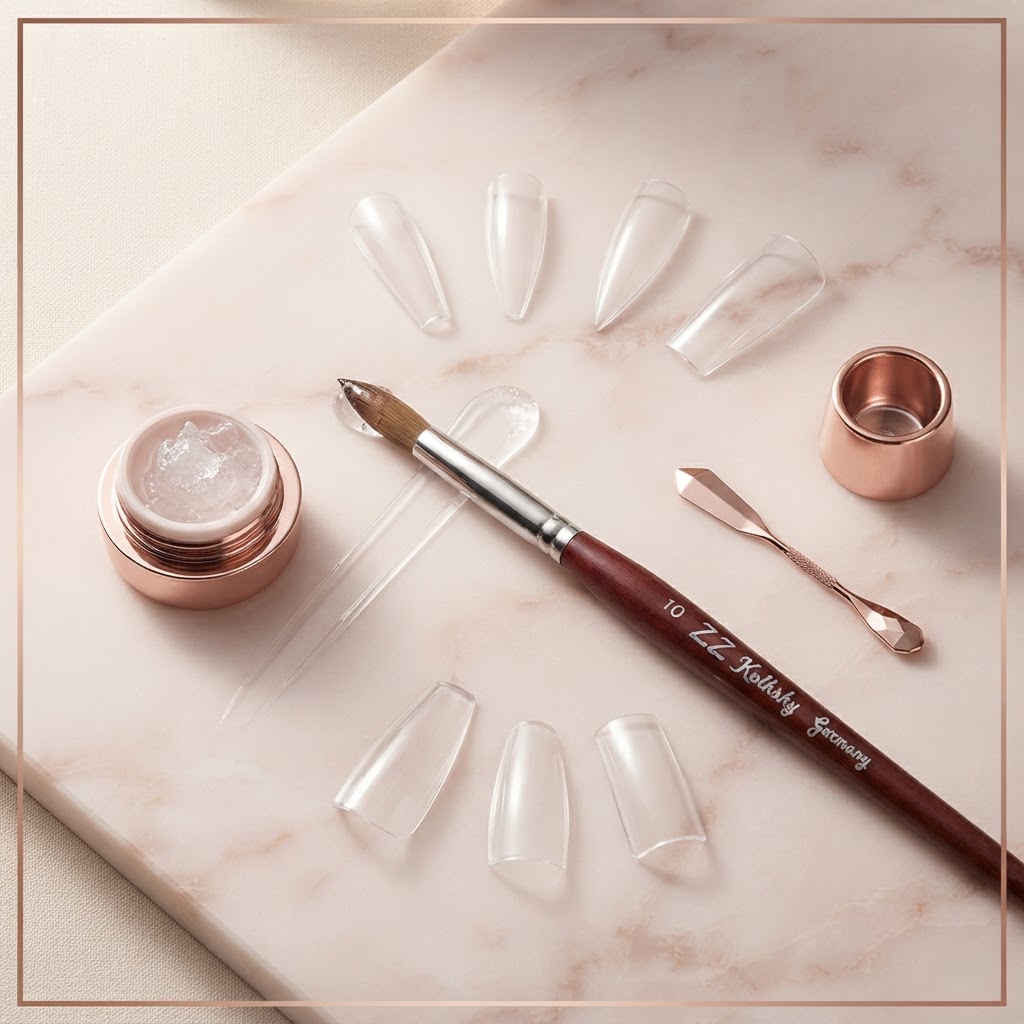
To successfully apply builder gel, a curated set of tools and materials is essential. This includes the builder gel itself, available in various viscosities and shades. A high-quality UV or LED lamp is non-negotiable for proper curing. You will also need nail prep essentials such as nail files (typically 180-grit for shaping and 240-grit for surface refinement), cuticle pushers or orangewood sticks, and lint-free wipes. An alcohol or nail cleanser solution is vital for dehydrating the natural nail and removing dust after filing. For extensions, you’ll need nail forms or tips, and specialized brushes designed for gel application—often with a firmer, yet flexible, bristle. Gel brushes come in various shapes and sizes, including flat, oval, and pointed tips, each serving a specific purpose in sculpting and shaping the gel. A good quality monomer or slip solution can also be used by some technicians to help manipulate the builder gel, making it more pliable and easier to work with. Don’t forget a top coat and base coat specifically formulated for gel application to ensure a smooth, high-shine, and long-lasting finish.
Step-by-Step: How to Apply Builder Gel to Natural Nails
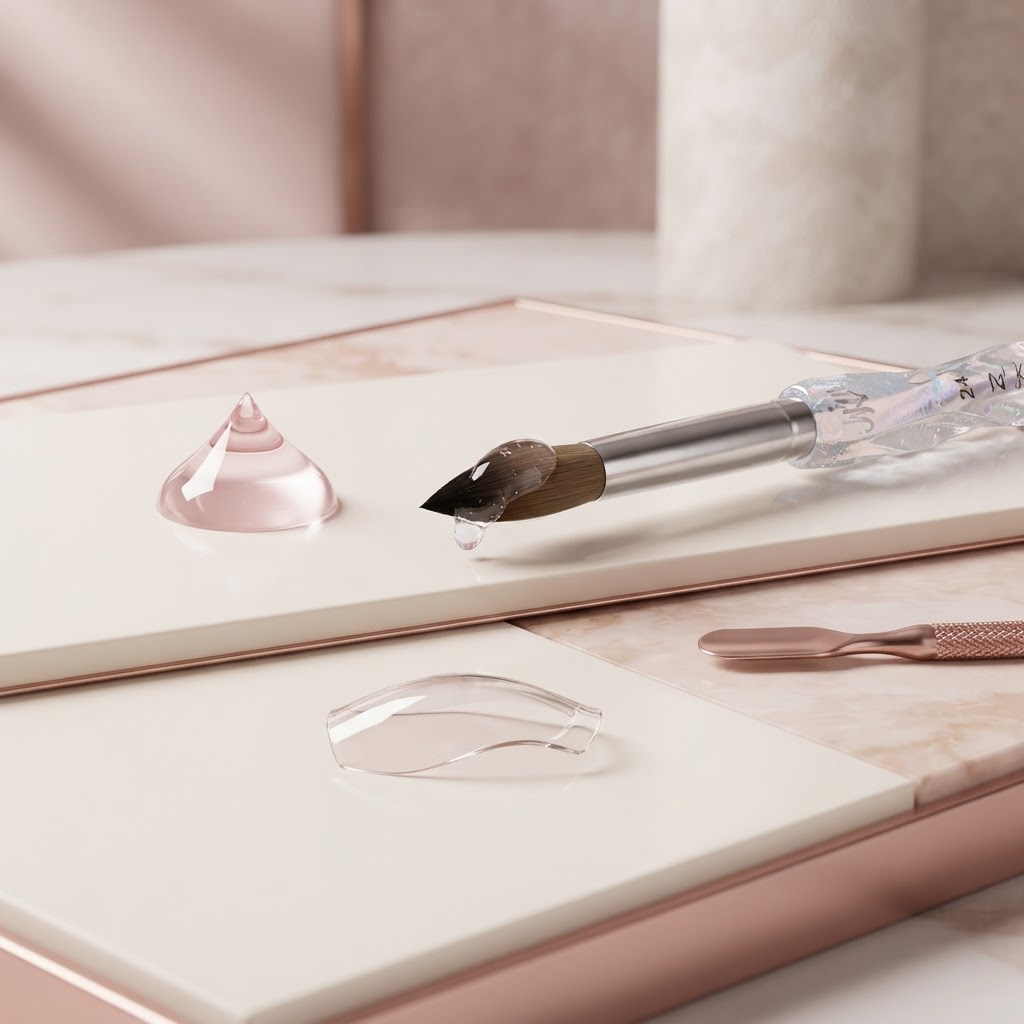
The process of applying builder gel to natural nails requires precision and patience. Begin with thoroughly prepping the natural nail. This involves pushing back the cuticles, gently buffing the nail surface to remove shine and create adhesion, and then cleansing the nail to remove dust and oils. Apply a thin layer of bonder or primer to the nail plate to enhance adhesion and prevent lifting. Next, apply a thin, even layer of base coat, ensuring it covers the entire nail surface and is cured according to the manufacturer’s instructions. Now, take a small bead of builder gel and carefully apply it to the nail. Using your gel brush, gently spread and shape the gel, starting from the cuticle area and moving towards the free edge. Avoid touching the cuticle area directly, as this can lead to lifting. Build the gel in thin layers, curing each layer individually. This layering technique is crucial for achieving strength and preventing the gel from running or pooling. For overlays, focus on creating a smooth, even surface. For extensions, use nail forms to sculpt the desired length and shape, carefully applying the builder gel to build the extension.
Achieving a Perfect Apex with Builder Gel
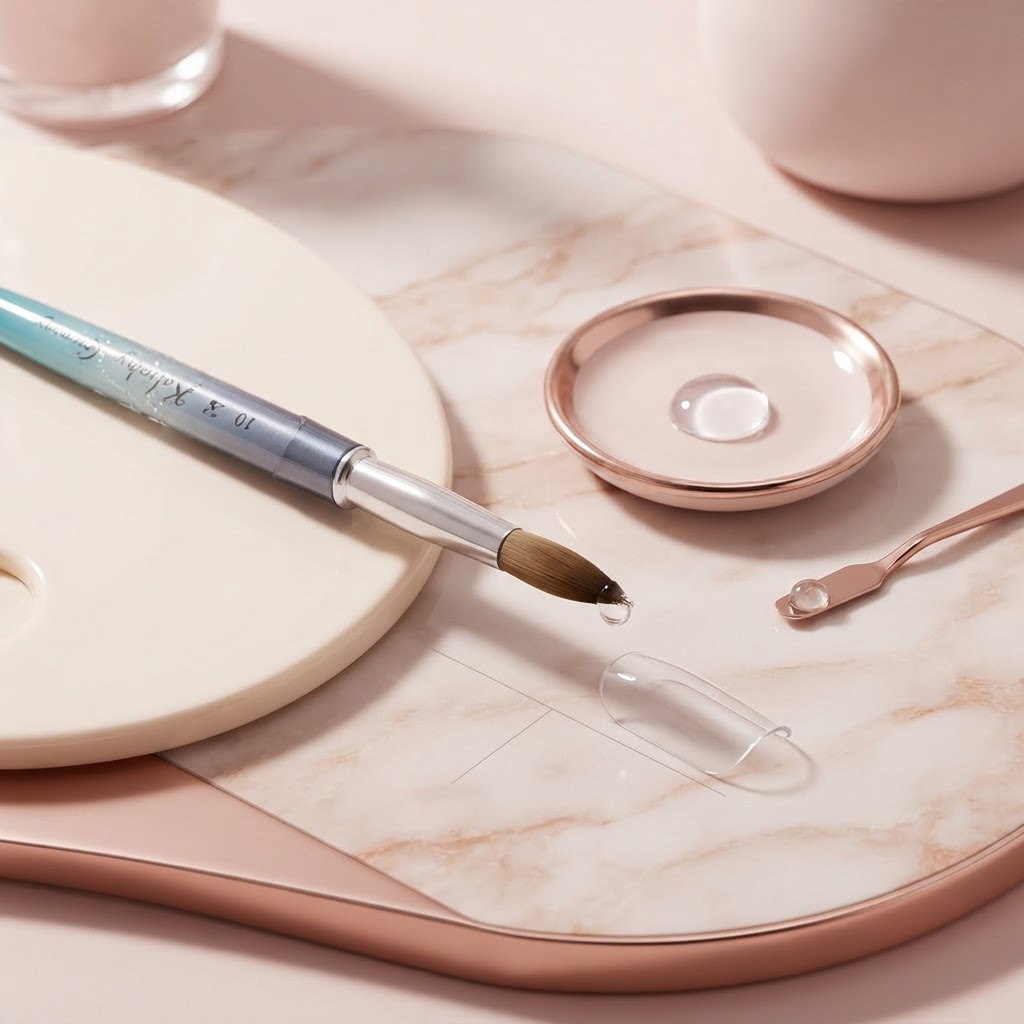
An apex is the highest point of the nail enhancement, typically located in the stress area (about one-third of the way down the nail from the cuticle). A well-defined apex is crucial for the structural integrity and longevity of the nail enhancement. It distributes stress away from the natural nail, preventing breakage. To create a perfect apex with builder gel, after applying a thin base layer, place a larger bead of builder gel in the center of the nail. Use your gel brush to gently push the gel towards the cuticle area, creating a smooth transition, and then encourage it to build upwards and outwards to form the apex. The gel should naturally flow towards the free edge, creating a balanced C-curve. Avoid flooding the sidewalls or cuticle area. The goal is to have a slightly thicker area at the apex, tapering down towards the cuticle and the free edge. This requires practice and a good understanding of the gel’s viscosity. Some technicians use a slip solution to help control the gel’s movement and achieve a smoother, more defined apex before curing.
Curing Builder Gel: The Role of the UV/LED Lamp
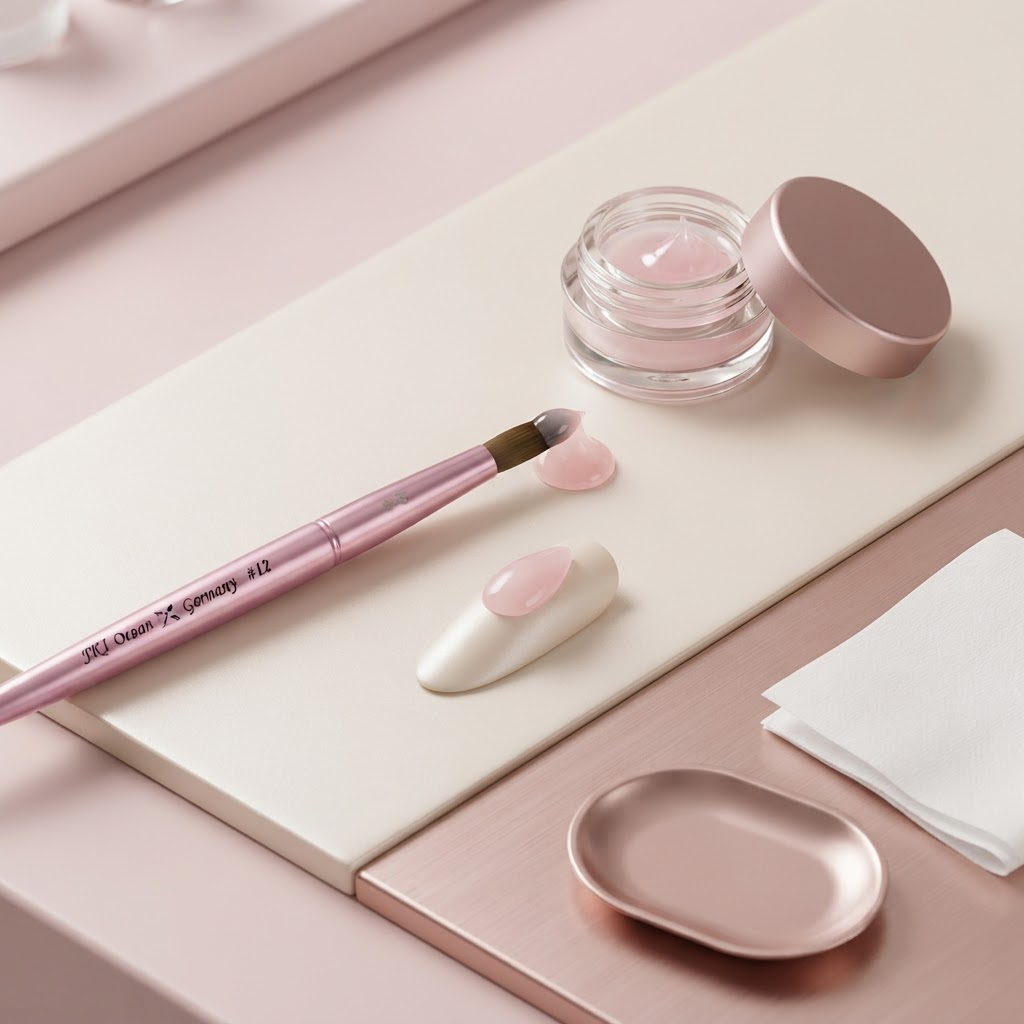
Curing is the critical process where liquid builder gel is transformed into a hard, solid enhancement through exposure to UV or LED light. The type of lamp used—UV or LED—and its wattage are crucial factors. LED lamps generally cure gels faster than UV lamps. Always follow the specific curing times recommended by the builder gel manufacturer, as these can vary significantly between brands and formulas. Insufficient curing can lead to lifting, chipping, and a weak enhancement, while over-curing can cause the gel to become brittle or even damage the natural nail. When applying builder gel, it is best to cure each thin layer individually for the recommended time. This ensures that the gel is fully hardened throughout. After the final layer of builder gel is applied and shaped, a final cure is performed. Once cured, the nail will have a sticky inhibition layer, which needs to be removed with a cleanser or alcohol before filing and shaping.
Troubleshooting Common Builder Gel Application Issues
Despite careful application, issues can arise when working with builder gel. One common problem is lifting, which often stems from improper nail preparation, insufficient curing, or the gel touching the cuticle. Ensure the nail plate is thoroughly cleaned, dehydrated, and that you are avoiding direct contact with the skin. Another issue is a cloudy or dull finish, which can be caused by improper curing or the use of a non-gel-specific top coat. Always use a gel top coat and ensure full curing. Bubbles in the gel can occur if the product is agitated too much or if it’s applied too thickly. Working with smaller beads of gel and using a precise brush can help prevent this. If the gel is too thick to work with, it might be too cold; try warming it slightly by placing the bottle in warm water. Conversely, if it’s too runny, it might be too warm, making it difficult to control. Understanding the product’s behavior in different temperatures is key. If you find the gel is sticking to your brush, try using a small amount of slip solution or alcohol on your brush to help it glide.
Builder Gel vs. Other Nail Enhancement Products
Builder gel offers distinct advantages and disadvantages when compared to other nail enhancement systems like acrylics, gel polish, and dip powders. Acrylics are strong and durable, known for their quick application, but they emit strong fumes and can be damaging if removed incorrectly. Gel polish offers a wide range of colors and a glossy finish but is less durable and prone to chipping on natural nails compared to builder gel. Dip powders provide strength and a long-lasting manicure, but the application process can be messy, and removal requires soaking. Builder gel, on the other hand, provides exceptional strength and durability, excellent for creating extensions and overlays without the strong odor of acrylics. Its self-leveling properties make it easier to achieve a smooth finish, and it offers a natural look. However, builder gel requires UV/LED lamp curing, cannot be soaked off (requiring filing for removal), and can be more expensive upfront due to the specialized lamp and products.
| Feature | Builder Gel | Acrylics | Gel Polish |
|---|---|---|---|
| Strength | Very High | High | Moderate |
| Flexibility | Moderate | Moderate | High |
| Odor | Low | High | Low |
| Curing Method | UV/LED Lamp | Air Dry | UV/LED Lamp |
| Removal | Filing | Soaking/Filing | Soaking |
| Application Time | Moderate | Fast | Fast |
In summary, if you’re seeking robust, resilient nail enhancements with a professional finish, understanding how to apply builder gel is a valuable skill. Proper preparation, careful layering, precise shaping, and correct curing are paramount to achieving beautiful, durable results. Experiment with different techniques and products to find what works best for you and your clients.