
 3D Gel
 Accessories
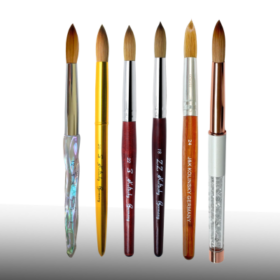 Acrylic Brushes
 Art Brushes
 Clippers
 Design
 French Brushes
 Builder Gel
 Nail Tip Cutter
 Nippers
 Pusher
 Scissors
 Tweezers
May
Blogs
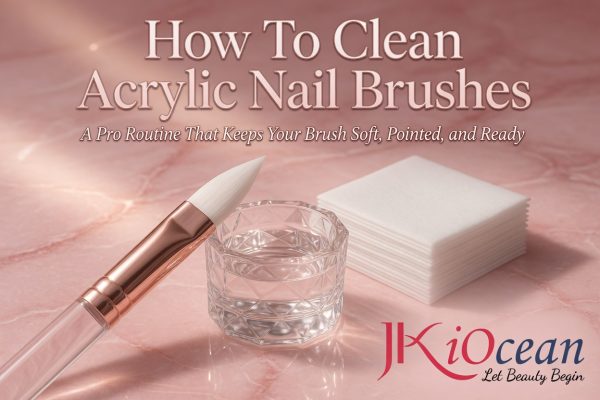
How To Clean Acrylic Nail Brushes: A Pro Routine That Keeps Your Brush Soft, Pointed, and Ready
Learning How To Clean Acrylic Nail Brushes is one of those skills that instantly upgrades your acrylic work. A clean brush holds monomer better, forms smoother beads, and gives you sharper control near the cuticle. A dirty brush does the opposite: it drags, splays, hardens, and turns every set into a fight.
This guide gives you a realistic cleaning routine you can follow in a salon or at home, plus deep-clean steps, rescue methods for early hardening, and the habits that prevent brush damage long-term.
Why Acrylic Brushes Harden (and Why It’s Almost Always Preventable)
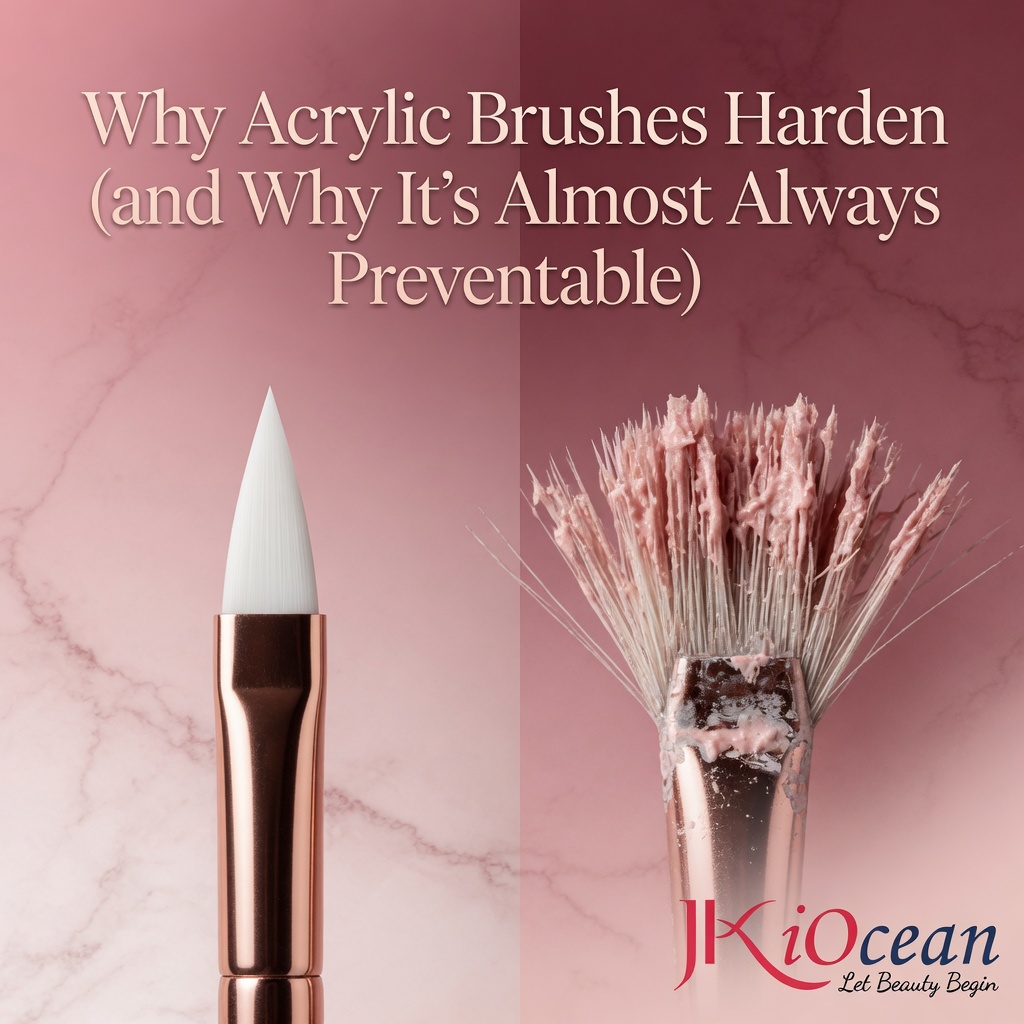
Acrylic brushes harden when acrylic polymer cures inside the bristles or near the ferrule. That usually happens for one of these reasons:
-
You pause too long between beads and acrylic sets in the brush
-
You push too hard and force product up into the ferrule
-
You “clean” with harsh solvents (especially acetone) that dry and fray the hair
-
You store the brush without reshaping or with residue still inside
The good news: most of this is solved with a repeatable cleaning flow, not expensive tools.
The Golden Rule: Clean Little, Clean Often

The best brush cleaning is not a dramatic end-of-day soak. It’s the small wipes you do between beads. If you do this right, deep cleaning becomes rare.
Your “Between-Beads” Micro-Clean (10 seconds)

-
Wipe the brush on a lint-free pad to remove excess product
-
Dip the brush tip lightly into clean monomer
-
Wipe again and reshape to a point
That’s it. Do it after every bead and your brush stays flexible all day.
What You Need (Keep It Simple)

-
A clean dappen dish of fresh monomer (your brush-clean monomer should be separate from your working monomer if possible)
-
Lint-free wipes or a low-lint paper towel
-
Brush cap or brush holder
-
Optional: a second “dirty monomer” dish for first rinse if you work fast and heavy
Avoid cotton pads that shed fibers. Lint caught in the brush becomes drag and texture.
The Daily Cleaning Routine (End of Service)

This is the routine that prevents “mystery hardening” overnight.
Step 1: Wipe, don’t scrub
Wipe the brush gently on a lint-free pad. Do not twist the bristles aggressively—twisting causes splaying over time.
Step 2: Rinse in monomer (short and controlled)
Dip only the bristles (not the entire ferrule) into monomer and lightly press against the side of the dish to release residue.
Step 3: Repeat until the brush wipes clean
Alternate dip → wipe until no cloudiness or acrylic streaks appear on the wipe.
Step 4: Reshape the brush
Use your fingers to form a clean point. This is not cosmetic—it keeps the hairs aligned and prevents permanent fraying.
Step 5: Store correctly
Cap the brush or store it horizontally in a case where the tip won’t be crushed. Keep it away from dust.
The #1 Mistake: Using Acetone on Kolinsky or Natural Hair Brushes
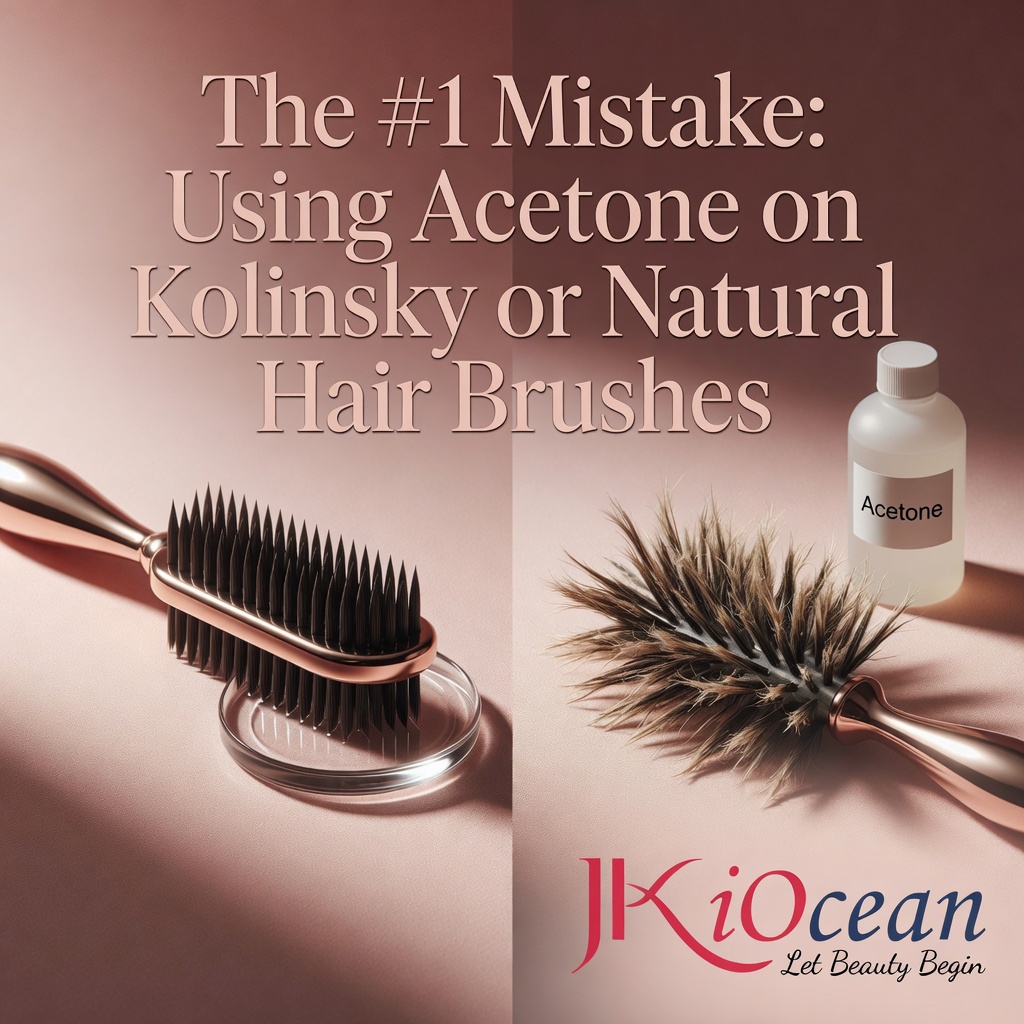
If you want your brush to last, avoid using acetone as your everyday cleaner.
Acetone can:
-
Strip natural oils from Kolinsky hair
-
Dry out bristles and cause breakage
-
Make the brush lose its “belly” (monomer holding capacity)
-
Increase splaying and tip splitting
If you use synthetic brushes, acetone may not destroy them instantly, but it still shortens lifespan and can warp the fibers. Monomer is the safer routine cleaner for acrylic brushes.
Deep Cleaning (When Your Brush Feels “Gummy” or Slow)

If your brush starts to feel sticky, slow, or slightly stiff, do a deeper clean before it becomes fully hardened.
Deep Clean Method (5–10 minutes)
-
Pour fresh monomer into a small dish
-
Soak only the bristles for 3–5 minutes
-
Gently wipe and reshape
-
Repeat a second short soak if needed
-
Final wipe until clean, reshape, and cap
Important: don’t soak the entire ferrule for long periods. Prolonged soaking can loosen the glue and shorten brush life.
How To Clean Acrylic Nail Brushes That Are Starting to Harden
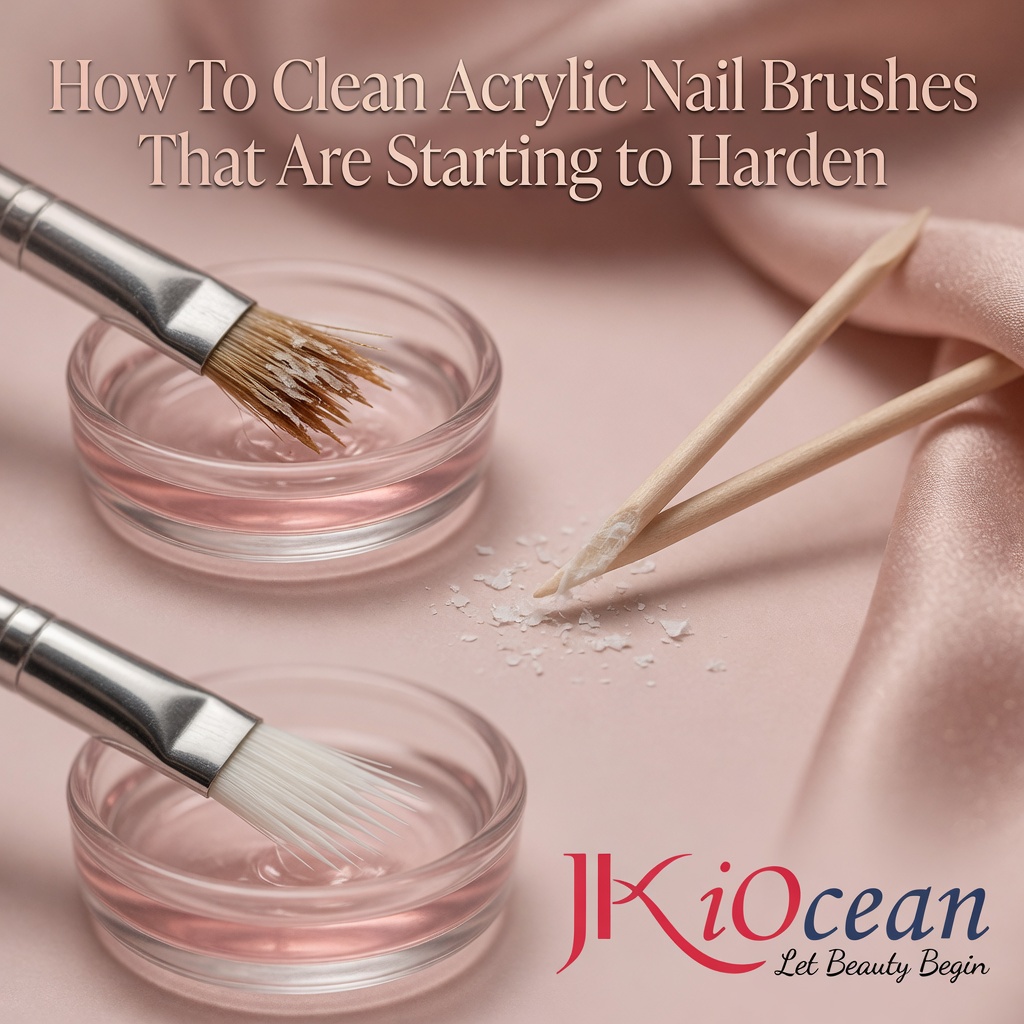
If your brush is not rock-hard yet, you can often save it.
Rescue Method (gentle, realistic)
-
Soak bristles in fresh monomer for 5–10 minutes
-
Use a wooden cuticle stick to gently tease softened acrylic out of the bristles
-
Wipe clean and repeat a short soak if needed
-
Reshape, cap, and let it rest horizontally
Do not stab aggressively between hairs. Your goal is to loosen residue, not rip bristles.
If the brush is completely solid, rescue is less reliable. At that point, you’re often dealing with cured acrylic inside the ferrule, which is difficult to remove without damaging the brush.
The “Ferrule Trap”: How to Prevent Hard Acrylic at the Base
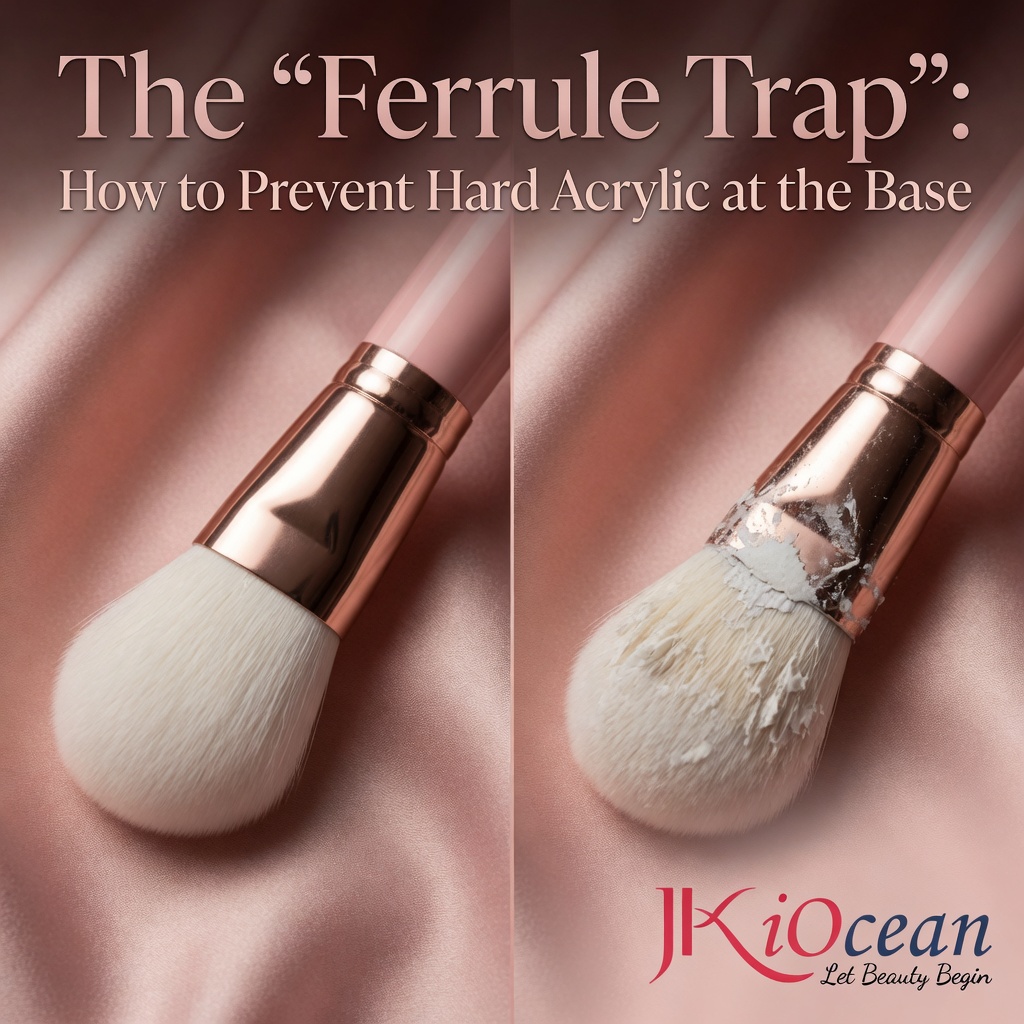
Most brush deaths happen where the bristles enter the ferrule. This is usually technique-related, not product-related.
How to avoid it
-
Don’t press acrylic up into the ferrule when flattening beads
-
Use the belly of the brush to place and the tip to refine, not the other way around
-
Clean between beads so acrylic never sits long enough to cure in the base
-
Keep your monomer clean. Dirty monomer redeposits residue back into the brush
A brush that looks clean on the tip can still be curing at the base. The fix is consistent micro-cleaning, not harsher chemicals.
Storage Tips That Keep Brushes Pointed
-
Cap the brush or store in a protective tube
-
Store horizontally or bristles-up (never bristles-down in a cup)
-
Keep away from dust and sunlight
-
Never throw brushes loose into a drawer with metal tools
If your brush tip is crushed, it won’t form a clean point—even if the brush is “clean.”
Quick Troubleshooting: What Your Brush Is Telling You
Brush feels dry and stiff quickly
You’re not cleaning between beads enough, or your monomer is contaminated.
Brush splays even when clean
Tip is crushed in storage, or the hair is damaged from harsh solvents.
Beads dry too fast on the brush
Brush is too dry, over-wiped, or your room is hot and monomer is evaporating fast.
Brush drags and leaves streaks
Residue still inside bristles; do a deep clean and reshape.
The Best Habit for Long Brush Life
If you want one habit that changes everything, it’s this:
Never let acrylic sit in the brush while you “think” or shape other nails.
Wipe, dip, wipe, reshape. Every time.
It sounds simple, but that 10-second routine prevents 90% of brush problems.
Mastering How To Clean Acrylic Nail Brushes is less about special products and more about consistency. Clean between beads, use monomer as your routine cleaner, avoid acetone as a daily solution, reshape the tip, and store the brush protected. Do that, and your brush stays soft, pointed, and predictable, making acrylic application faster, cleaner, and less stressful.