
 3D Gel
 Accessories
 Acrylic Brushes
 Art Brushes
 Clippers
 Design
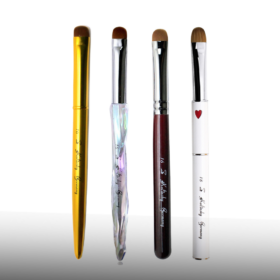 French Brushes
 Builder Gel
 Nail Tip Cutter
 Nippers
 Pusher
 Scissors
 Tweezers
May
Blogs
Brushes for Nail Art: The Complete Guide to Choosing the Right Brush for Every Design
If you’ve ever tried nail art and thought, “My hands are steady, so why do my lines still look messy?”, the answer is usually not your skill—it’s your brush. The right brushes for nail art make designs cleaner, faster, and more consistent. The wrong brushes create streaks, frayed lines, uneven petals, and frustrating cleanup.
This guide breaks down the essential nail art brush types, what each one is used for, how to pick the best brush for your style, and how to care for brushes so they keep their shape. It’s practical, creative, and focused on results—no unnecessary product pushing.
Why Nail Art Brushes Matter More Than You Think
Nail art is a “small canvas” craft. On a tiny surface, brush quality shows immediately. The right brush gives you:
- Crisp lines without wobbling edges
- Controlled product placement (no flooding cuticles)
- Smoother gradients and cleaner blends
- Less cleanup time
- Better durability because layers are applied properly
If nail art feels difficult, upgrade your brush set first. It’s usually the fastest fix.
The Core Brush Types and Their Uses
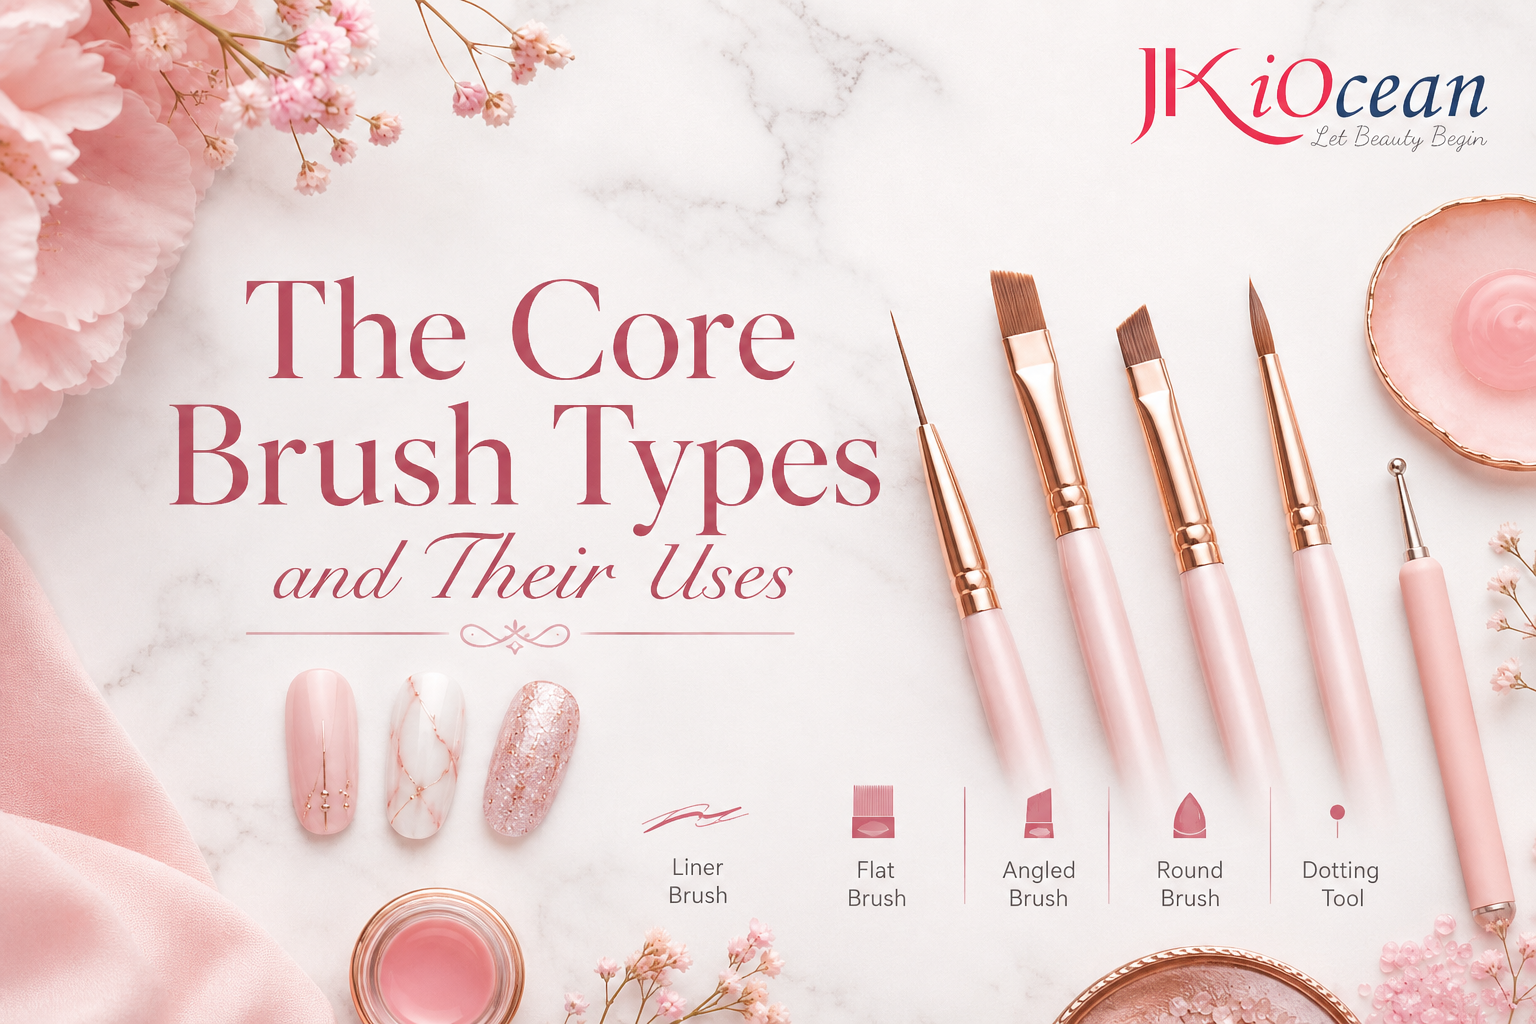
Liner Brush (Long Striper)
Used for: straight lines, French smile lines, lettering, geometric patterns.
What it does best: holds a steady line of paint or gel without breaking.
Tip: Keep your hand anchored and pull the line in one motion whenever possible.
Common mistake: Overloading the brush. Too much product causes bleeding and thick lines.
Short Liner (Detail Striper)
Used for: micro lines, tight corners, sidewall outlines, small lettering.
Why it’s different: shorter hair gives more control but holds less product, making it ideal for precision.
Pro tip: Use short liners when your long liner keeps “waving” at the end.
Flat Brush
Used for: clean color blocks, French tip stamping-style swipes, gradient blending support.
Best for: sharp edges and even coverage.
Flat brushes are also great for cleaning lines if you dip them lightly in cleanser and wipe excess.
Angled Brush
Used for: French tips, side strokes, sharp corners, leaf shapes.
Why it works: the angled edge helps create crisp shapes quickly, especially for French designs.
Pro tip: Rotate the nail, not your wrist, to keep the angle consistent.
Ombre Brush (Soft Flat / Blending Brush)
Used for: soft gradients, baby boomer fades, aura blending.
How to use: dab or lightly sweep—don’t press.
This brush is about building transitions slowly rather than forcing a blend in one pass.
Fan Brush
Used for: soft texture effects, glitter dispersing, subtle “mist” gradients.
Best for: airy looks like fairy dust or soft shimmer placement.
Fan brushes are underrated, especially for quick salon-friendly effects.
Dotting Brush (or Dotting Tool)
Dotting tools aren’t brushes, but they belong in every nail art kit.
Used for: dots, flowers, leopard print, pearl placement.
If you struggle with symmetry, dotting tools are your shortcut.
Petal Brush (Oval or Teardrop Brush)
Used for: flower petals, one-stroke floral designs, soft leaves.
What it does: creates curved shapes with one controlled press-and-lift motion.
This brush is ideal for quick salon florals that look detailed without taking 45 minutes.
Micro Detail Brush (Ultra Fine Tip)
Used for: tiny highlights, outlines, micro accents, correcting edges.
Best for: final 10% of the design that makes it look premium.
Many advanced nail sets look “expensive” because of micro detailing, not complexity.
Choosing Brushes for Nail Art by Medium
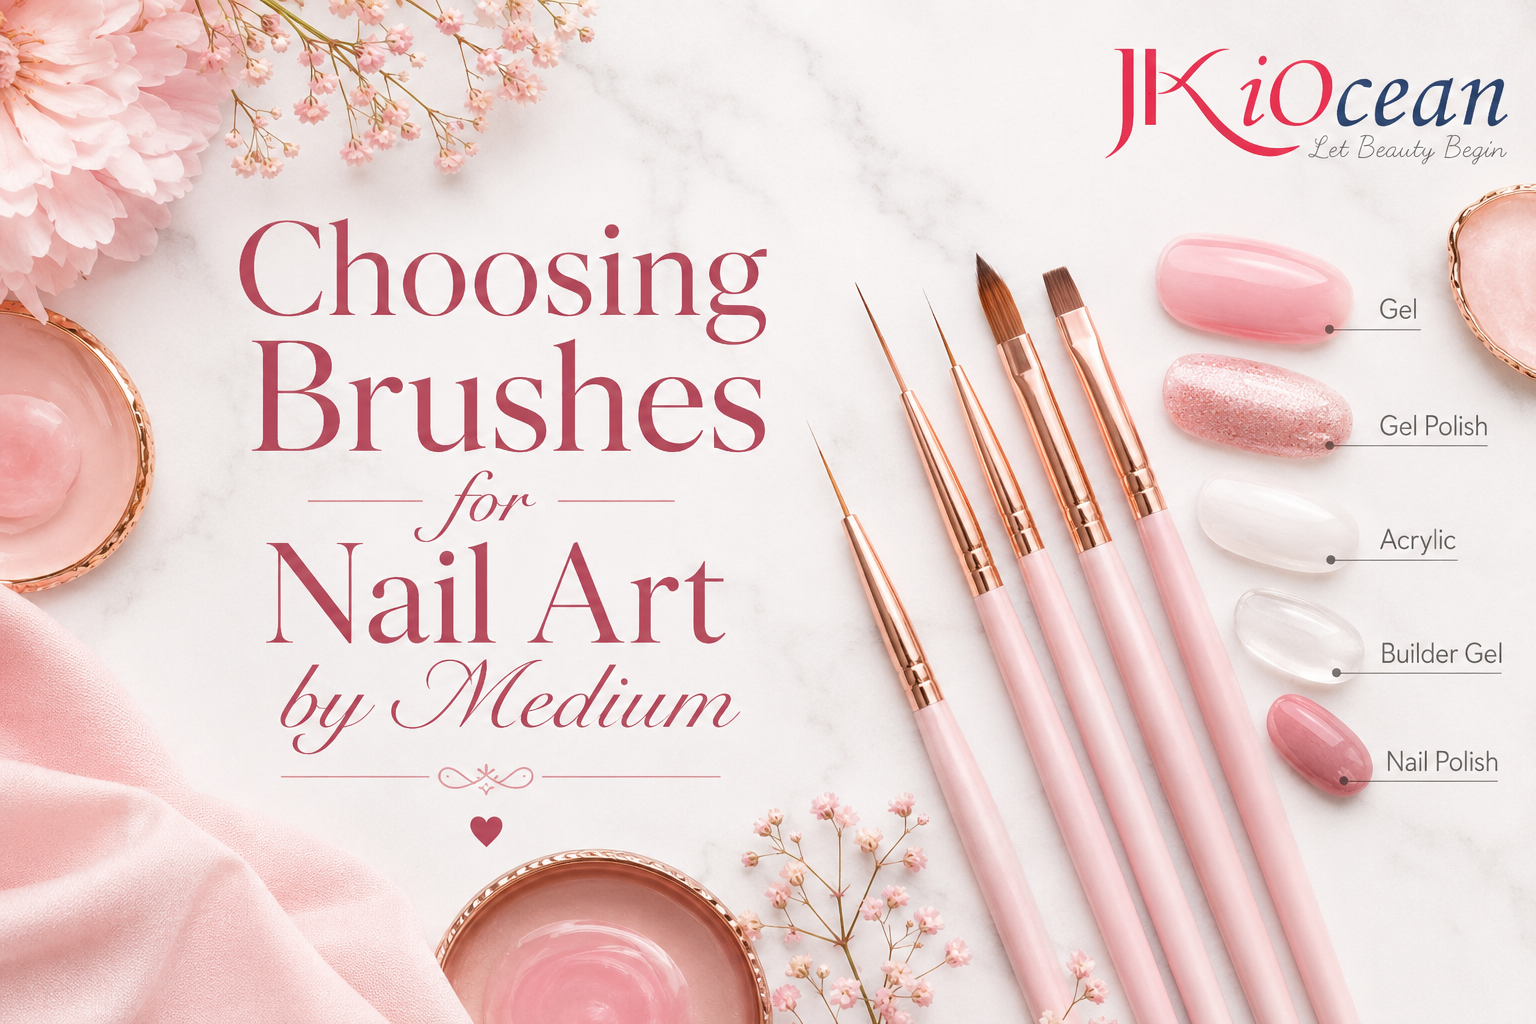
Brushes behave differently depending on what you use: gel, polish, acrylic paint, or painting gels.
For gel nail art
Choose brushes with firm synthetic bristles that hold shape. Gel can creep if brushes are too soft.
For painting gels (high pigment)
Detail brushes and liners work beautifully because the gel stays where you place it.
For polish-based nail art
Use brushes with more flexibility. Nail polish is thinner and can streak if your brush is too stiff.
For acrylic paint (rare in salons)
A softer brush may help blending, but you must seal properly with top coat.
A Beginner-Friendly Brush Set (Only 5 Brushes)
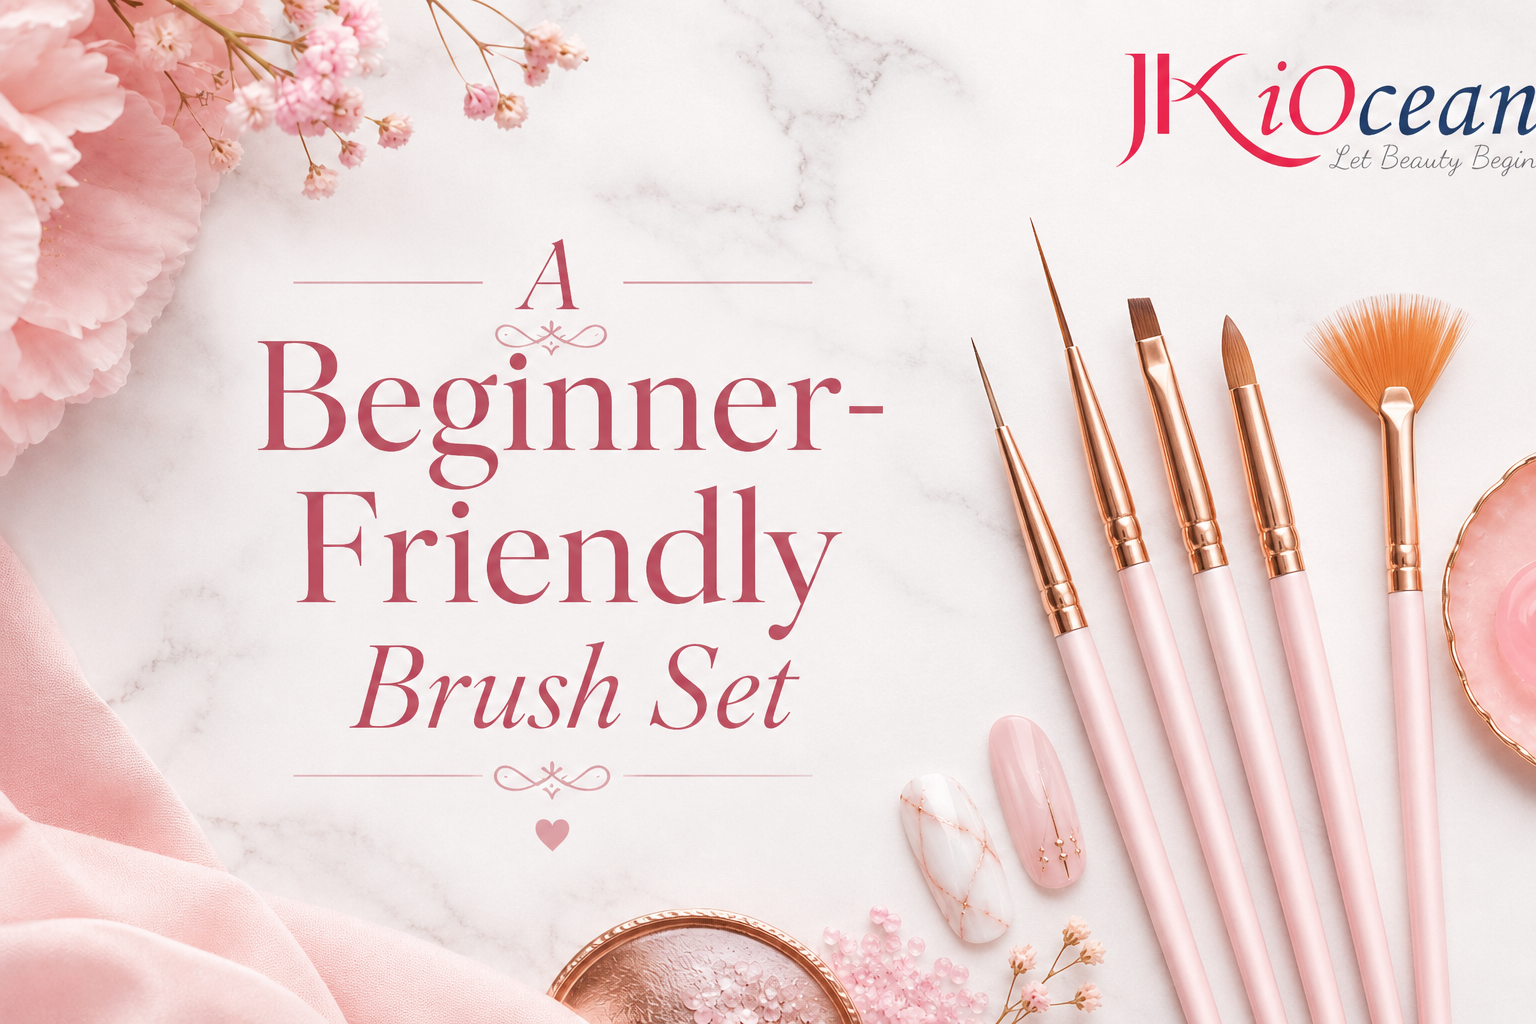
If you want a starter kit that covers most nail art:
- Long liner
- Short liner
- Angled brush
- Ombre/blending brush
- Micro detail brush
This set can handle French tips, lines, simple florals, gradients, and finishing highlights.
How to Use Nail Art Brushes Without Mess
Control product amount
Load lightly, then wipe excess on a palette. Thick globs cause bleeding.
Use thin layers
Thin layers cure better and look cleaner. If you need more opacity, add another thin pass.
Keep your hand anchored
Rest your pinky or side of your palm on the table for stability.
Work with the nail, not against it
Rotate the finger so your brush strokes always move in a comfortable direction.
Flash cure for gel art
If you’re building a detailed gel design, flash cure small sections so lines don’t shift.
Cleaning and Maintaining Nail Art Brushes
Brushes fail faster from poor cleaning than from heavy use.
For gel brushes
- Wipe with cleanser or alcohol (depending on system)
- Do not soak bristles for long periods
- Reshape and cap immediately
- Store away from UV/LED light
For polish brushes
- Use polish remover carefully
- Wipe clean and reshape
- Avoid acetone soaking, which dries bristles out
For detail brushes
- Clean frequently during art work
- Dried pigment at the tip ruins precision
Pro tip: Always store brushes capped or upright. A crushed tip means ruined lines.
Common Mistakes That Ruin Nail Art Brushes
- Leaving gel on the brush and curing under lamp light nearby
- Scrubbing bristles aggressively on wipes
- Using one brush for everything (pigment contamination)
- Storing brushes loose in a bag without a cap
- Using acetone too often on synthetic bristles
Nail Art Brush Hacks That Save Time
- Use a flat brush slightly damp with cleanser to sharpen edges
- Turn dotting into florals by dragging dots with a micro brush
- Create quick chrome outlines with a liner brush and thin metallic gel
- Use ombre brush to soften harsh lines between colors
Small techniques like these make nail sets look professional without adding extra time.
The right brushes for nail art are the difference between “I tried” and “I nailed it.” You don’t need dozens of brushes, but you do need the correct shapes for the designs you love. Start with a core set, learn how each brush behaves with your preferred product, and treat brush care as part of your artistry.
When your brushes are clean, shaped, and matched to the technique, nail art becomes smoother, faster, and far more enjoyable.