
 3D Gel
 Accessories
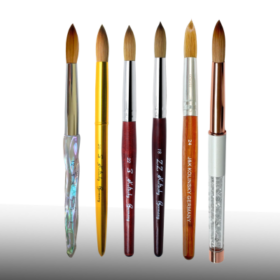 Acrylic Brushes
 Art Brushes
 Clippers
 Design
 French Brushes
 Builder Gel
 Nail Tip Cutter
 Nippers
 Pusher
 Scissors
 Tweezers
May
Blogs
Kolinsky Sable Brushes for Acrylic Nails: The Pro Guide to Better Beads, Cleaner Cuticles, and Longer Brush Life
If you’re searching kolinsky sable brushes for acrylic nails, you’re probably at a turning point in your acrylic work. Maybe your current brush keeps splaying, your beads dry too fast, or your cuticle zone isn’t as clean as you want. Kolinsky brushes are often called the gold standard for acrylic, but not everyone explains why—or how to pick the right one without wasting money.
This guide breaks down what Kolinsky sable is, what makes it different from synthetic hair, how to choose sizes and shapes, how to prep a new brush properly, and how to keep it from hardening or losing its point. No hype—just the practical knowledge that improves results.
What Are Kolinsky Sable Brushes?
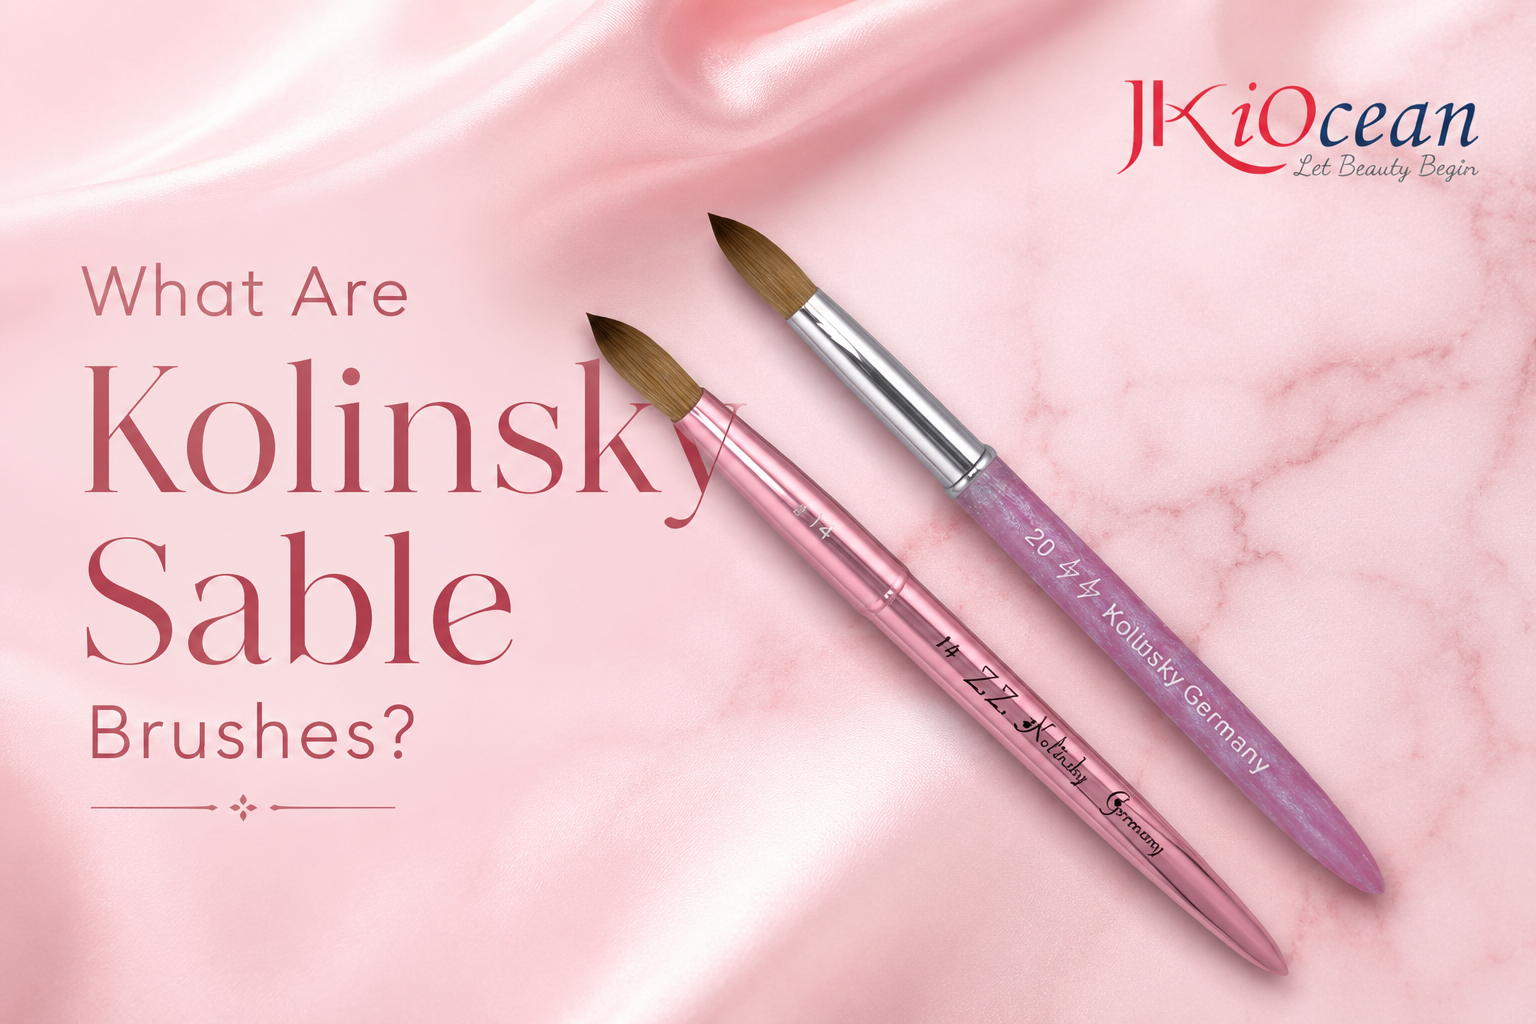
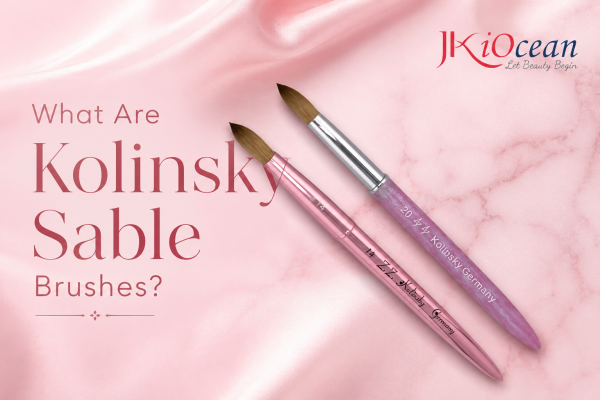
“Kolinsky sable” refers to natural hair traditionally sourced from the tail of a Siberian weasel (often called Kolinsky). In nail artistry, kolinsky sable brushes for acrylic nails are valued because the hair has a unique balance of:
- Liquid retention (holds monomer without dripping)
- Snap (returns to shape after pressing)
- Point stability (maintains a clean tip for precision)
- Belly capacity (holds enough liquid for consistent bead ratios)
Those traits make it easier to place acrylic smoothly, blend edges, and sculpt without fighting the product.
Why Kolinsky Brushes Change Acrylic Application
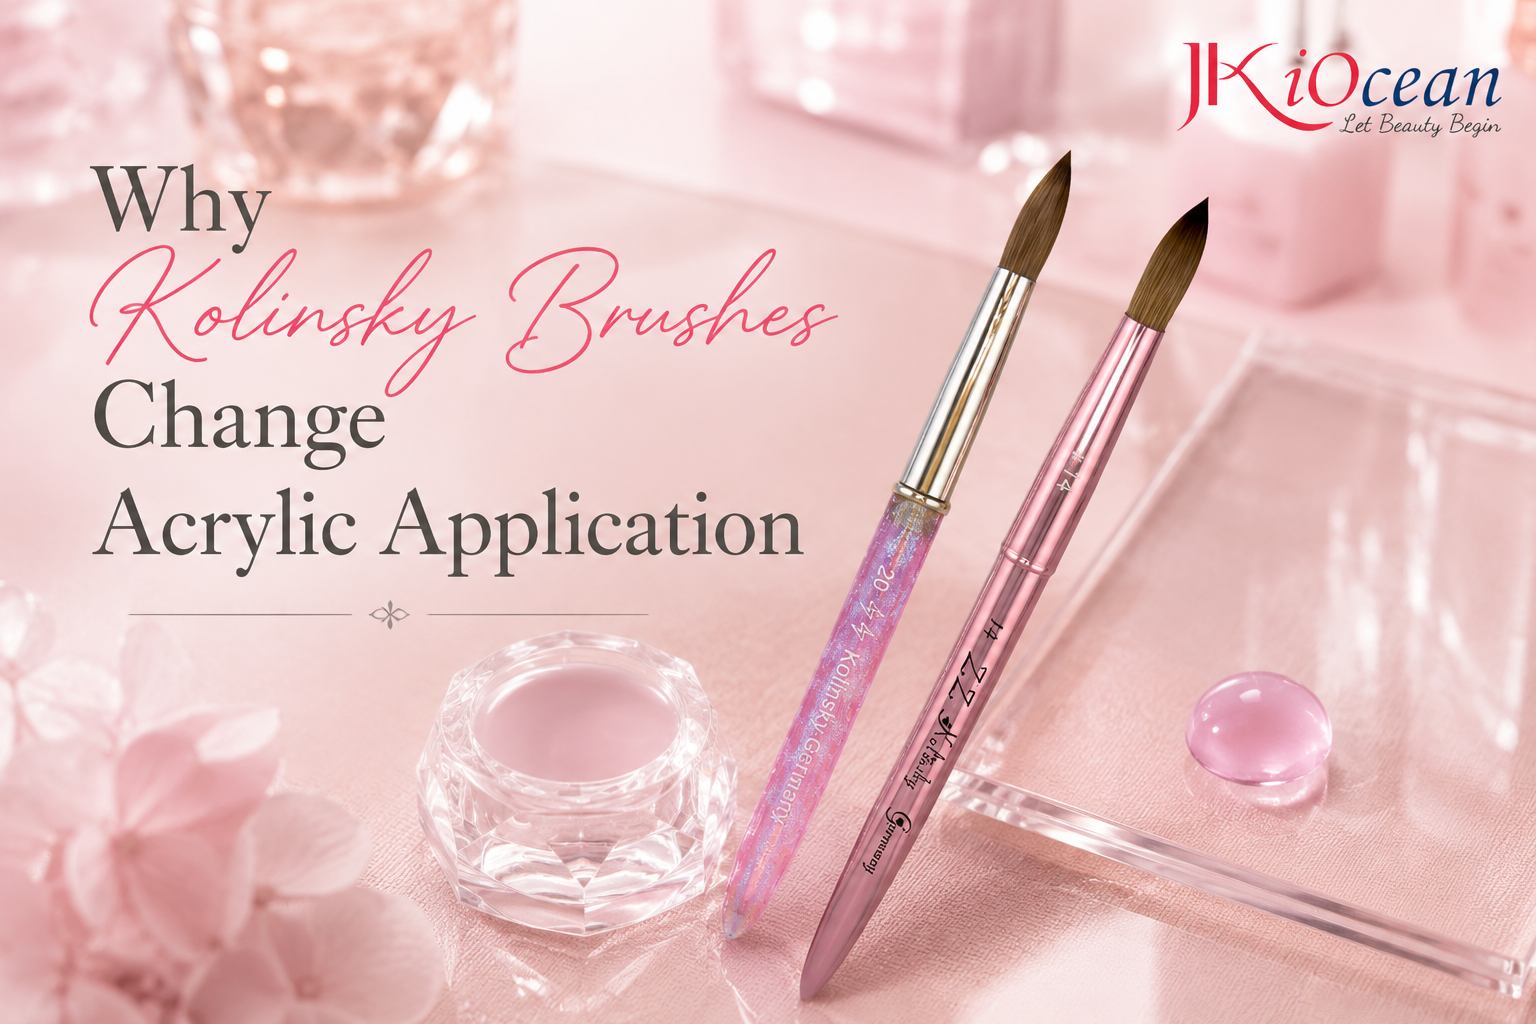
Acrylic is a timing game: monomer + powder becomes a bead that must stay workable long enough for you to place, press, and refine. Your brush controls that timing.
Better monomer control
Kolinsky hair absorbs and holds monomer more evenly, so your bead consistency improves. That means fewer chalky beads (too dry) or runny beads (too wet).
Cleaner cuticle area
Because the tip stays sharp and the bristles respond predictably, you can create a smoother, tighter cuticle blend with fewer touch-ups.
Faster, smoother sets
A stable brush reduces rework. Less filing and fewer corrections mean better speed without sacrificing quality.
Kolinsky vs. Synthetic: What’s the Real Difference?

Synthetic brushes can be fine for practice, but they often struggle with acrylic because of how they handle liquid.
Kolinsky advantages:
- Holds monomer better
- Maintains shape longer
- Creates smoother blends with fewer strokes
- Often lasts longer with correct care
Synthetic limitations:
- Can repel monomer slightly, making beads inconsistent
- Tips can curl or splay sooner
- More likely to drag acrylic rather than glide
- May require more filing to correct texture
If you’re doing acrylic regularly, the upgrade to Kolinsky often pays off in both results and time saved.
Choosing the Right Kolinsky Brush: Size, Shape, and Your Technique
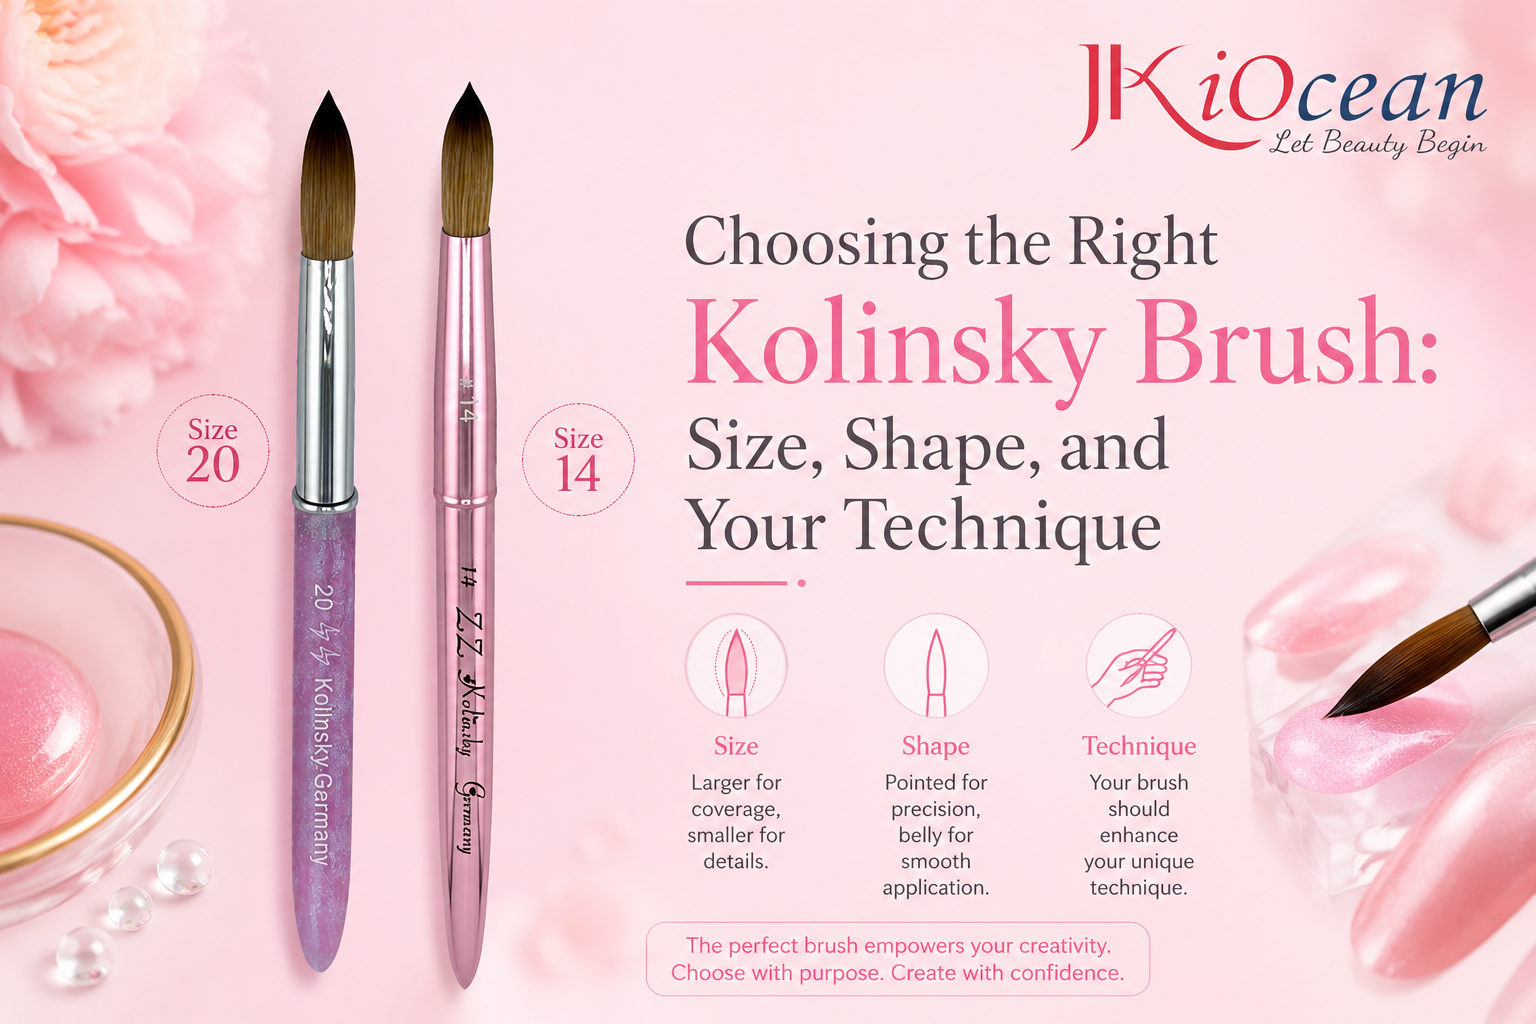
There is no “best size” for everyone. The best brush is the one that fits your bead style and speed.
Size guide (simple and realistic)
- Size 8: great control, smaller nail beds, beginners learning bead management
- Size 10: most universal size for full sets and overlays
- Size 12: popular for salon speed—covers surface faster
- Size 14+: advanced speed work and larger beads, especially for longer nails
If you can only buy one, size 10 or 12 is a smart choice for most technicians.
Shape guide
- Oval (most popular): best balance for cuticle blending and sidewall control
- Round: slightly more “pointed feel” for detail zones
- Flat: uncommon for acrylic; more used in gel or specific sculpting styles
Most acrylic techs will get the best results with an oval Kolinsky brush.
How to Tell If a Kolinsky Brush Is Actually Good
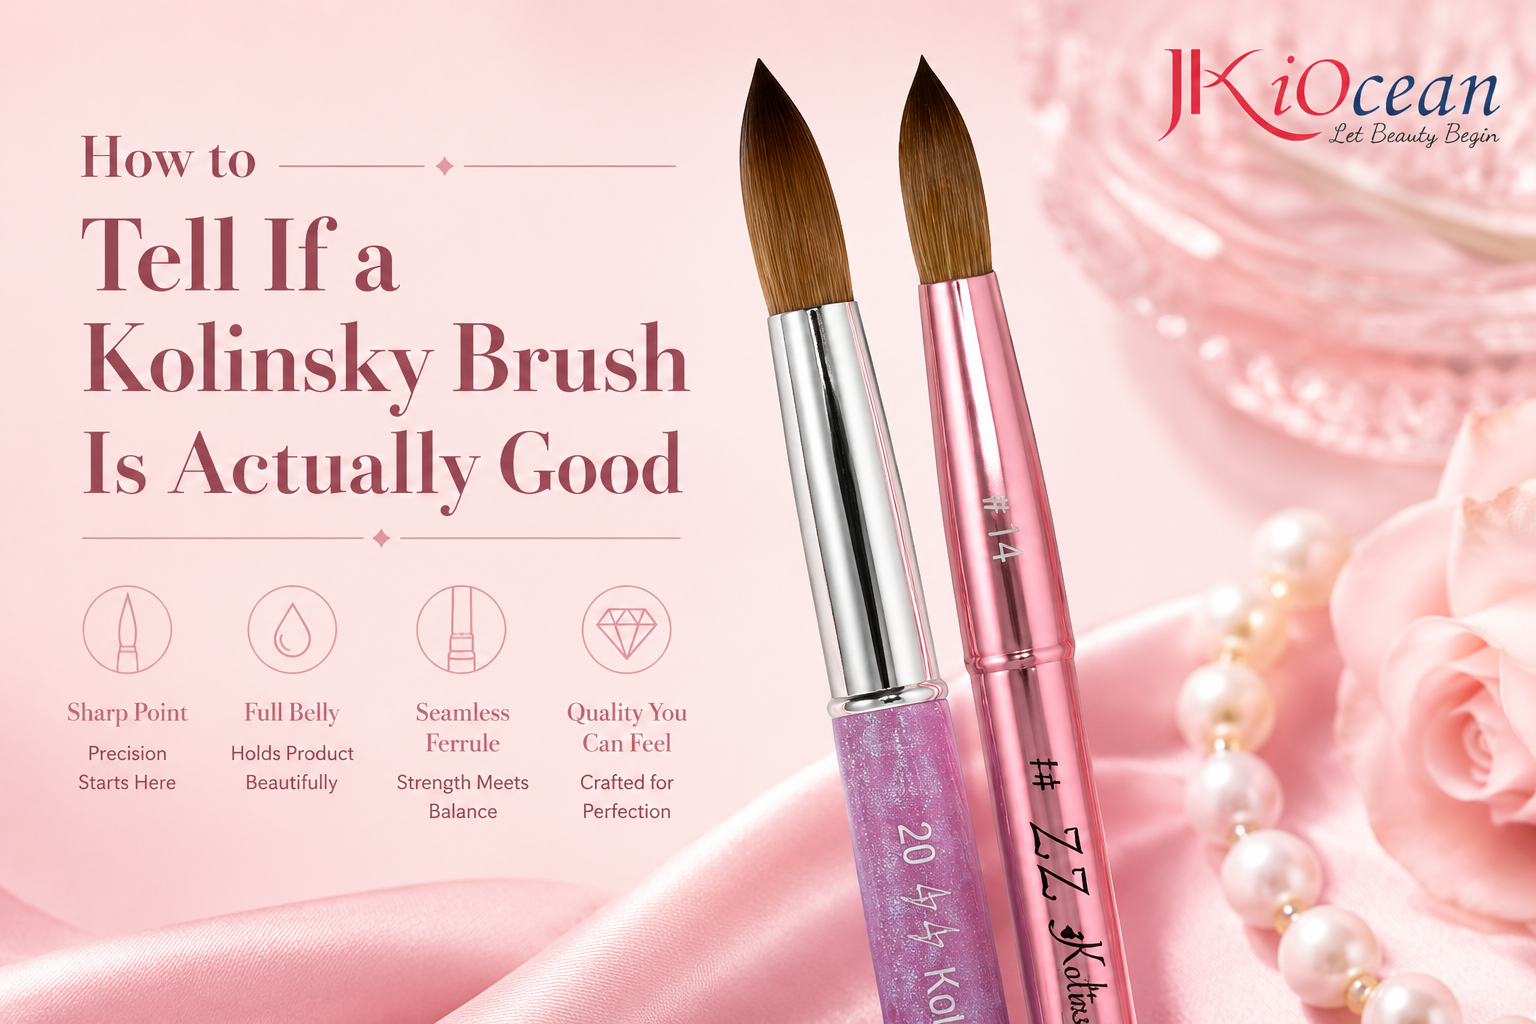
Not all “Kolinsky” labels are equal. Here are quick indicators you can use:
The point and belly
A quality brush forms a clean point and has a visible belly (the mid-section thickness). Too thin = poor liquid holding.
Shape memory
Gently press the bristles and release. A good brush snaps back to shape without permanent splaying.
Ferrule quality
The ferrule (metal part) should be tight and smooth. Loose ferrules allow monomer and acrylic to creep inside and ruin the brush.
Minimal shedding
A good brush shouldn’t shed hairs when lightly pinched. Shedding is a red flag for poor construction.
How to Prep a New Kolinsky Brush Before First Use
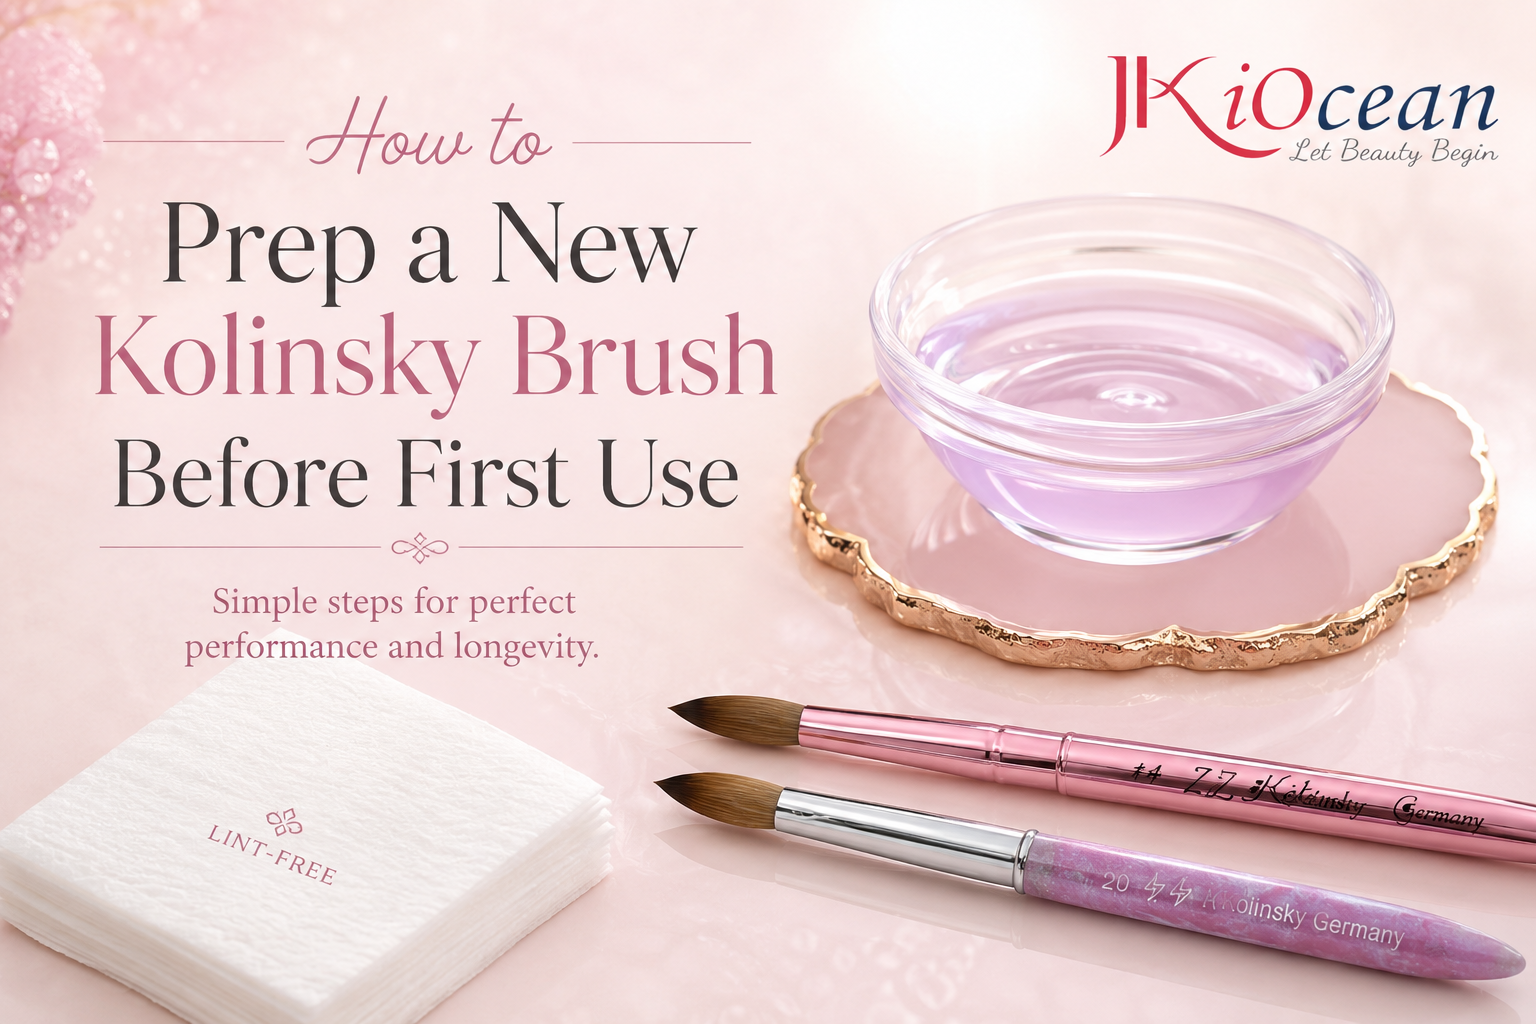
Most new brushes arrive with a protective starch or gum to keep the bristles in shape. If you skip proper prep, you can damage the hair and cause early fraying.
Correct prep steps:
- Gently roll the bristles between fingers to loosen the stiff coating.
- Dip briefly in clean monomer.
- Wipe on a lint-free pad.
- Repeat until the brush becomes flexible and forms a clean point.
Avoid: Using acetone on a new Kolinsky brush. Acetone strips natural oils and dries the hair, shortening lifespan.
How to Use Kolinsky Brushes for Better Beads (Technique Tips)
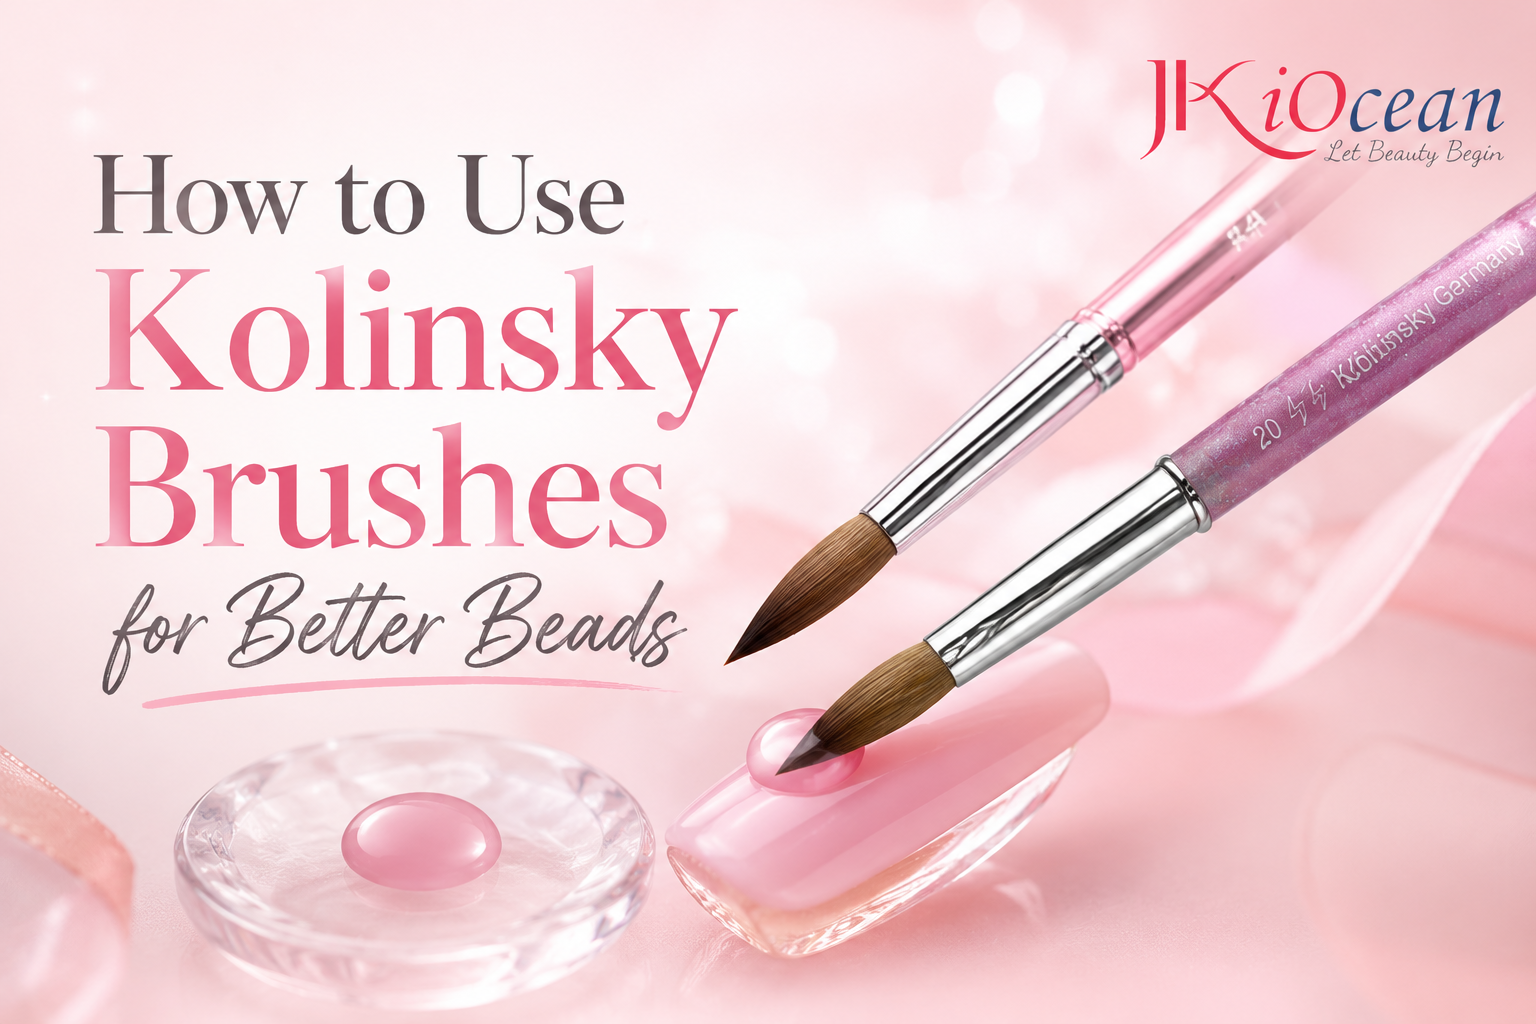
Control your ratio with the brush belly
Acrylic bead consistency is easier when you load monomer evenly. Dip, wipe lightly on the dappen edge, then pick up powder with the belly—not just the tip.
Place–press–glide instead of “stirring”
Overworking acrylic creates lumps and uneven texture. A Kolinsky brush shines when you use controlled strokes:
- Place bead
- Press to shape
- Glide to blend edges
Keep the cuticle zone thin
A crisp cuticle area comes from thin product at the rim. Use the tip to feather the edge, not pile acrylic near the skin.
How to Clean Kolinsky Brushes Without Ruining Them
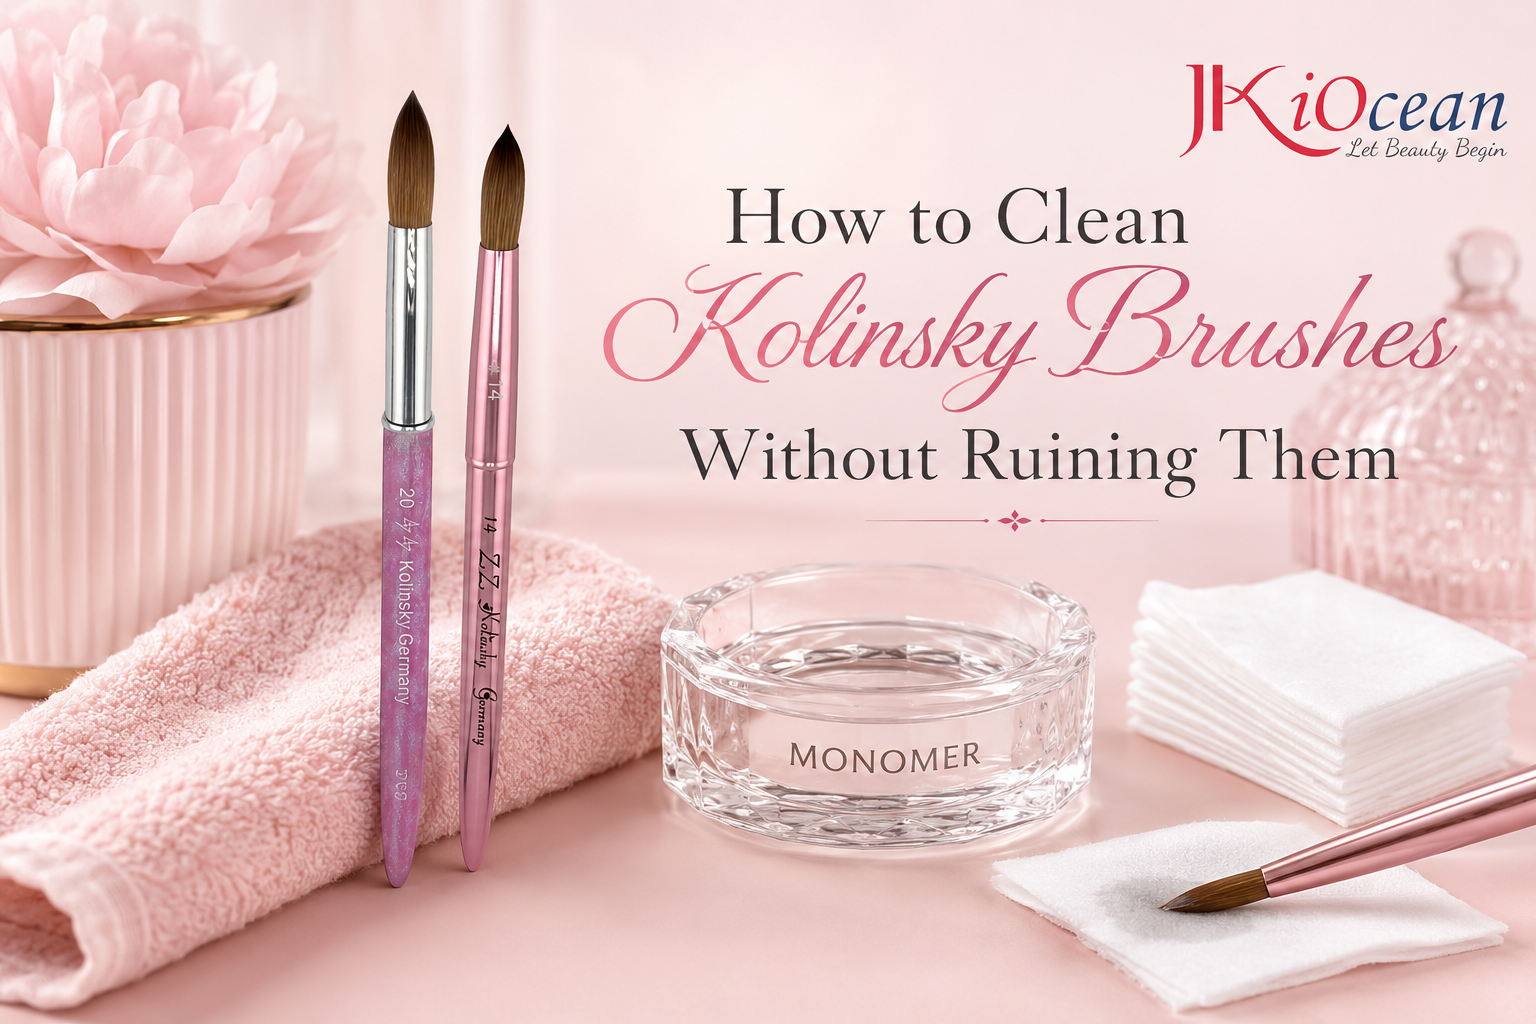
Kolinsky lasts when you clean it correctly. Most ruined brushes are caused by poor cleaning habits.
After every use:
- Wipe the brush on a lint-free pad
- Dip in monomer briefly
- Wipe again until clean
- Reshape to a point
Never do this:
- Never let acrylic dry inside bristles
- Never soak overnight in monomer
- Never use acetone as a routine cleaner
- Never crush bristles under heavy caps that bend the tip
If your brush hardens, it usually means acrylic cured inside—prevention is the real fix.
Storage: The Small Habit That Extends Brush Life
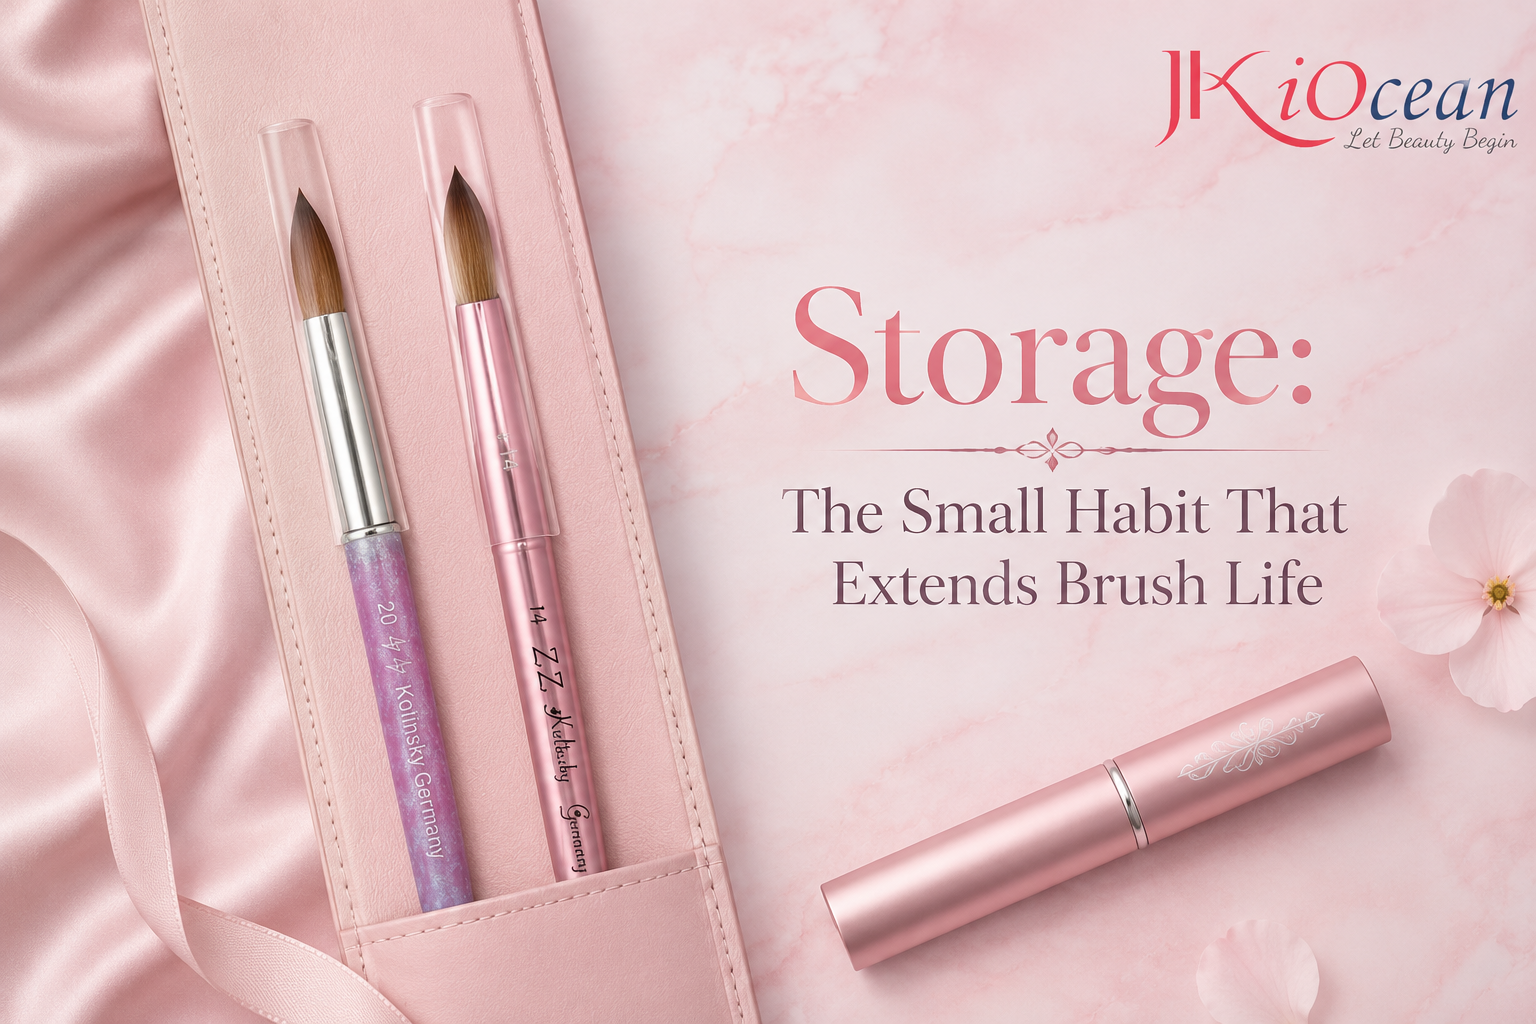
- Store brushes capped or in a protective case
- Keep away from dust and sunlight
- Lay horizontally or bristles-up; avoid bristles pressed against a surface
- Do not throw brushes loose in a drawer—tips splay quickly
A good brush can last months if stored like a precision instrument.
Troubleshooting: What Your Brush Problems Usually Mean
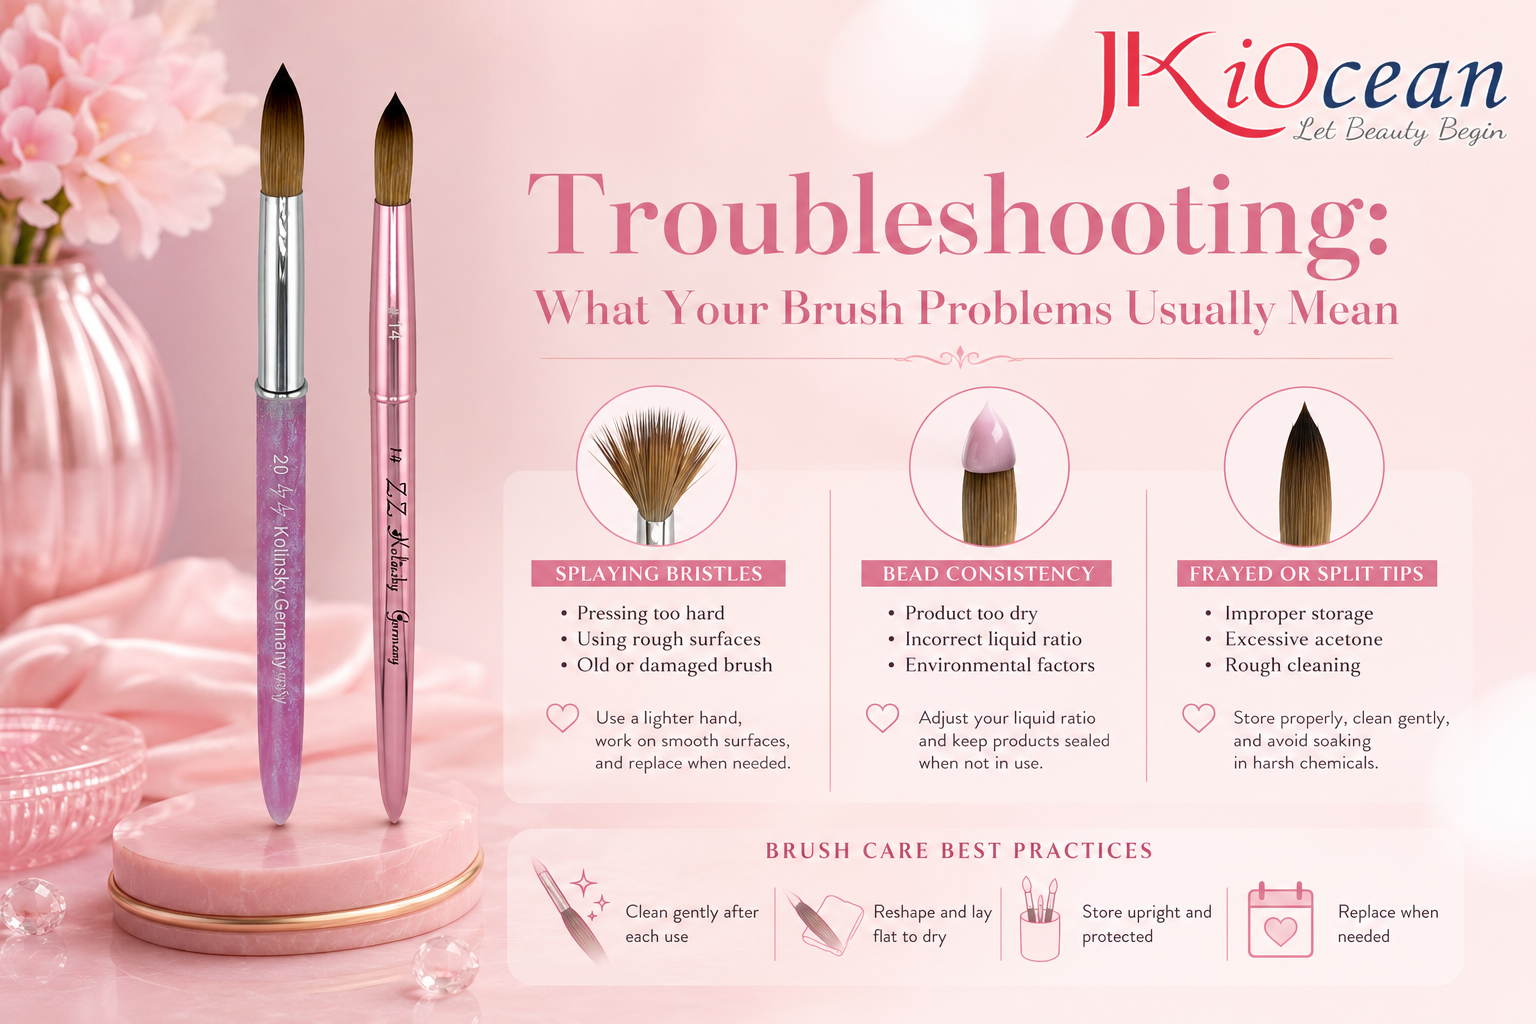
- Brush keeps splaying: dried product inside or damaged hair from acetone
- Beads dry too fast: brush not holding monomer well, or monomer evaporating in a warm room
- Dragging and streaks: brush too dry or overly wiped; load monomer more evenly
- Hard tip: product cured in tip; increase cleaning frequency during the set
Often, small changes in loading and cleaning solve the issue before you replace the brush.
Kolinsky sable brushes for acrylic nails aren’t just a “luxury.” They’re a performance tool that improves bead control, speeds up sculpting, and makes clean cuticle work easier—especially when paired with correct prep, proper loading, and safe cleaning.
If you invest in a quality Kolinsky brush, treat it like an instrument: prep it properly, clean it consistently in monomer, reshape every time, and store it protected. Do that, and you’ll get smoother sets, less filing, and a noticeably more professional finish.