
 3D Gel
 Accessories
 Acrylic Brushes
 Art Brushes
 Clippers
 Design
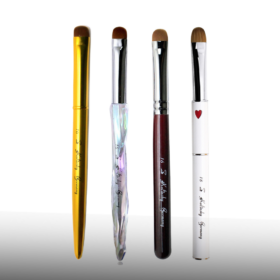 French Brushes
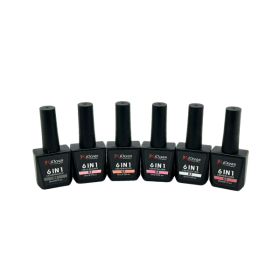 Builder Gel
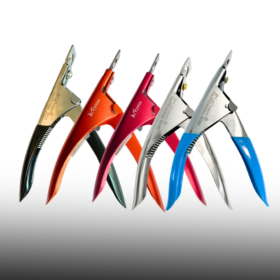 Nail Tip Cutter
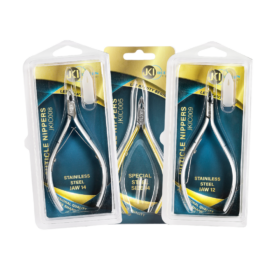 Nippers
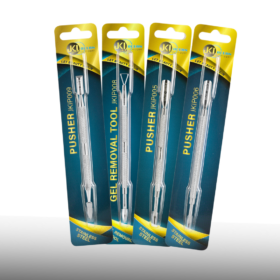 Pusher
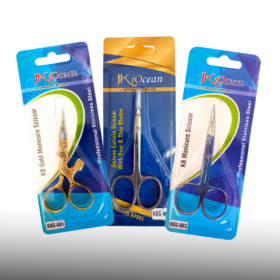 Scissors
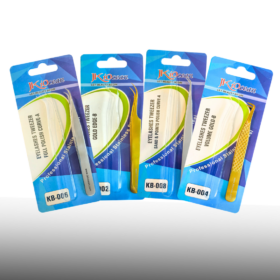 Tweezers
Jan
Blogs
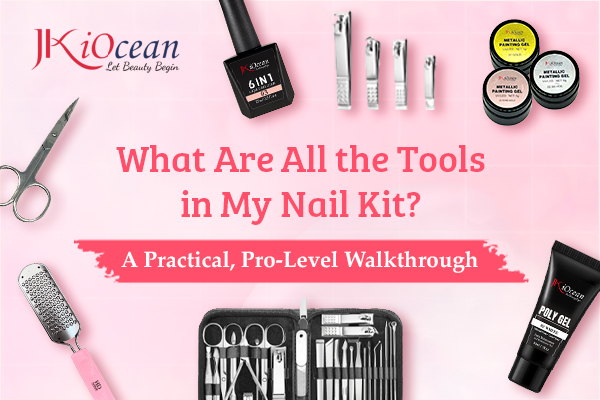
What Are All the Tools in My Nail Kit? A Practical, Pro-Level Walkthrough
If you’ve ever paused mid-manicure and wondered, “what are all the tools in my nail kit—and what are they actually for?”, this guide is your clean, no-fluff map. We’ll unpack a complete kit the way pros do: by service flow (from prep to finish), with quick “use this when…” prompts, safety notes, and tiny technique cues that prevent lifting, burning, or breakage. You’ll also get smart storage and maintenance tips so your kit stays sharp, sanitary, and ready on busy days. Let’s go with JKIOCEAN, now!
The Manicure Flow (and where each tool fits)
Think of every service in four stages:
-
Prep & Hygiene – clean hands, clean plate, clean tools
-
Shape & Tidy – length, silhouette, and cuticle care
-
Build & Color – overlays, extensions, polish/gel, art
-
Finish & Protect – surface perfecting, top coat, aftercare
Lay your tools on the table in this order. You’ll work faster and make fewer mistakes because the next tool is always exactly where your hand expects it.
Prep & Hygiene: the tools that make adhesion possible
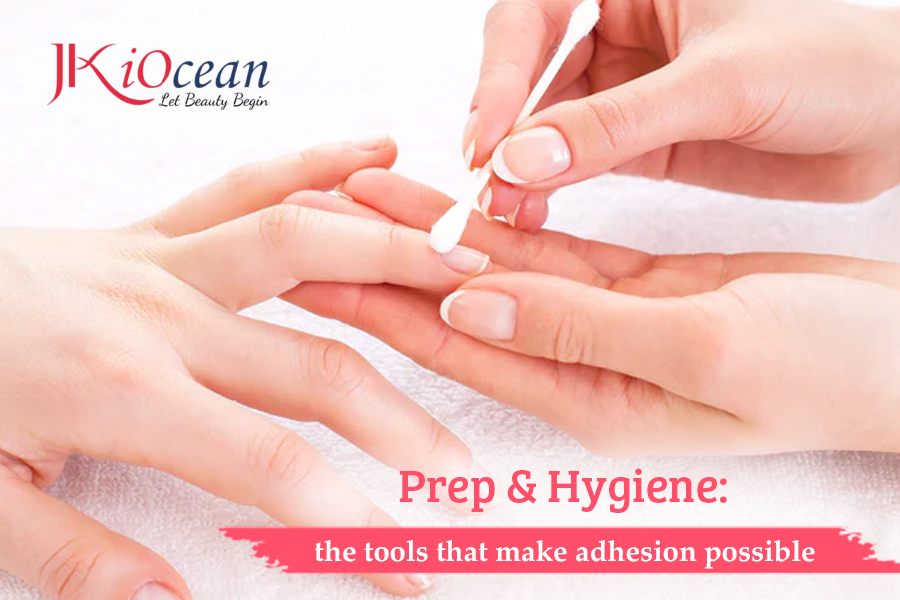
Hand sanitizer, gloves, lint-free wipes
Use when: Before you touch the nail or switch clients.
Tiny cue: Lint-free is not a luxury; lint trapped under gel becomes micro-air pockets.
Nail brush (soft bristle)
Use when: After filing and before base/primer to clear dust.
Mistake to avoid: Makeup brushes carry oils—stick to dedicated nail brushes.
Disinfectant tray + solution (or autoclave), tongs
Use when: After each service for metal tools.
Tiny cue: Wiping is not disinfecting. Immerse for the full label time; dry completely before storage.
“Clean Tools” box and “Used Tools” tray (both lidded)
Why it matters: Prevents cross-contamination when you’re busy.
Speed tip: Color-code: green = clean, red = used.
Shape & Tidy: the instruments that set length and the cuticle line
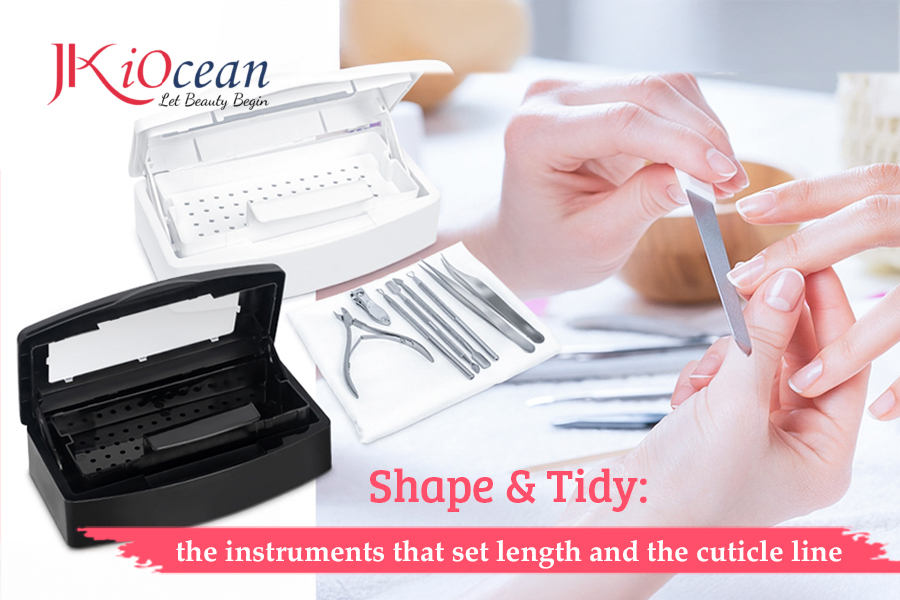
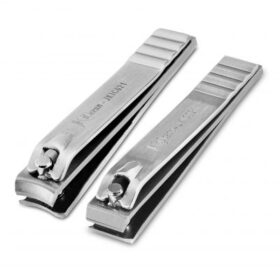
Nail clippers (finger & toe)
What they do: Fast, controlled length removal.
Technique: Clip dry nails in small, straight bites; for toes, keep edges straight to deter ingrowns.
Replace/repair when: You feel tugging—blades need sharpening or replacement.
Curved nail scissors
What they do: Micro-adjustment where clippers feel bulky.
Technique: Use just the tips for tiny snips; let files do the heavy shaping.
Nail files (grit really matters)
-
240+ grit: natural nails and edge refining
-
180 grit: refine overlays (builder/poly/acrylic)
-
100–150 grit: reduce enhancement bulk only (never on natural nails)
Technique: Long, directional strokes from sidewall to center—no aggressive “sawing.”
Buffers (180/220 sponge + optional shine block)
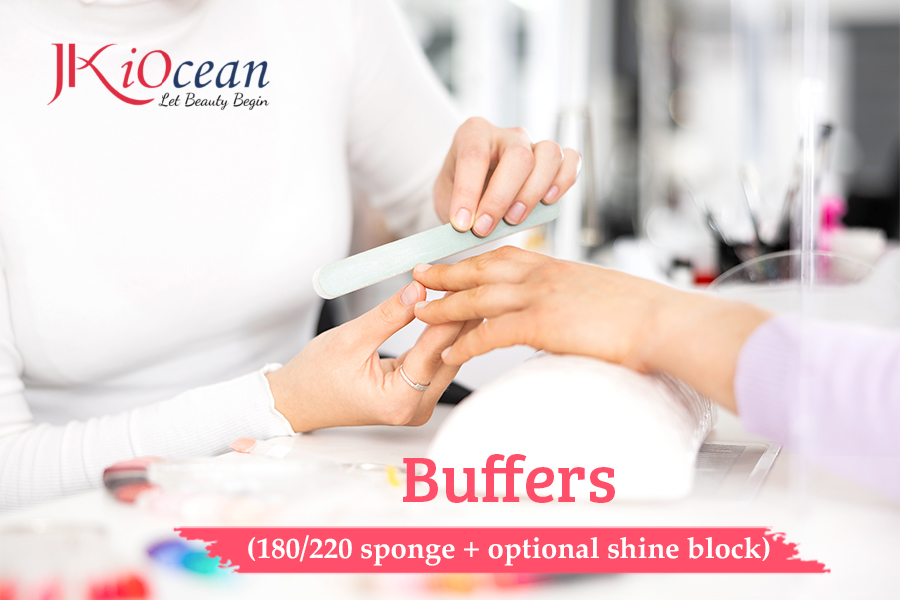
What they do: Smooth ridges, blur micro-scratches pre-top.
Don’t: Over-buff the natural plate; chalky white patches = you went too far.
Dual-end cuticle pusher (spoon + bevel)
What it does: Lifts invisible cuticle off the plate (spoon) and clears sidewalls (bevel).
Technique: Glide at 30–45°, light pressure; goal is lift, not scrape.
Curette / eponychium cleaner
What it does: Scoops residue with control in tight zones.
Cue: Tiny, shallow strokes—think “polish,” not “dig.”
Cuticle nippers (6–9 mm jaw)
What they do: Snip only lifted, non-living tissue and hangnails.
Technique: Close just enough to cut; stop at any sign of pink.
Care: Disinfect, dry, oil the joint weekly; cap tips so jaws stay aligned.
Cuticle scissors (optional)
What they do: Precision in corners nippers can’t reach.
Replace when: Blades start to “chew” instead of slice.
Build & Color: brushes, forms, lamps, and all the chemistry helpers
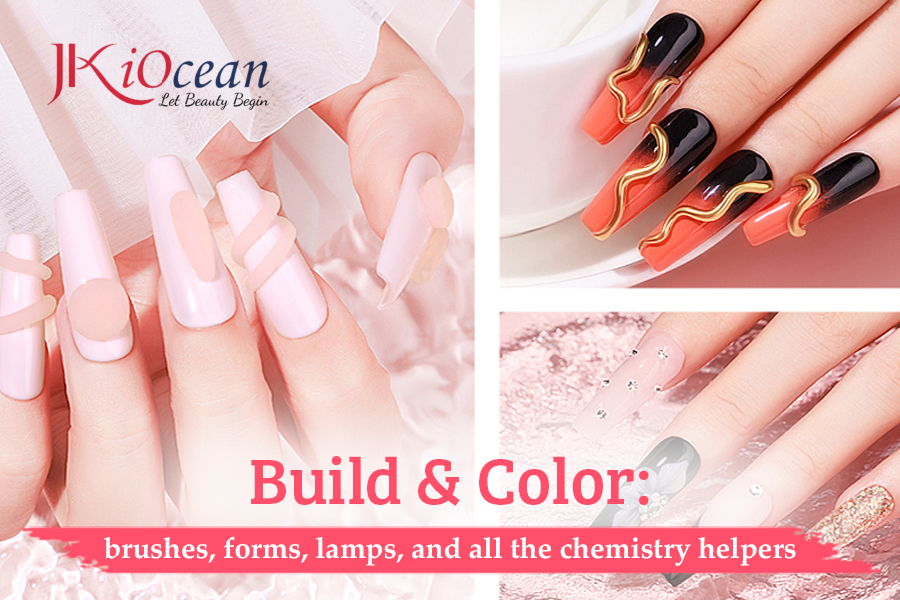
Your kit may include one or several enhancement systems. Keep the tools for each together, so you never cross-contaminate or mix cure schedules.
Gel brushes (flat/oval #4–#8)
Use for: Base, builder/hard gel, liquid builder gel, painting gels.
Technique: Float product; let it self-level. Flip the hand for 2–4 seconds to center the apex.
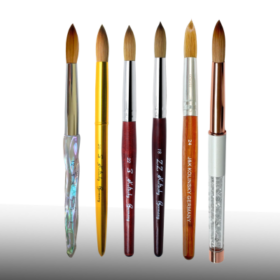
Acrylic brush (oval/round sizes 8–16)
Use for: Bead control and sculpting with monomer + powder.
Cue: Perfect bead = satin surface (not runny, not chalky). Place–press–glide.
Metal spatula / scraper
Use for: Polygel pickup and placement; stays cleaner than a brush scoop.
Forms (paper/aluminum) & plastic tips
Use for: Forms = custom shape and clean underside. Tips = speed and uniform length.
Sidekick tool: Tip cutter—shortens attached tips evenly without stress lines.
Dehydrator & primer (acid-free or acid)
Use for: Oil removal and adhesion promotion.
Cue: Brand compatibility matters; mismatched systems often lift.
UV/LED lamp (equipment, but central to the kit)
Use for: Curing gels correctly—your finish and client comfort depend on this.
Check: Wavelength range (often 365–405 nm), real wattage, even output, and the brand’s cure times. Many lifting issues are really under-cure.
Color & art tools
-
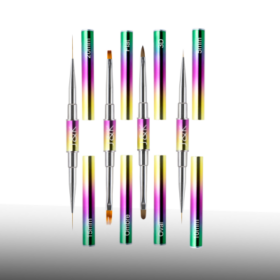
Liner brushes (short & long): micro-lines, French smiles, lettering
-
Dotting tools: florals, dots, micro-pearls
-
Silicone tools: smooth gel, sculpt gentle 3D
-
Tweezers & rhinestone picker (wax tip): decals and crystals
-
Rhinestone gel: stronger, cleaner hold than thin glues; seal around, not over the stone
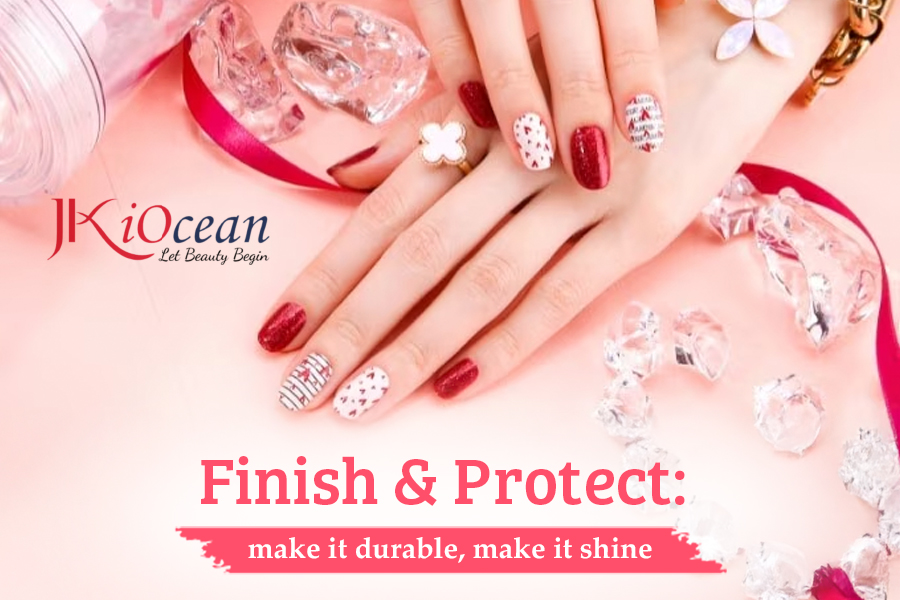
Finish & Protect: make it durable, make it shine
Surface refiners (180/240 + sponge)
Use for: Leveling tiny peaks before top coat.
Cue: The smoother the surface, the truer the gloss.
Top coats (gloss & matte; wipe or no-wipe)
Use for: Sealing color/art; capping the free edge on every layer for wear.
Troubleshoot: Chips at sidewalls = thin apex or uncapped edges.
Clean-up brush + acetone/corrector pen
Use for: Crisp margins around the cuticle; clean floods before curing.
Aftercare: cuticle oil, hand cream, pocket glass file
Use for: Flexible, hydrated skin; snag-free edges between visits.
Client script: Oil nightly, gloves for cleaning, nails are not tools.
“Use this when…” quick map (fast answers mid-service)
-
Edges keep fraying: switch to 240 grit or glass file; finish in one direction.
-
Gels lift at the cuticle: push/clean better, avoid touching skin, verify lamp cure.
-
Surface looks lumpy: thin “slip” layer first, float builder, hand-flip to center apex; refine with 180.
-
Stones pop off: use rhinestone gel, add a small reinforcement ring, cure fully; never top over the stone’s face.
-
Heat spike: layers too thick or lamp too strong; flash-cure first, build in thinner passes.
What belongs in a complete home or studio kit?

The compact essentials (natural nail + gel overlay)
-
Clippers (finger/toe), dual-end pusher, 6–9 mm nippers
-
Files: 240 and 180; buffer 180/220
-
Lint-free wipes, cleanser, base + builder gel, top (gloss/matte)
-
UV/LED lamp matched to your gel brand
-
Cuticle oil, hand cream
-
Disinfectant system + “Clean/Used” lidded boxes
The full enhancement kit (gel, polygel, acrylic + art)
-
All essentials above plus: forms and tips + tip cutter
-
Acrylic brush, monomer, clear/cover/white powders
-
Polygel tubes, spatula, slip solution, dual forms (optional)
-
Liner set, dotters, silicone tool
-
Rhinestone gel, picker, foils + transfer gel, chrome + applicator
Build modules gradually. Great tools outlast overflowing “mystery sets”—and they make services calmer.
Storage & organization that speeds you up (and keeps audits easy)
-
Zones: Clean Metals → Files/Buffers → Bits & Bands → Chemistry → Art → Sanitation/PPE.
-
Shadow board or magnetic mat: Each tool has a silhouette so it returns to the same spot.
-
Brush care: Clean, reshape, cap, and store away from the lamp (stray UV can cure bristles).
-
Moisture control: Dry tools twice (towel + air). Add silica gel packs to drawers; swap when beads change color.
-
FIFO for gels/liquids: Mark purchase month; use oldest first.
Maintenance cycles that protect clients (and your investment)
-
Per client: Used tools go straight to the Used tray—never back on the table.
-
End of day: Wash debris → immerse metal tools for full contact time → dry fully → oil nipper joints → store closed.
-
Weekly: Sharpen or service nippers if you feel tugging; deep-clean palettes and brush caps; audit drawer order.
-
Monthly: Replace dull bits/files; test lamp cure; refresh desiccants; review inventory levels for disposables.
Rule of thumb: If a tool makes you press harder, it’s dull or misaligned—sharpen or replace before it damages nail plates.
Safety notes most kits forget
-
Skin contact: Clean product floods immediately—don’t cure them on skin.
-
Ventilation: Especially on removal days or when bulk-filing acrylic.
-
Label literacy: Follow disinfectant contact times exactly; “quick dips” don’t sanitize.
-
Waste handling: Keep solvent-soaked wipes in a closed metal can until vapors dissipate.
Troubleshooting: tool swaps that fix common problems fast
-
Ragged free edge (natural nails): retire the 180; switch to 240 or glass, finish in one direction.
-
Cuticle line redness: stop cutting the eponychium; soften → push → micro-trim only lifted, white tissue.
-
“Bubbles” under gel: dust remained or you touched with oily fingers; nail brush + lint-free wipe + cleanser before base.
-
Uneven smile lines: switch to a shorter, firmer liner; flash-cure each nail before moving on.
-
Grit in top coat: you’re top-coating over dust; wipe and inspect under strong task lighting before sealing.
FAQs (snippet-friendly for search)
What are the absolute must-have tools in a nail kit?
Clippers, dual-end pusher, cuticle nippers (6–9 mm), 240 & 180 files, 180/220 buffer, lint-free wipes, a cure-correct lamp (if you use gel), and cuticle oil.
Which file grit is safest for natural nails?
240 grit (or a glass file). Coarser grits can fray and thin the free edge.
Do I need both forms and tips?
Not always. Tips are quick and uniform; forms give custom shapes and a clean underside. Choose based on your style and service menu.
Is an e-file mandatory to be “pro”?
No—but with training it speeds removal and refinement. Start with a safety smooth-top bit at low RPMs.
Why do gels lift even when my prep is careful?
Commonly under-cure or product touching skin. Verify lamp wavelength/times and keep a clean margin at the cuticle.
When you ask “what are all the tools in my nail kit,” you’re really asking how to turn a jumble of instruments into a reliable system. The answer is sequence and intent: clean the plate gently, shape with the right grit, build with control (thin to thick, cure correctly), detail in thin layers, and protect edges. Keep tools sharp, dry, and organized—and your results get glossier, stronger, and more consistent with every set.
Clean chain. Sharp edges. Verified cures. That’s the heartbeat of a pro-grade nail kit.