
 3D Gel
 Accessories
 Acrylic Brushes
 Art Brushes
 Clippers
 Design
 French Brushes
 Builder Gel
 Nail Tip Cutter
 Nippers
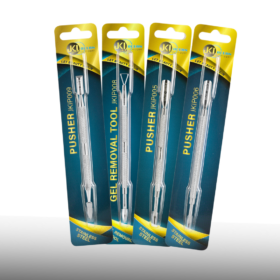 Pusher
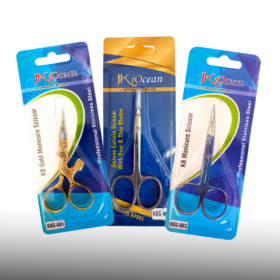 Scissors
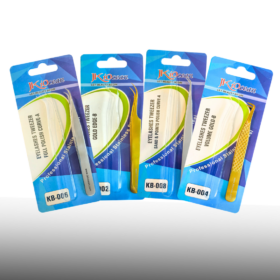 Tweezers

Jan
Blogs
Different Nail Tools and Their Uses: A Clear, Pro-Style Guide (Without the Hype)
If you’ve ever Googled “different nail tools and their uses” and got lost in a wall of product names, this guide is for you. Below you’ll find a clean, no-nonsense breakdown of the core tools—what each actually does, when to reach for it, how to avoid common mistakes, and how to care for it so it lasts. The goal: faster services, healthier nails, and finishes that hold.
A quick map before we dive in
-
Cutting & shaping tools: set length and silhouette.
-
Cuticle & plate tools: clear non-living tissue so products adhere.
-
Sculpting & building tools: create structure for gel, acrylic, or polygel.
-
Detail & art tools: lines, dots, stones, and finishes.
-
Power tools: e-file handpiece + bits for speed and consistency.
-
Hygiene helpers: keep everything clean, sharp, and audit-ready.
You don’t need every tool on earth—just the right ones, used in the right order.
Cutting & shaping tools

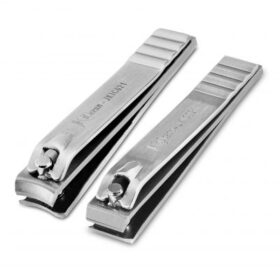
Nail clippers (finger & toe)
Use: Trim length quickly with minimal trauma.
Best practice: Clip dry nails in small, straight bites. For toenails, keep the edge straight to deter ingrowns.
Avoid: Big chunks (causes splits) or clipping soft, post-shower nails.
Care: Rinse, dry, disinfect; lock the lever to protect the edge.
Curved nail scissors
Use: Micro-refinement where clippers feel bulky; great for delicate corners.
Technique tip: Use the tips for tiny snips; let files do most shaping.
Care: Tighten pivot screw if you feel wobble; disinfect after use.
Nail files (grit matters)
Use: Shape the free edge and refine enhancements.
-
240+ grit: natural nail refinement and soft edge work.
-
180 grit: shaping builder/overlay.
-
100–150 grit: reduce enhancement bulk (never on natural plates).
Avoid: Aggressive “sawing.” Use long, directional strokes.
Care: In salons, files are single-client; at home, replace when slick.
Buffers (180/220 sponge + shine block)
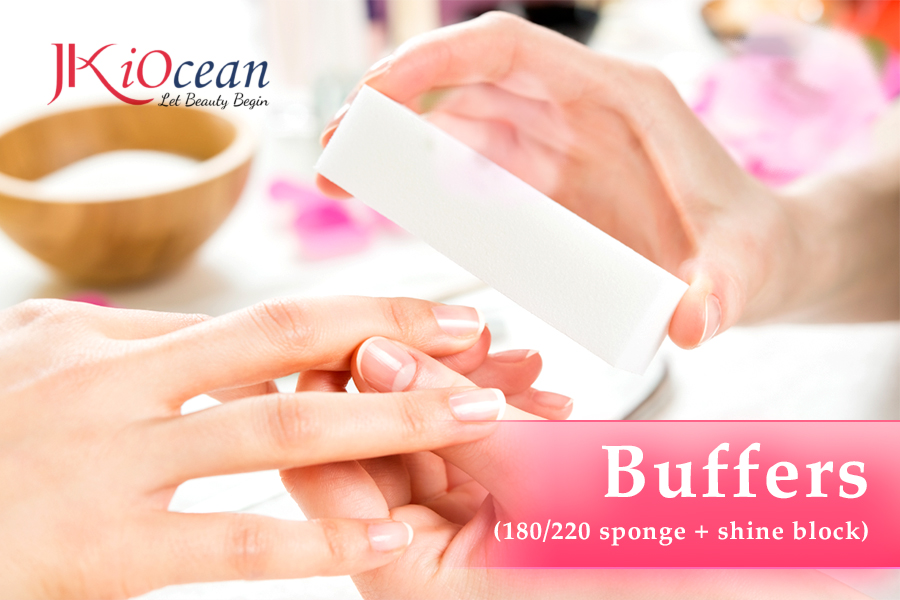
Use: Smooth ridges, blend transitions, finesse the surface pre-top.
Avoid: Over-buffing natural nails thin (white patches = you went too far).
Care: Wipe dust; replace often—clogged buffers scratch.
Glass/crystal file (optional)
Use: Gentle edge sealing on fragile nails; great for at-home maintenance.
Care: Wash with soap and water; air dry.
Cuticle & plate tools

Dual-end cuticle pusher (spoon + bevel)
Use: Lift invisible cuticle from the plate (spoon) and clear sidewalls (bevel).
Technique: Glide at 30–45°, small pressure. The goal is lift, not scrape.
Avoid: Pushing so hard you create “rings of fire.”
Care: Disinfect; check edges monthly—dull tools make you push harder.
Curette / eponychium cleaner
Use: Scoop residual cuticle in tight zones with control.
Tip: Tiny, shallow movements—think “polish,” not “dig.”
Care: Disinfect; keep the spoon edge smooth.
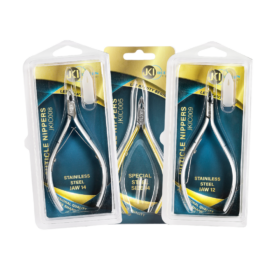
Cuticle nippers (6–9 mm jaw)
Use: Snip only lifted, non-living tissue and hangnails.
Technique: Close just enough to cut; don’t chew or yank.
Avoid: Cutting pink, living eponychium for that “glass” look—invites irritation.
Care: Disinfect, dry, oil the joint; use tip guards so jaws stay aligned.
Cuticle scissors
Use: Precision snips in corners nippers can’t reach.
Care: Keep tension smooth; if blades tug, sharpen or replace.
Nail & dust brushes
Use: Remove dust after filing; clean plate before adhesion.
Avoid: Using fluffy makeup brushes—they hold oils.
Care: Wash with soap, dry fully.
Sculpting & building tools (extensions/overlays)
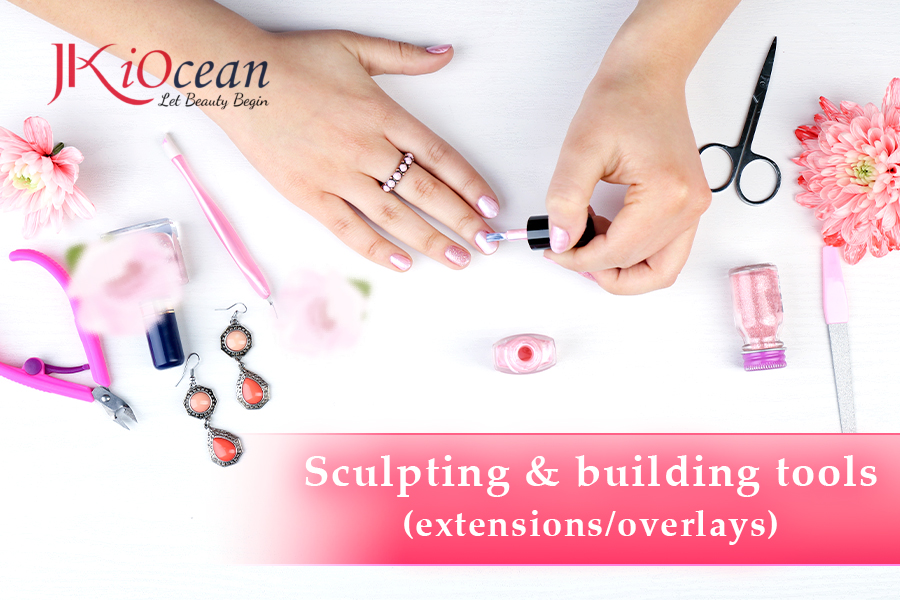
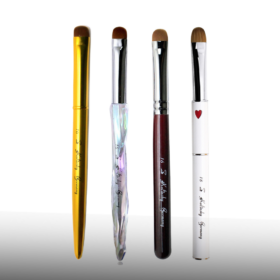
Gel brushes (flat, oval; sizes #4–#8)
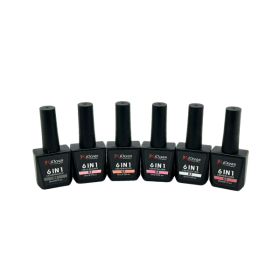
Use: Base, builder/hard gel, and color application.
Technique: Float product; let self-level, then flip the hand 2–4 seconds to center the apex.
Care: Wipe with brand cleanser; cap and store away from light.
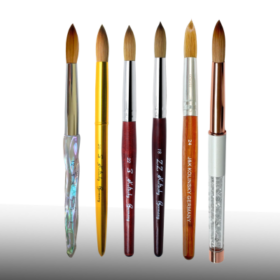
Acrylic brushes (oval/round; sizes 8–16)
Use: Bead pickup and sculpting. Larger sizes speed full sets.
Tip: Perfect bead looks satin—not runny or chalky.
Care: Rinse in monomer, wipe on absorbent pad, reshape, cap.
Metal spatula / scraper
Use: Transfer polygel hygienically; shape in dual forms.
Care: Disinfect; keep edges smooth.
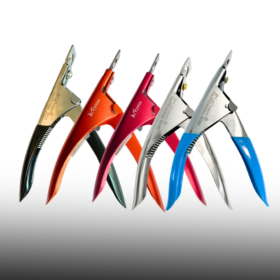
Tip cutter
Use: Evenly shorten attached tips without stress lines.
Technique: Support the tip; cut decisively to avoid micro-cracks.
Forms (paper/aluminum) & tips (assorted shapes)
Use: Forms sculpt custom length/shape; tips give uniform speed.
Pro note: Forms = cleaner underside; tips = faster symmetry.
Detail & art tools

Liner brushes (3–15 mm)
Use: French smiles, micro-lines, lettering.
Tip: Work on a firm, smooth base; flash-cure complex elements as you go.
Stripers & short detailers
Use: Geometrics, borders, metallic accents.
Care: Keep separate cups for metallics vs creams (pigment migration is real).
Dotting tools
Use: Dots, florals, micro-pearls; also useful for nudging charms into place.
Silicone tools
Use: Smooth gel without brush marks; carve gentle 3D.
Tweezers & rhinestone pickers (wax tip)
Use: Place decals, foils, crystals with precision.
Pair with: Rhinestone gel (cleaner, stronger than thin glues).
Tip: Don’t top-coat over the stone’s face—dulls sparkle. Seal around.
Power tools (speed and consistency)
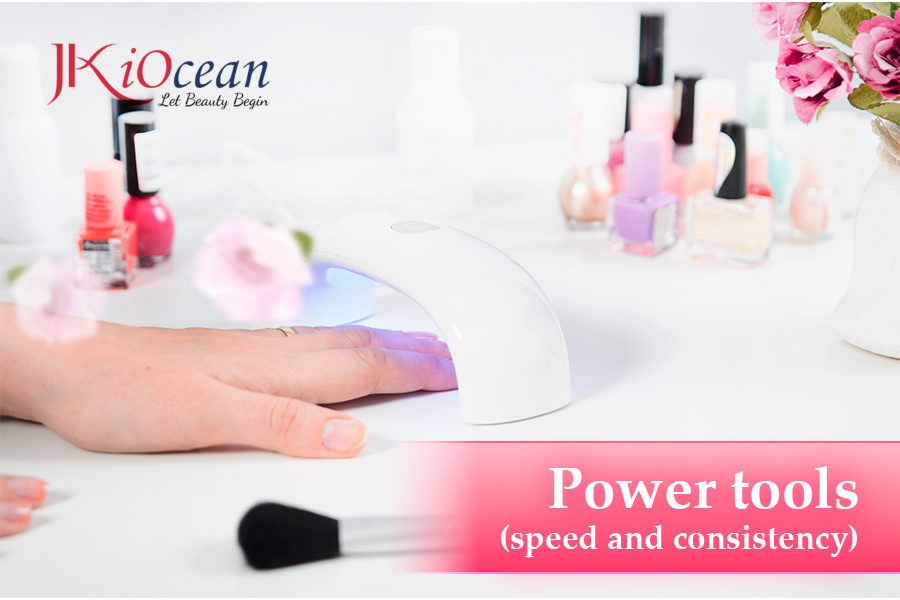
E-file handpiece + control box
Use: Prep, refinement, and removal with less fatigue.
What to look for: Low vibration, smooth RPM range, forward/reverse, comfortable weight.
E-file bits (know the shapes)
Use:
-
Safety smooth-top: perimeter/cuticle rim refining.
-
Barrel/cone: surface shaping and bulk reduction.
-
Flame/ball: detailed sidewall and cuticle work.
-
Mandrel + sanding bands (180/240): gentle prep and finishing.
Technique: Let the bit cut. Excess pressure = heat & rings of fire. Lift off before changing direction.
Care: Clean, disinfect, dry upright; replace when they heat quickly or feel dull.
UV/LED lamp (equipment, but indispensable)
Use: Cures gel systems correctly so sets last and skin stays happy.
Check: Wavelength match (commonly 365–405 nm), true wattage, even output, proper timing.
Pro reality: Many lifting issues are actually under-cure. Verify your lamp against your brand’s schedule.
Helpful non-metal “tools” you’ll use daily
-
Lint-free wipes: Cleanse plates and remove dispersion layers without fibers.
-
Palette/mixing tile: Custom shades and decanted gels.
-
Silicone mat: Easy cleanup, protects the desk and tools.
-
Orangewood sticks: Quick clean-ups and gentle nudging (disposable).
How to pick the right tool—fast (decision cues)

-
Natural nails are peeling? Use 240 grit, glass file for sealing; stop over-buffing.
-
Products keep lifting at the cuticle? Improve pusher/curette work; switch to a safety bit for gentle rim refining.
-
Surface looks lumpy? Float builder with a thinner slip layer; flip the hand; refine with 180 grit or a medium barrel bit.
-
Art keeps bleeding? Use a firmer liner, flash-cure lines, and work over a no-wipe base.
-
Stones pop off? Use rhinestone gel + reinforcement ring; cure fully; don’t top over the stone.
Common mistakes (and what to use instead)
-
Mistake: Filing natural nails with 100/150 grit.
Use: 240+ or a glass file; finish in one direction. -
Mistake: Cutting living eponychium for a “baby-smooth” cuticle.
Use: Soften → push → trim only lifted white tissue with sharp nippers. -
Mistake: Flooding the cuticle area with gel.
Use: Smaller brush load; keep a dry margin; clean floods immediately with a detail brush. -
Mistake: Over-pressuring the e-file.
Use: Correct bit shape + light touch; let RPMs, not force, do the work. -
Mistake: Blaming products for chipping when the lamp is weak.
Use: Lamp with verified output; cure by the book.
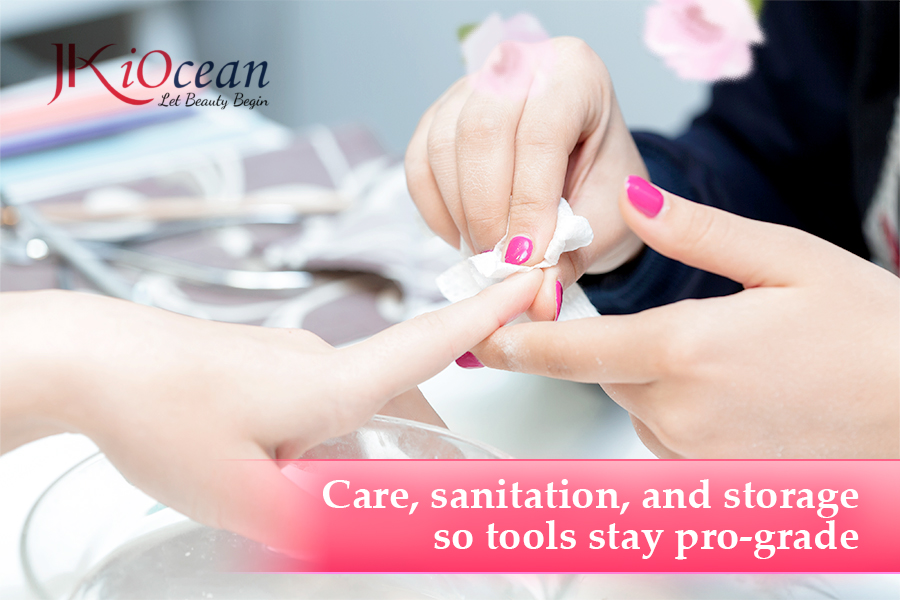
Care, sanitation, and storage—so tools stay pro-grade
-
After each service: Place used tools in a “Used” tray (not back on the table).
-
Clean chain: Wash debris → immerse in EPA-registered disinfectant for full contact time → rinse (if required) → dry fully → oil nipper joints lightly → store closed.
-
Edge protection: Silicone caps for nippers; foam slots or elastic loops in drawers so jaws don’t collide.
-
Brush life: Acrylic—rinse in monomer and cap. Gel—wipe with cleanser, reshape, store away from lamp light.
-
Humidity control: Silica gel packs in drawers; swap when color changes.
Quick kits you can assemble by service type

-
Natural manicure kit: clippers, dual-end pusher, 6–9 mm nippers, 240 file, 180/220 buffer, dust brush, lint-free wipes, cuticle oil.
-
Gel overlay kit: pusher, safety bit, 240 & 180 files, gel brush, base + builder gel, lamp, cleanser, top coat, liner brush.
-
Acrylic sculpt kit: pusher, nippers, acrylic brush (size 8–12), forms or tips + cutter, monomer/powders, 180 & 100 files, barrel bit, dust extraction.
-
Art add-on kit: liners (short & long), dotters, silicone tool, rhinestone gel, picker, foils + transfer gel, chrome + applicator.
Build slowly. Great tools outlast cheap sets and make every step calmer.
Learning different nail tools and their uses is less about buying more and more about sequence and control. Clean the plate without trauma. Shape with the right grit. Build with floating, not forcing. Detail in thin layers and flash-cure as needed. Cure correctly, every time. Keep tools sharp, clean, and protected—and they’ll return the favor with reliable results and happy clients.
Strong sanitation. Sharp edges. Verified cures. That’s professional nail work, distilled.