
 3D Gel
 Accessories
 Acrylic Brushes
 Art Brushes
 Clippers
 Design
 French Brushes
 Builder Gel
 Nail Tip Cutter
 Nippers
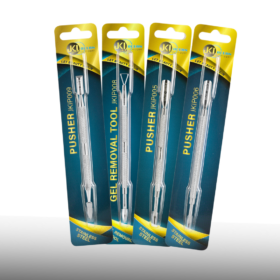 Pusher
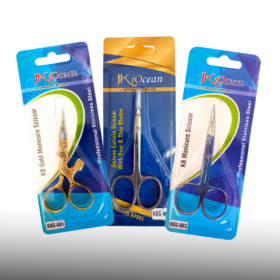 Scissors
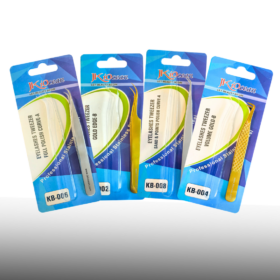 Tweezers
Apr
Blogs
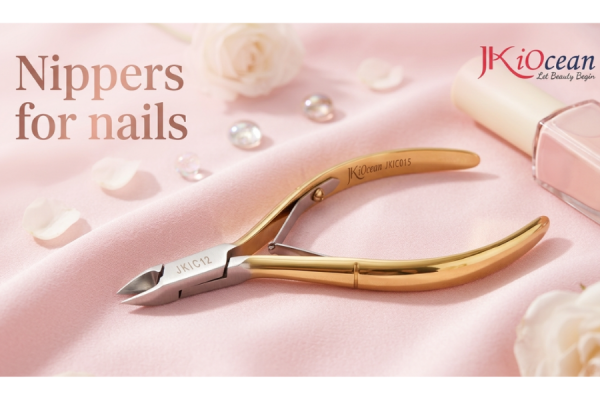
Nippers for Nails: The Complete, Practical Guide to Clean Cuticles, Safer Trimming, and Pro Results
If you’re searching for nippers for nails, you’re probably after one thing: a cleaner, more professional finish without tugging skin or creating sore cuticle lines. Nail nippers (often called cuticle nippers) are small tools with a big impact. Used correctly, they remove only the dead, lifted tissue that ruins a manicure. Used incorrectly, they can cause irritation, bleeding, and fast regrowth.
This guide gives you the full picture, what nail nippers are for, how to choose the right jaw and spring style, exactly how to use them step-by-step, how to sanitize and maintain them, and how to avoid the most common mistakes. It’s built to help both salon professionals and careful at-home users get consistently clean results.
What Are Nippers for Nails, Exactly?

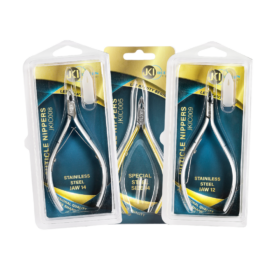
Nippers for nails are precision cutting tools designed to trim non-living cuticle tissue, hangnails, and small dead skin around the nail plate. They are not meant to cut the nail itself (that’s for clippers) and they shouldn’t be used on thick, hard material like acrylic tips or plastic. The cutting jaws meet at a sharp point, allowing controlled micro-snips near the cuticle line.
You’ll see nail nippers used in:
- Manicures and pedicures (natural nail services)
- Gel prep (improving adhesion by removing lifted cuticle)
- Professional nail extensions (clean cuticle zone for smooth overlays)
- Quick hangnail fixes (prevents tearing and infection)
Why Nail Nippers Matter More Than People Think
A lot of nail problems aren’t product problems, they’re prep problems. Even the best gel or polish can lift early if dead skin remains on the nail plate. Nippers help you remove what a pusher lifts, creating a clean perimeter that improves both appearance and wear.
A good nipper routine helps:
- Achieve a neat, “fresh manicure” cuticle line
- Reduce snagging and tearing from hangnails
- Improve gel/polish adhesion by removing lifted residue
- Keep the cuticle area smooth, not bulky or ragged
- Reduce the risk of small skin tears that can become infected
Nippers vs. Clippers vs. Scissors: What’s the Difference?

- Clippers: for cutting nail length (free edge).
- Nippers: for trimming dead skin/cuticle tissue.
- Scissors: for tiny precision trims in corners or delicate areas.
If you’re buying one skin-trimming tool, nippers are usually the most versatile, because they’re designed to work close to the cuticle line safely (when used correctly).
How to Choose the Right Nippers for Nails (A Real Buyer’s Checklist)
Not all nippers perform the same. Here’s what matters.
Jaw Length (the “bite”)
Jaw length is one of the biggest factors in control.
- 3–5 mm: ultra-precise, detail work, beginners who want maximum control
- 6–9 mm: the professional sweet spot for most manicure services
- 10 mm+ (long jaw): faster trimming but higher risk if you’re not careful
If you’re unsure: 6–9 mm is the safest all-around range.
Jaw Tip Shape and Alignment
High-quality nippers have tips that meet perfectly, with no gap.
What to check: Close the nippers under a bright light, if you see a gap at the tip, it may pinch or tear rather than slice cleanly.
Spring Type (Single vs. Double)
- Single spring: lighter feel, common in many professional sets.
- Double spring: smoother opening/closing, can reduce fatigue during long shifts.
- Barrel spring: firm and stable; some pros love the resistance.
If you do many clients per day, a smoother spring helps reduce hand strain.
Handle Shape and Grip
Look for:
- Non-slip texture
- Comfortable width (not too narrow for long use)
- Balanced weight (heavy tools can fatigue; too light can feel unstable)
Material Quality
A solid nipper should be:
- Stainless steel (rust-resistant, disinfectant-friendly)
- Precisely machined (no rough seams)
High-quality steel also holds an edge longer, meaning less tugging and fewer replacements.
How to Use Nippers for Nails Safely (Step-by-Step)

This is the part that makes or breaks your results. The most important rule is simple:
Nippers are for dead, lifted skin only.
Step 1: Prepare the cuticle area
You can do this two ways:
- Soften: warm soak for 2–3 minutes (don’t over-soak)
- Cuticle remover: apply briefly, then wipe clean
Dry the nail well before trimming.
Step 2: Push back and lift residue first
Use a cuticle pusher to gently lift the cuticle from the plate. This reveals what should be trimmed—usually thin, white lifted tissue.
Step 3: Make micro-snips, not long cuts
Hold the nippers steady and:
- Cut tiny sections at a time
- Let the jaw close fully to slice cleanly
- Keep your hand stable; move the nippers, not the finger
Step 4: Never pull hangnails
If a hangnail is attached, pulling tears skin and creates a bigger wound. Nippers should slice it off cleanly at the base.
Step 5: Stop at the first sign of pink
If tissue looks pink, wet, or sensitive, stop. That’s living skin. Cutting deeper causes soreness, inflammation, and faster regrowth.
The “Clean Cuticle” Look Without Over-Trimming
Many people chase a super-tight, “glass cuticle” look and end up over-cutting. A better method is:
- Lift gently with a pusher
- Trim only lifted, non-living tissue
- Finish with cuticle oil and massage
This creates a polished look without damaging the protective seal around the nail.
Common Mistakes (and How to Fix Them)
Mistake 1: Cutting living eponychium
Result: redness, pain, swelling, sometimes infection.
Fix: trim less; lift first; focus on dead tissue only.
Mistake 2: Using dull nippers
Result: tugging, tearing, jagged edges.
Fix: sharpen or replace; don’t force it.
Mistake 3: Using nippers to cut nails or tips
Result: chipped blades, misalignment.
Fix: use clippers for nails; tip cutters for tips.
Mistake 4: Trimming when skin is too soft
After a long soak, skin can tear easily.
Fix: soak briefly, then dry well before trimming.
How to Sanitize Nail Nippers Properly
Hygiene is essential because nippers contact skin and can create micro-cuts.
Best practice flow:
- Wash off visible debris
- Disinfect in an appropriate solution for the full label contact time
- Rinse if required
- Dry completely (moisture causes rust)
- Store in a closed, clean container
If you’re running a salon, always follow your local sanitation standards.
How to Maintain Nippers (So They Stay Sharp)
A good nipper can last a long time if you treat it like precision equipment.
- Dry fully before storage
- Oil the joint weekly (one drop, wipe excess)
- Use a tip guard so the jaw doesn’t bang into other tools
- Don’t drop it, alignment can be damaged instantly
- Sharpen professionally when you feel tugging
Signs your nippers need service:
- You feel pulling instead of slicing
- You see jagged cut edges
- The tips don’t meet perfectly
- The spring feels stiff or uneven
Nail Nippers for Beginners: A Smart Learning Plan
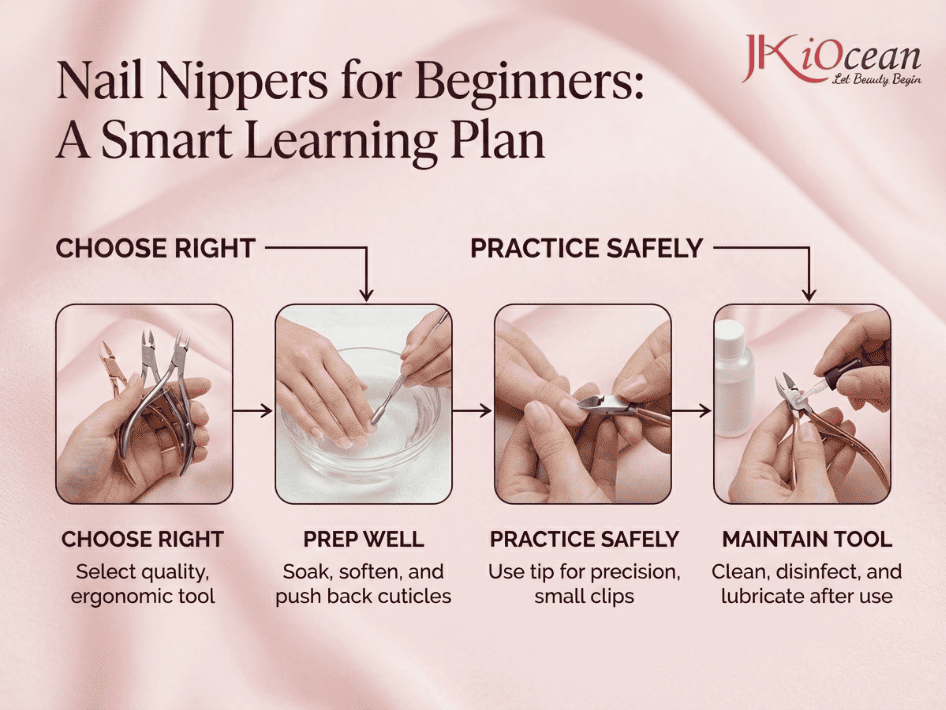
If you’re new to using nippers, start simple:
- Practice on your own nails only (not clients)
- Work in bright lighting
- Trim only hangnails and clearly lifted cuticle
- Use shorter jaw length for better control
- Finish with oil every time to calm the skin
Within a few sessions, you’ll develop control and confidence.
Toenails: Are Nippers for Nails Used on Feet?
Yes, but carefully. Toenail cuticle areas can be thicker and more sensitive. The same rule applies: dead tissue only. For thick toenails themselves, use toenail clippers or nail nippers designed for nail cutting, that’s a different tool from cuticle nippers.
Pro-Level Tips for Smoother, Cleaner Results
- Work under strong light so you can see what’s lifted
- Use your non-dominant thumb to stabilize the fingertip
- Rotate the finger rather than twisting your wrist
- Trim less than you think you need, finish with oil and let the skin settle
- For clients with dry cuticles, recommend daily oil to reduce hangnails
Choosing the right nippers for nails and learning how to use them properly is one of the biggest upgrades you can make to your nail care routine. The payoff is immediate: cleaner cuticles, fewer snags, better adhesion for gel and polish, and a more professional finish overall.
Remember the key principles:
- Lift first, trim second
- Dead tissue only
- Micro-snips, not long cuts
- Clean and dry tools every time
- Oil after trimming to keep skin healthy
Master those, and your nail prep will look, and feel like it came from a high-end salon.