
 3D Gel
 Accessories
 Acrylic Brushes
 Art Brushes
 Clippers
 Design
 French Brushes
 Builder Gel
 Nail Tip Cutter
 Nippers
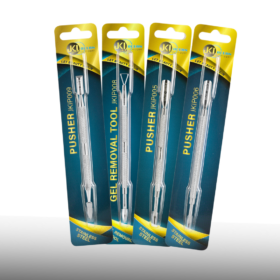 Pusher
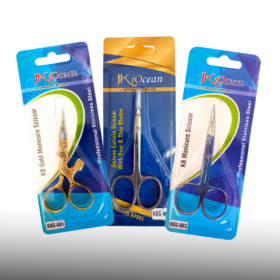 Scissors
 Tweezers
Apr
Blogs
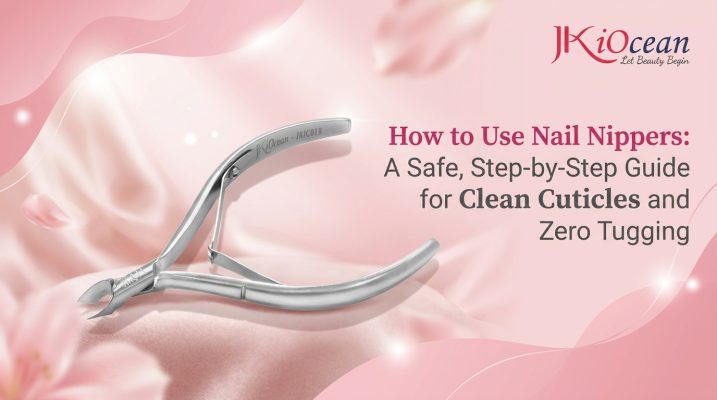
How to Use Nail Nippers: A Safe, Step-by-Step Guide for Clean Cuticles and Zero Tugging
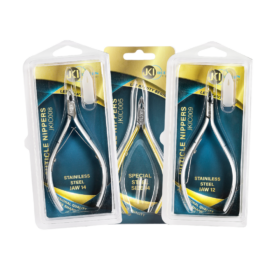
Learning how to use nail nippers is one of the fastest ways to upgrade your manicure results—whether you’re a nail technician or doing careful nail care at home. Nail nippers (often called cuticle nippers) are designed for one job: trimming lifted, non-living cuticle tissue and hangnails cleanly. When used correctly, they create a neat cuticle line, reduce snagging, and help gel or polish last longer. When used incorrectly, they can cause redness, soreness, and fast regrowth.
This guide focuses on safe technique, common mistakes, and pro habits that help you get crisp results without damaging the cuticle seal.
What Nail Nippers Are (and What They’re Not)
Nail nippers are for skin, not nails.
They are designed to trim:
- Lifted dead cuticle tissue
- Hangnails (dry torn skin near the nail)
- Tiny lifted bits along the sidewalls
They are not for:
- Cutting nail length (use clippers)
- Cutting acrylic tips or hard plastic (use a tip cutter)
- Digging corners to “fix” ingrowns
- Removing living skin to chase a “glass cuticle” look
If the tissue looks pink, feels tender, or doesn’t lift easily, it’s not something to cut.
What You Need Before You Start
A clean setup makes nipper work safer and more precise:
- Nail nippers (sharp, aligned tips)
- Cuticle pusher (or orangewood stick)
- Lint-free wipe or clean towel
- Cuticle softener or warm water
- Nail brush (optional)
- Cuticle oil for aftercare
If you’re working on clients, follow proper sanitation rules for metal tools.
Step-by-Step: How to Use Nail Nippers Correctly
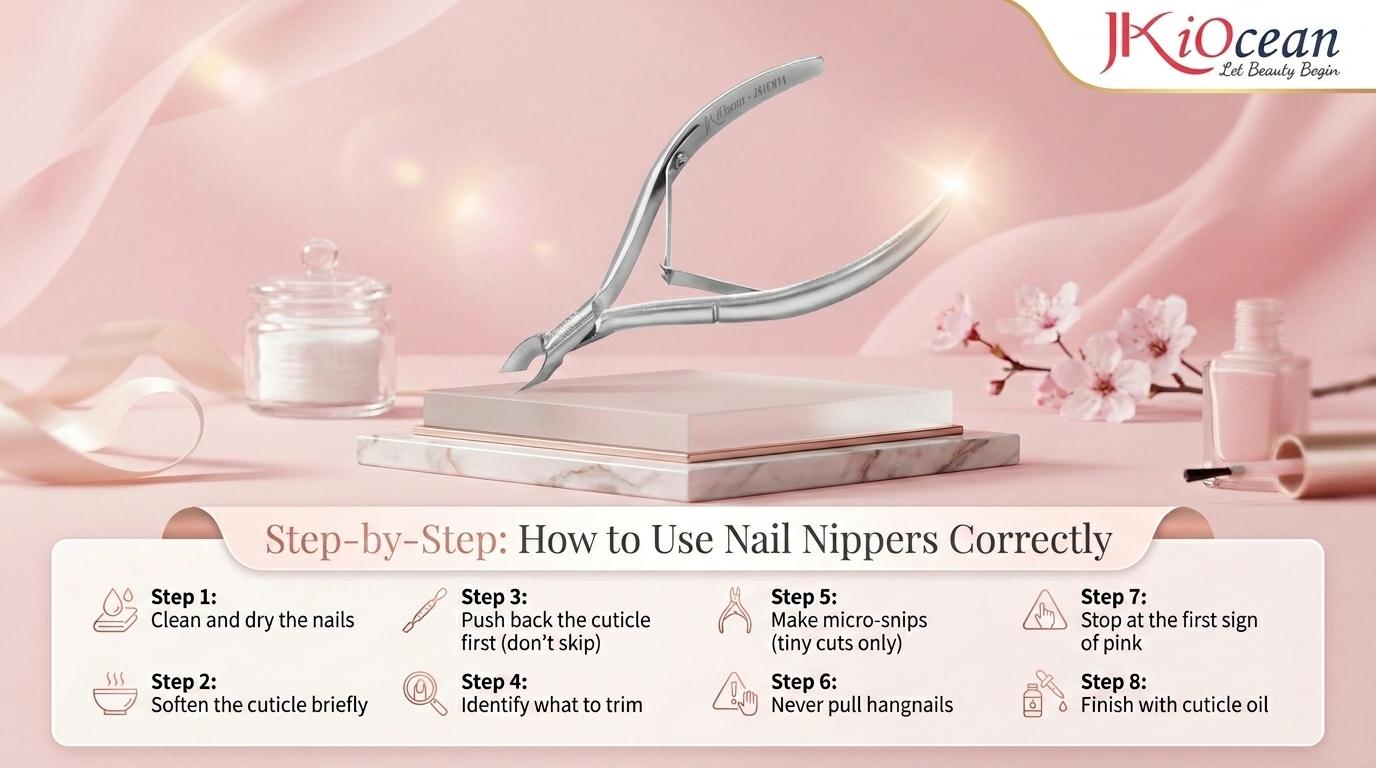
Step 1: Clean and dry the nails
Wash hands, then dry thoroughly. Moisture makes skin softer and easier to tear. You want the area clean but not soggy.
Step 2: Soften the cuticle briefly
Choose one:
- Soak fingertips in warm water for 2–3 minutes, or
- Apply cuticle softener for the recommended time
Avoid long soaking. Over-softened skin can tear instead of cutting cleanly.
Step 3: Push back the cuticle first (don’t skip)
Use a cuticle pusher to gently lift cuticle residue from the nail plate. This step reveals what is actually lifted and removable. Most mistakes happen when people use nippers without pushing first.
Angle tip:
- Hold the pusher at about 30–45 degrees
- Glide gently from cuticle toward the center
- Clean the sidewalls lightly
Step 4: Identify what to trim
You’re looking for:
- Thin, whitish tissue that lifts easily
- Hangnails that are clearly detached
- Small lifted bits along the edges
If it is smooth, attached, and pink—leave it.
Step 5: Make micro-snips (tiny cuts only)
Hold the nippers like a pencil with steady control. Then:
- Cut small sections at a time
- Let the jaws close fully to slice cleanly
- Keep your wrist stable; rotate the finger instead of twisting your hand
- Work slowly around the cuticle line
Think “trim what’s lifted,” not “remove everything.”
Step 6: Never pull hangnails
If a hangnail is attached, do not tug it. Pulling tears deeper into skin. Use the nippers to cut it flush at the base with one controlled snip.
Step 7: Stop at the first sign of pink
The moment you see pink tissue, moisture, or the client feels a sting—stop. That’s living skin. Over-trimming breaks the protective seal and can lead to irritation or infection.
Step 8: Finish with cuticle oil
Apply cuticle oil and massage gently. This calms the area and helps prevent future hangnails. Hydrated cuticles naturally look cleaner, which reduces the need for frequent trimming.
The Most Common Mistakes (and How to Avoid Them)
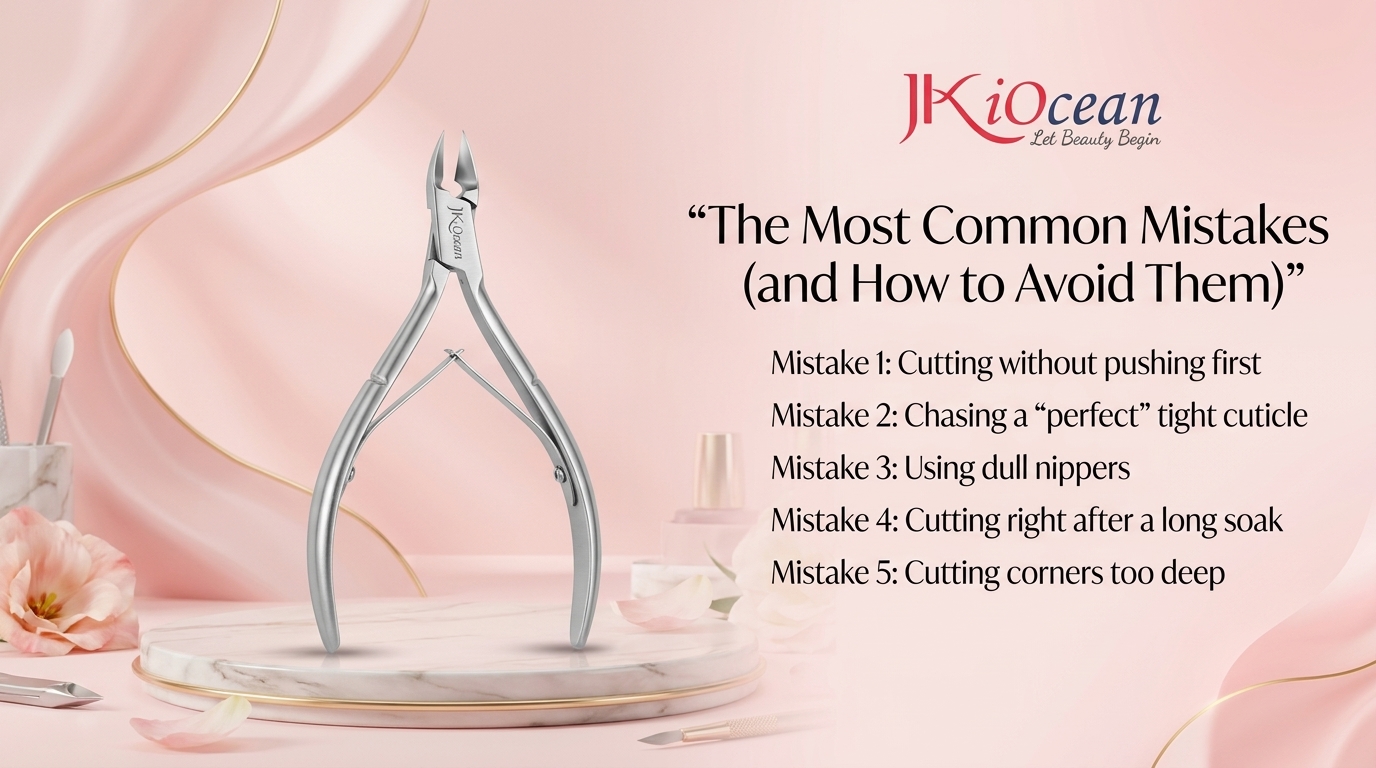
Mistake 1: Cutting without pushing first
Result: you cut blindly and often remove living skin.
Fix: always push back and lift residue before trimming.
Mistake 2: Chasing a “perfect” tight cuticle
Result: redness, swelling, fast regrowth.
Fix: aim for neatness, not emptiness. Trim only lifted tissue.
Mistake 3: Using dull nippers
Result: tugging and jagged edges.
Fix: sharpen or replace when it starts pulling instead of slicing.
Mistake 4: Cutting right after a long soak
Result: skin tears easily.
Fix: keep soak time short and dry thoroughly.
Mistake 5: Cutting corners too deep
Result: sore sidewalls, possible infection.
Fix: trim only what lifts; don’t dig.
Pro Tips for Cleaner Results
- Work under bright lighting so you can see lifted tissue clearly
- Keep the nipper jaws parallel to the skin, not angled downward
- Use a shorter jaw nipper if you’re a beginner (more control)
- If something doesn’t cut cleanly, don’t force it, your nippers may be dull
- Encourage daily cuticle oil use; good hydration reduces hangnails dramatically
How to Clean and Store Nail Nippers
For home use:
- Wash off visible debris
- Wipe with alcohol or approved disinfectant
- Dry completely
- Store in a clean, closed case
For salons, follow professional disinfection standards with correct contact times. Damp storage causes rust and dullness.
When Not to Use Nail Nippers
Avoid nippers if:
- The area is swollen, bleeding, or painful
- There are signs of infection (pus, heat, severe redness)
- The client has high-risk conditions and you’re not trained for them
In these situations, stop and recommend medical advice or a licensed professional.
Knowing how to use nail nippers isn’t about cutting more—it’s about cutting smarter. Push first, trim only lifted dead tissue, use micro-snips, and finish with hydration. Done correctly, nail nippers give you clean cuticle lines, fewer snags, and better adhesion for gel or polish—all while keeping skin healthy and comfortable.