
 3D Gel
 Accessories
 Acrylic Brushes
 Art Brushes
 Clippers
 Design
 French Brushes
 Builder Gel
 Nail Tip Cutter
 Nippers
 Pusher
 Scissors
 Tweezers
Jun
Blogs
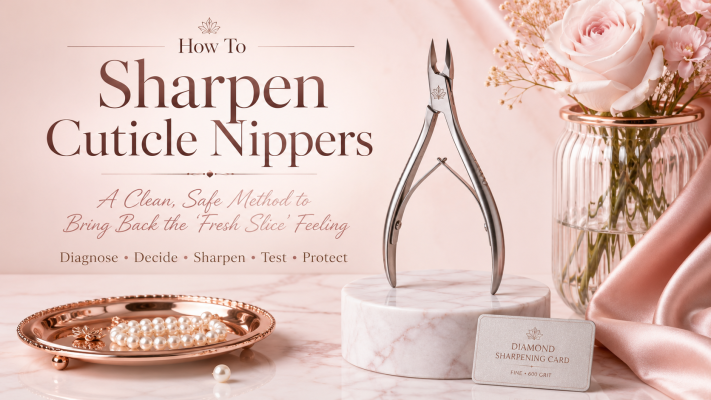
How To Sharpen Cuticle Nippers: A Clean, Safe Method to Bring Back the “Fresh Slice” Feeling
A great cuticle nipper doesn’t just look sharp—it feels sharp. It should slice lifted dead skin with a light touch, without tugging, chewing, or forcing you to squeeze harder. If yours is starting to pull, you’re not alone. The good news: learning How To Sharpen Cuticle Nippers can restore clean performance and extend tool life. The caution: sharpening nippers is precision work, and a rushed approach can ruin alignment fast.
This guide uses a “diagnose → decide → sharpen → test → protect” system so you know exactly what to do—and when you should stop and send them to a professional sharpener.
Step 1: Diagnose the Real Problem Before You Sharpen
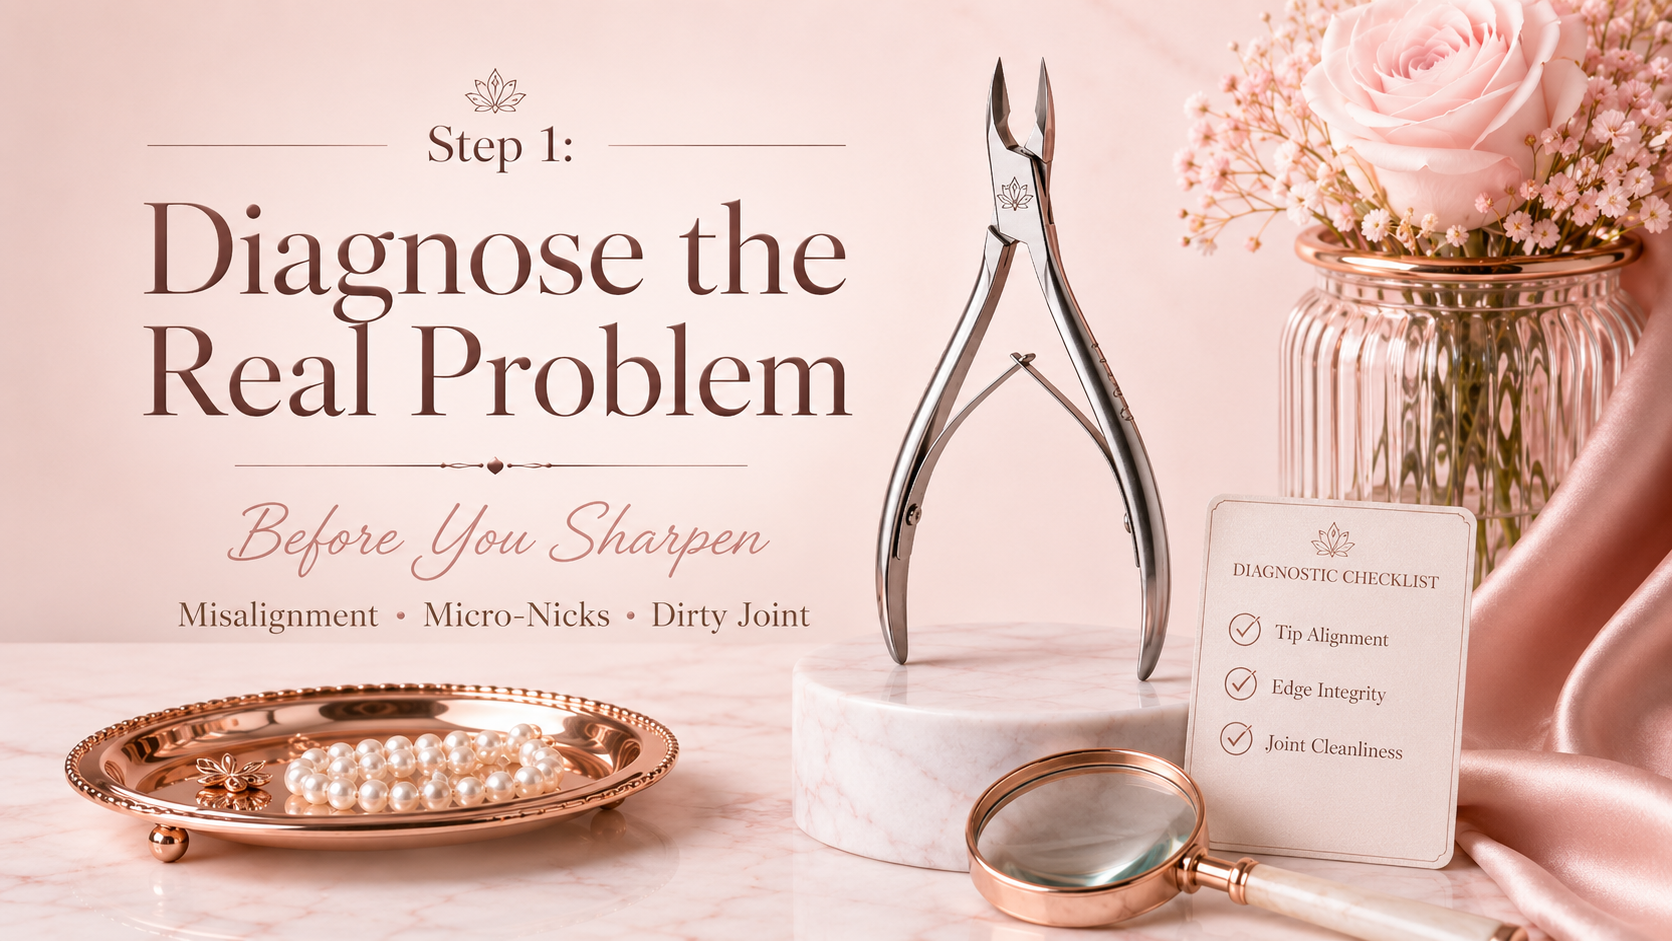
Not every “bad cut” means dull blades. Many nippers feel dull because of misalignment, micro-nicks, or a dirty joint.
Quick diagnosis (60 seconds)
-
Do they tug only at the tip? Likely a nick or tip misalignment.
-
Do they chew and leave ragged skin? Usually dull edge or wrong bevel angle.
-
Do they feel stiff to open/close? Joint needs cleaning/oiling, not sharpening.
-
Do the blades not meet evenly? Sharpening won’t fix this—alignment repair is needed.
Rule: If the jaws don’t meet correctly, sharpening can make it worse.
Step 2: Decide Your Sharpening Level (Refresh, Repair, or Rescue)
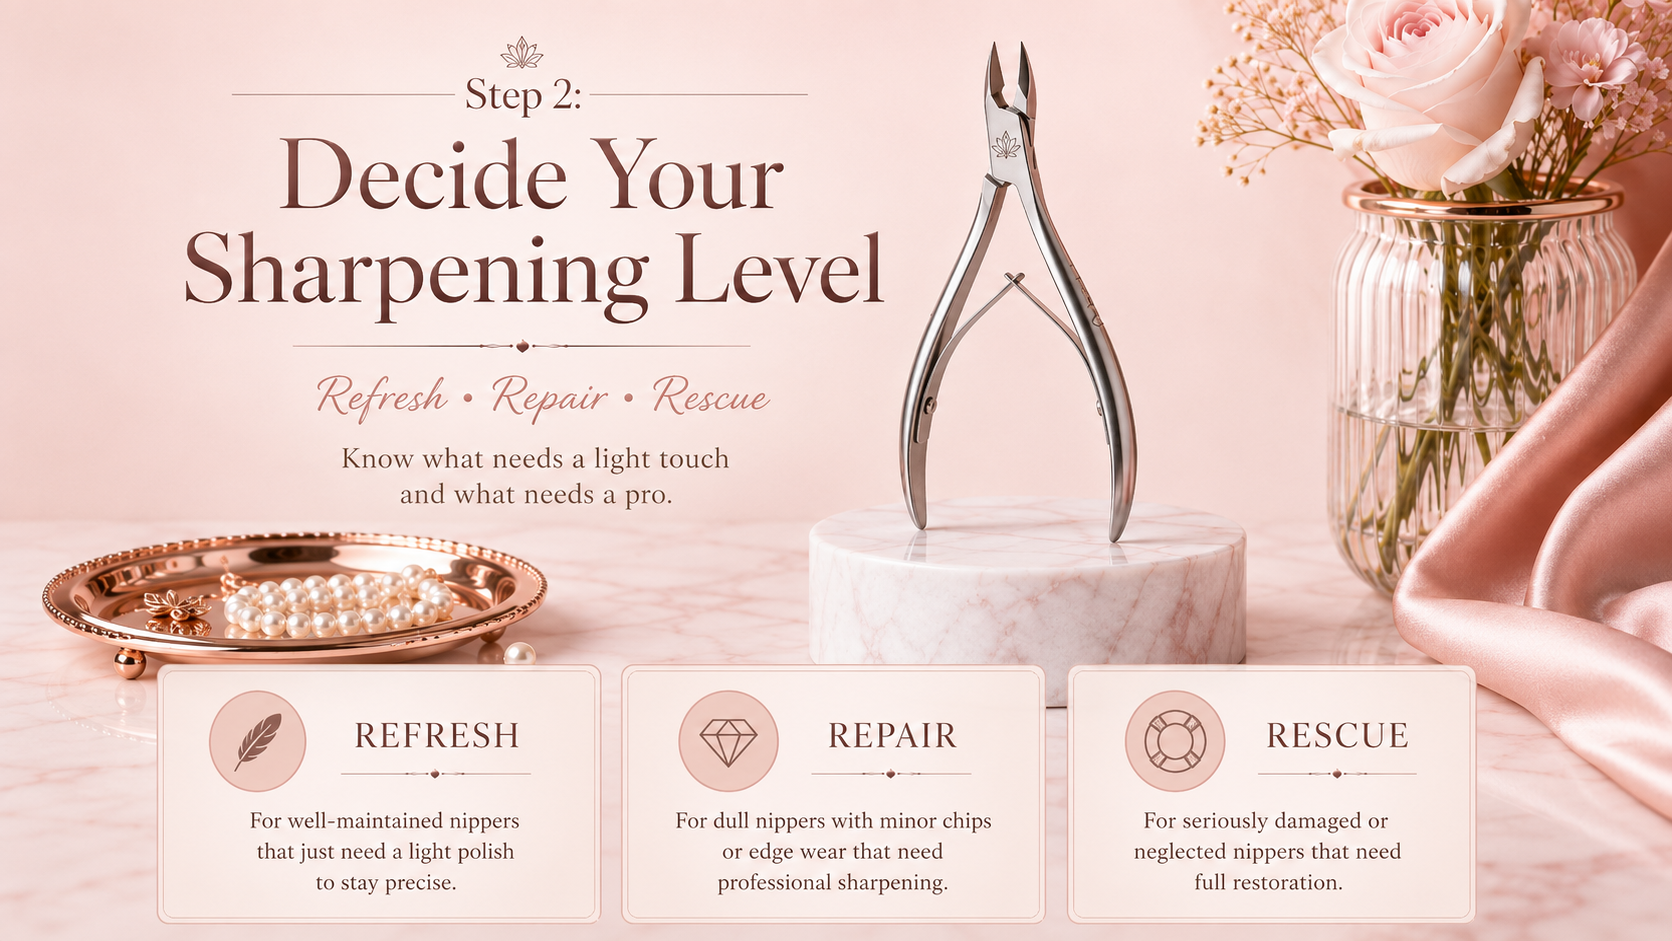
Think of sharpening like skincare: not everything needs a deep treatment.
Level A: Refresh (most common)
For nippers that still cut but feel slightly dull.
Goal: restore bite with minimal metal removal.
Level B: Repair
For nippers that tug and show minor nicks.
Goal: re-establish a clean bevel without changing geometry.
Level C: Rescue
For major nicks, bent tips, or visible jaw gaps.
Goal: stop DIY. Send to a sharpening/repair service. This is usually an alignment job, not just sharpening.
Step 3: Tools You Actually Need (Keep It Minimal)
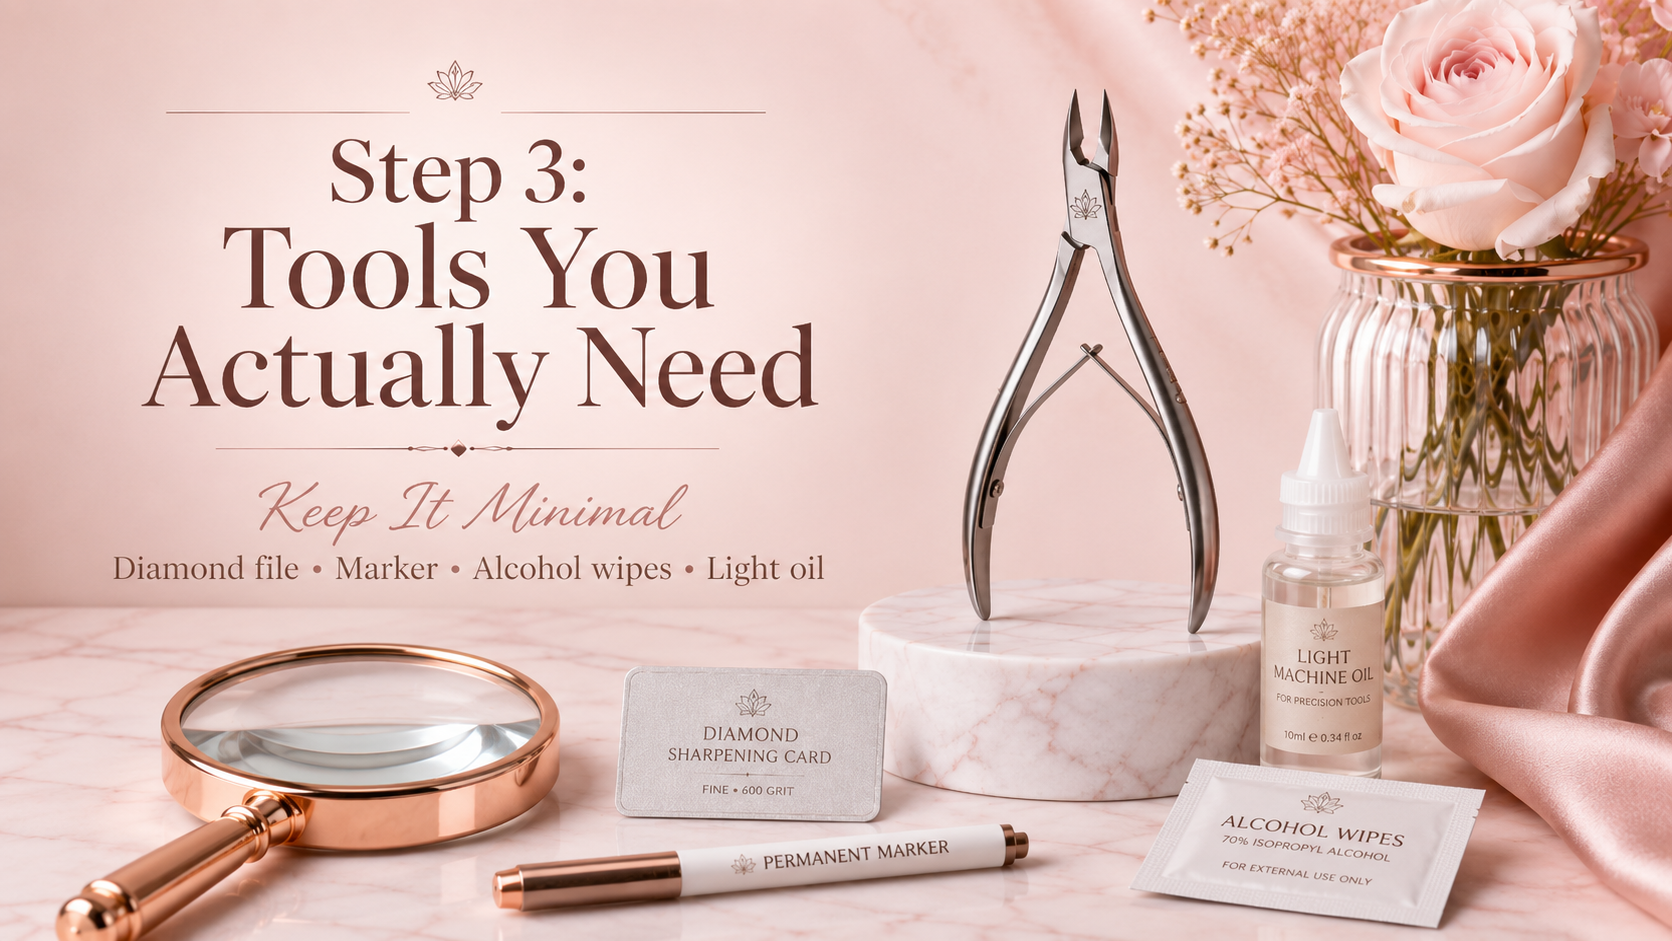
You don’t need a machine. In fact, powered grinding is where most tools get ruined.
Best DIY kit
-
Fine diamond file or diamond sharpening card (preferred for stainless)
-
Ultra-fine sharpening stone (optional)
-
Permanent marker (for bevel tracking)
-
Alcohol wipes + soft brush (to clean)
-
Light machine oil (for the joint)
-
Bright light + magnification (phone flashlight works)
Avoid
-
Coarse stones or sandpaper
-
Rotary tools / grinding wheels
-
Sharpening the inside flat surfaces aggressively
Step 4: Understand Where to Sharpen (This Saves Nippers)
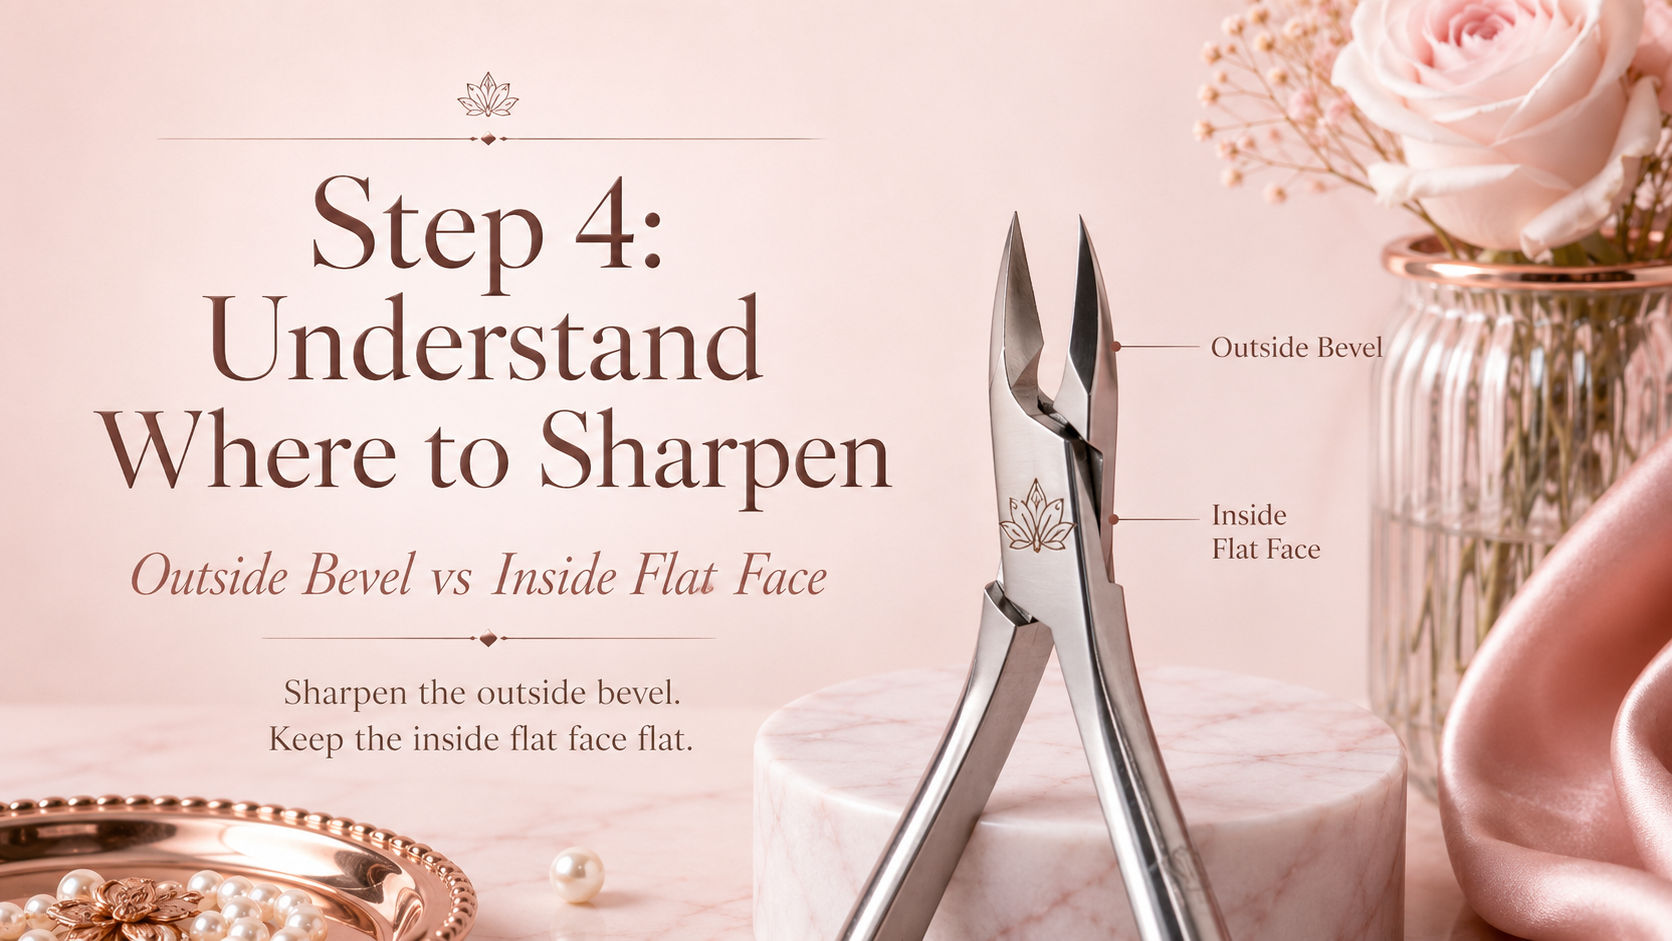
Most cuticle nippers are designed with:
-
An outside bevel (the angled cutting face)
-
An inside flat face (the surface that should stay flat)
You sharpen the outside bevel.
You generally do not reshape the inside flat face. Touching the inside too much can create gaps and cause the nippers to pinch instead of slice.
Step 5: The Marker Trick (So You Don’t Change the Angle)
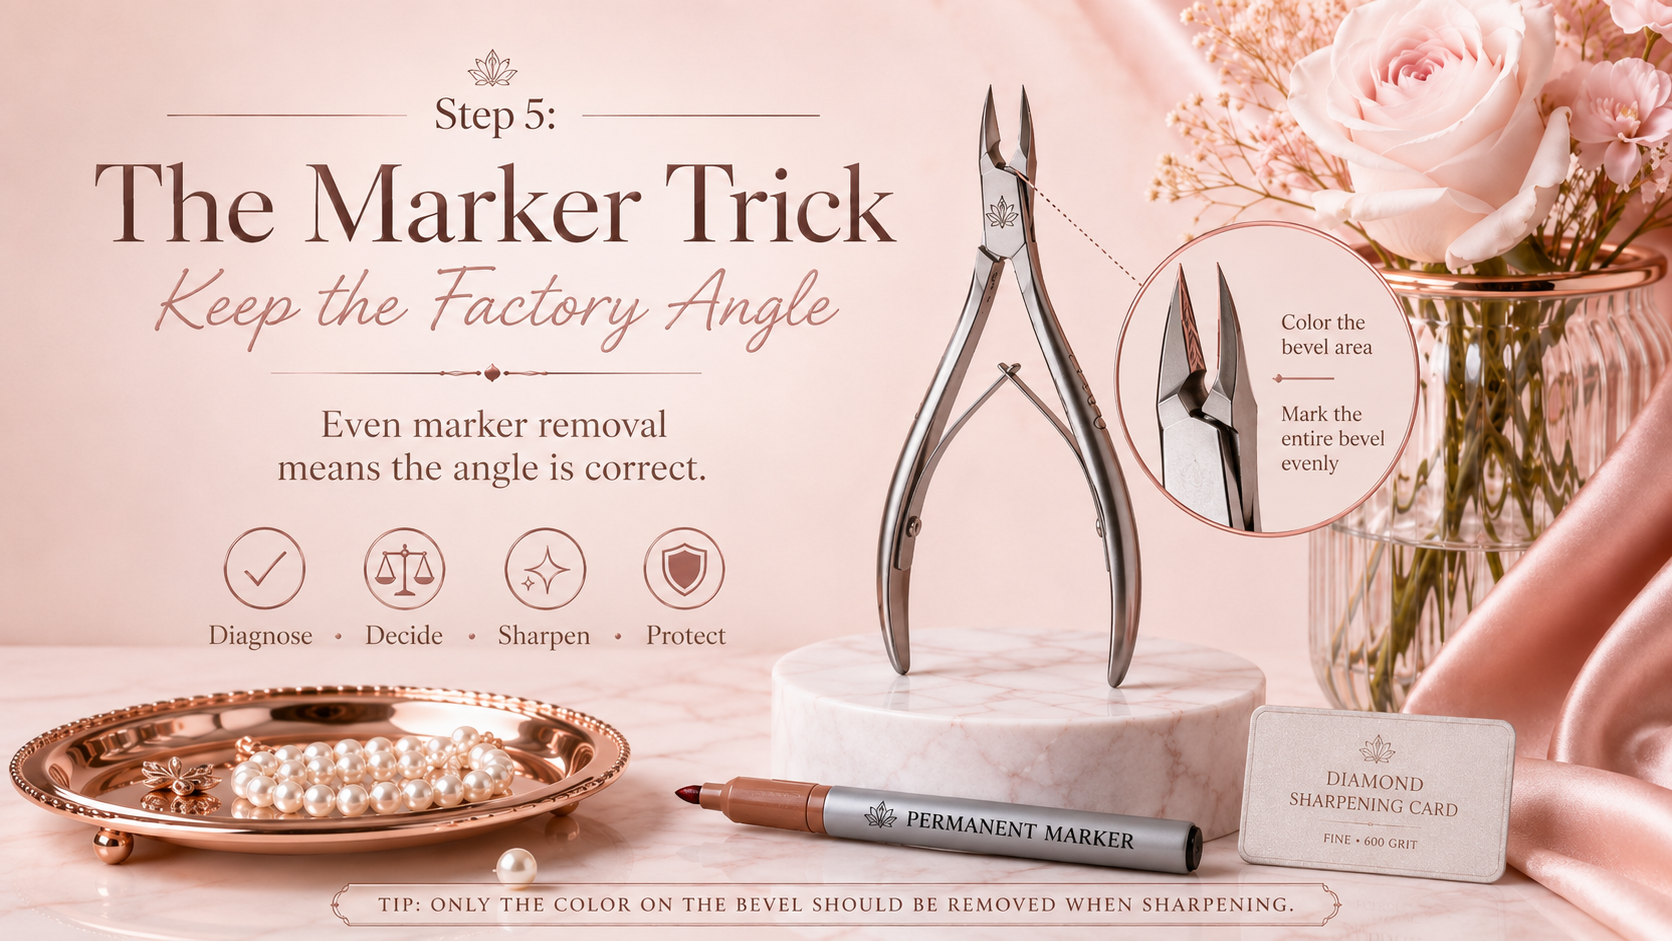
This is the simplest way to keep the factory bevel.
-
Close the nippers lightly.
-
Use a permanent marker to color the outside bevel of both blades.
-
Make a few light sharpening strokes.
-
Look where the marker is removed.
-
If it removes evenly across the bevel, your angle is correct.
-
If it removes only at the top or bottom, you’re changing the bevel angle.
-
This prevents over-sharpening and keeps geometry intact.
Step 6: How To Sharpen Cuticle Nippers (Step-by-Step)
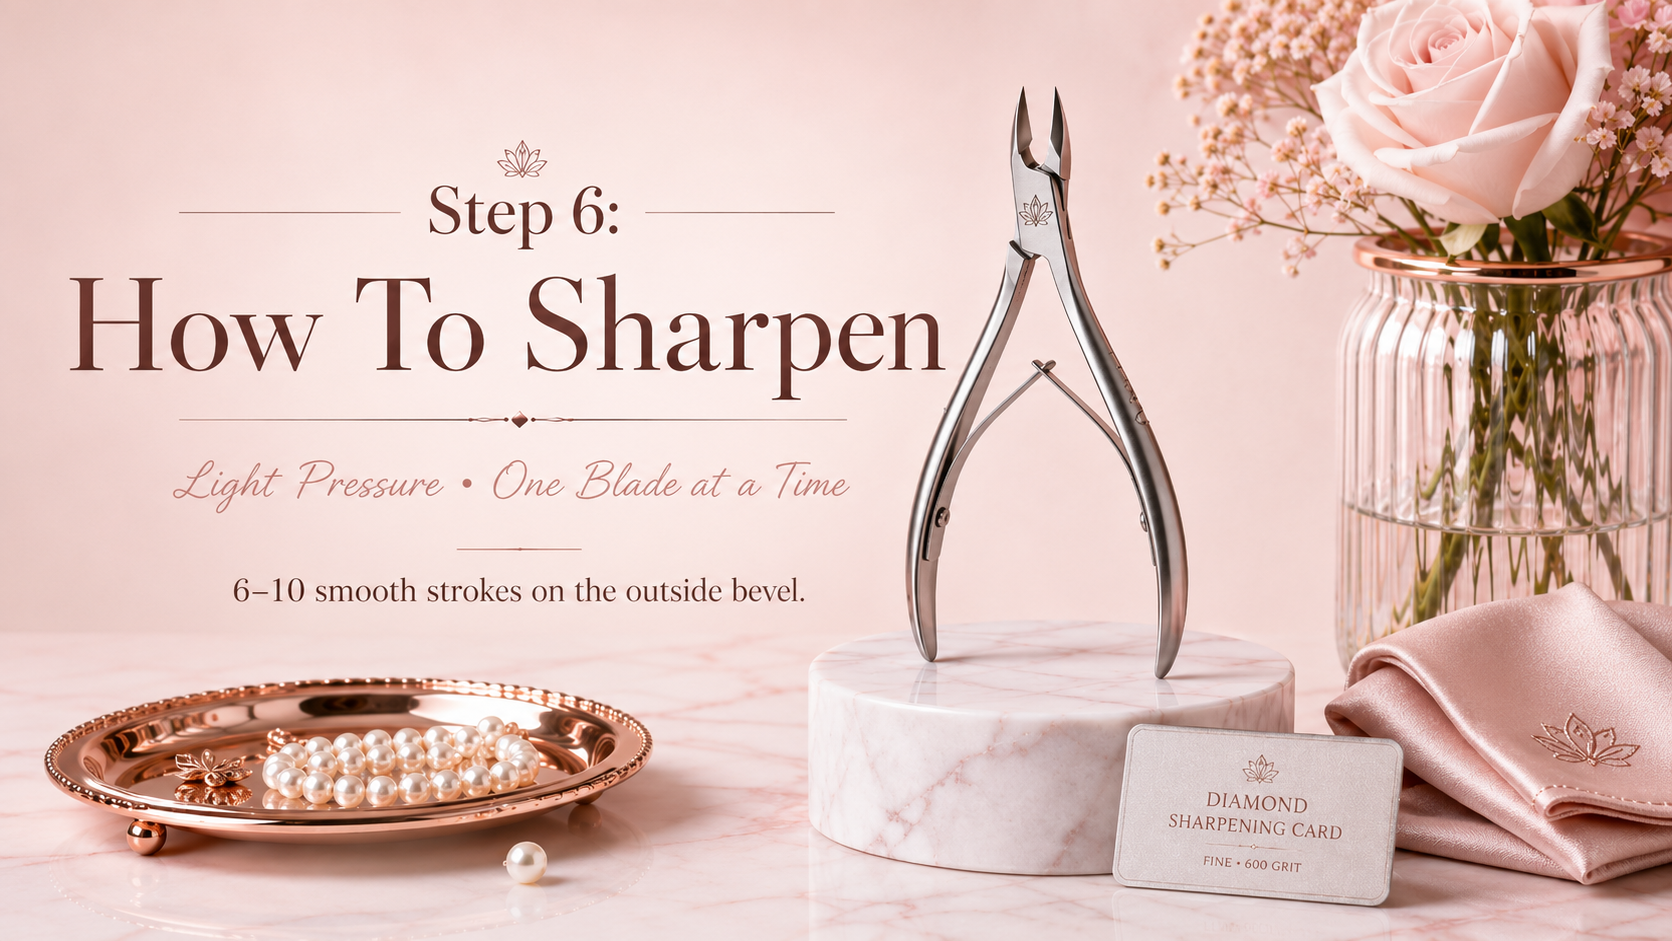
Clean first
-
Brush away debris
-
Wipe with alcohol
-
Dry fully
Sharpening on dirty blades grinds residue into the edge and makes results worse.
Stabilize the nippers
Hold the nippers so you can work calmly. Some techs rest elbows on the table for control.
Sharpen one blade at a time (outside bevel only)
-
Place the diamond file flat against the outside bevel
-
Use light pressure
-
Make smooth strokes in one direction
-
Do 6–10 strokes, then switch to the other blade
Important: Keep the same angle. Don’t “dig” at the tip.
Refresh the tip carefully
Most tugging happens at the tip, but the tip is also easiest to ruin.
Use fewer strokes at the very end—think “polish,” not “reshape.”
Remove the burr (minimal inside touch)
After sharpening, a tiny burr may form. To remove it:
-
Close the nippers gently
-
Use one or two very light passes of an ultra-fine stone along the inside flat face (optional)
-
Or simply open/close the nippers a few times and wipe clean
Do not scrape inside repeatedly. Inside should remain flat and smooth.
Step 7: Test the Cut (Without Risking Skin)
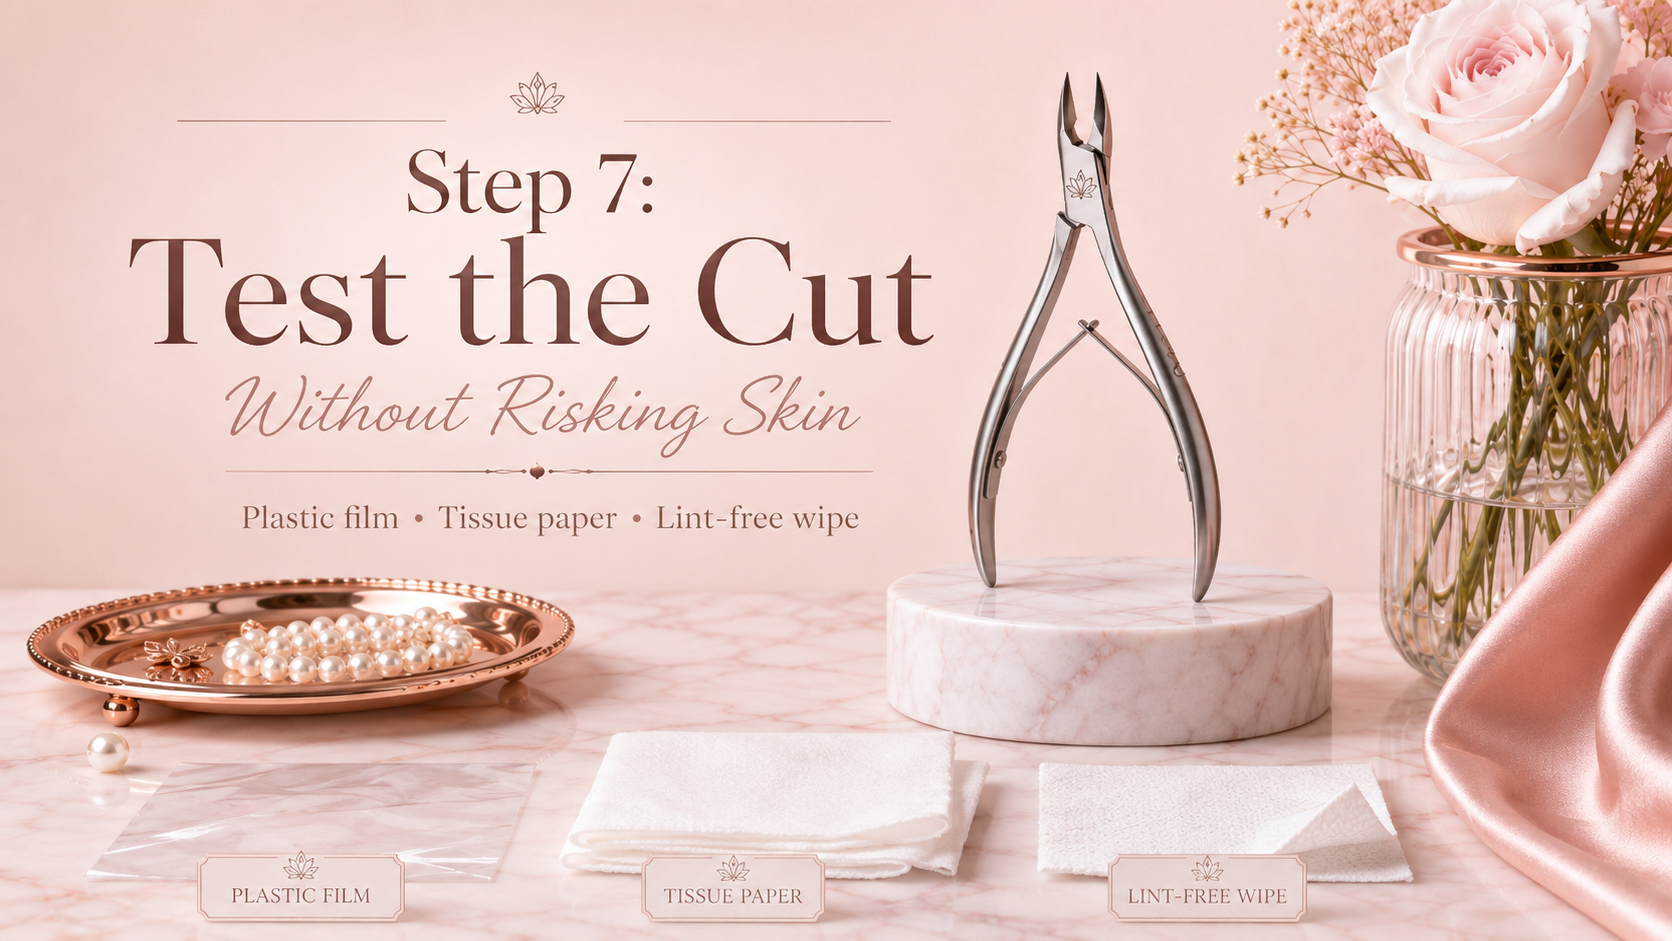
Don’t test on living skin. Use these safe tests:
-
Thin plastic film (like product packaging)
-
Tissue paper
-
A lint-free wipe corner
A sharp nipper should slice cleanly without snagging. If it still tugs, you may have alignment issues, not a dull edge.
Step 8: Tune the Feel (Joint Cleaning and Oil)

Even perfectly sharpened blades feel “bad” if the joint is gritty.
-
Clean around the joint with alcohol
-
Dry completely
-
Add one drop of light oil at the joint
-
Open/close 10–15 times
-
Wipe off excess oil
Smooth action helps you keep pressure light, which prevents accidental nicks during services.
Common DIY Sharpening Mistakes That Ruin Nippers
-
Changing the bevel angle
Causes poor contact and future tugging. -
Sharpening the inside flat face too much
Creates gaps and pinching. -
Using coarse grit
Removes too much metal and shortens tool life. -
Overworking the tip
Tip becomes rounded, misaligned, or “hooks.” -
Trying to fix alignment with sharpening
If blades don’t meet evenly, alignment repair is required.
When You Should Stop and Send Them Out
DIY sharpening is great for refresh and light repair. But stop if you see:
-
Visible jaw gap when closed
-
Bent tip or uneven blade contact
-
Deep nicks
-
The nippers “cross” or shift side-to-side at the joint
-
Sharpening improves nothing after two careful cycles
Professional sharpeners can realign, rebuild tips, and restore factory geometry safely.
Sharpening cuticle nippers is less about strength and more about restraint. If you keep the bevel angle consistent, sharpen only the outside bevel, remove burrs gently, and tune the joint, you can restore that clean “slice” feeling and extend tool life significantly. When alignment is the real issue, don’t force it—send them to a pro and save the tool.