
 3D Gel
 Accessories
 Acrylic Brushes
 Art Brushes
 Clippers
 Design
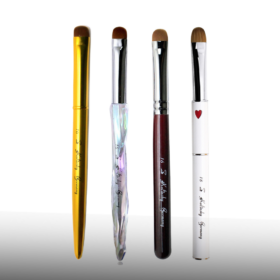 French Brushes
 Builder Gel
 Nail Tip Cutter
 Nippers
 Pusher
 Scissors
 Tweezers
Jun
Blogs
Best Brush Size For Acrylic Nails: A Simple Way to Choose (Without Guessing)
If you’ve ever asked yourself “Best Brush Size For Acrylic Nails?” you’re already thinking like a professional. Brush size isn’t about looking fancy—it’s about bead control, speed, and how clean your cuticle zone turns out. The “best” size depends on the way you work: the nail lengths you do most, your bead style, and how much control you want while you’re still building consistency.
This article gives you a creative, easy framework to pick the right brush size without overthinking, plus a few quick tests so you can feel the difference immediately.
Think in “Bead Size,” Not Brush Size
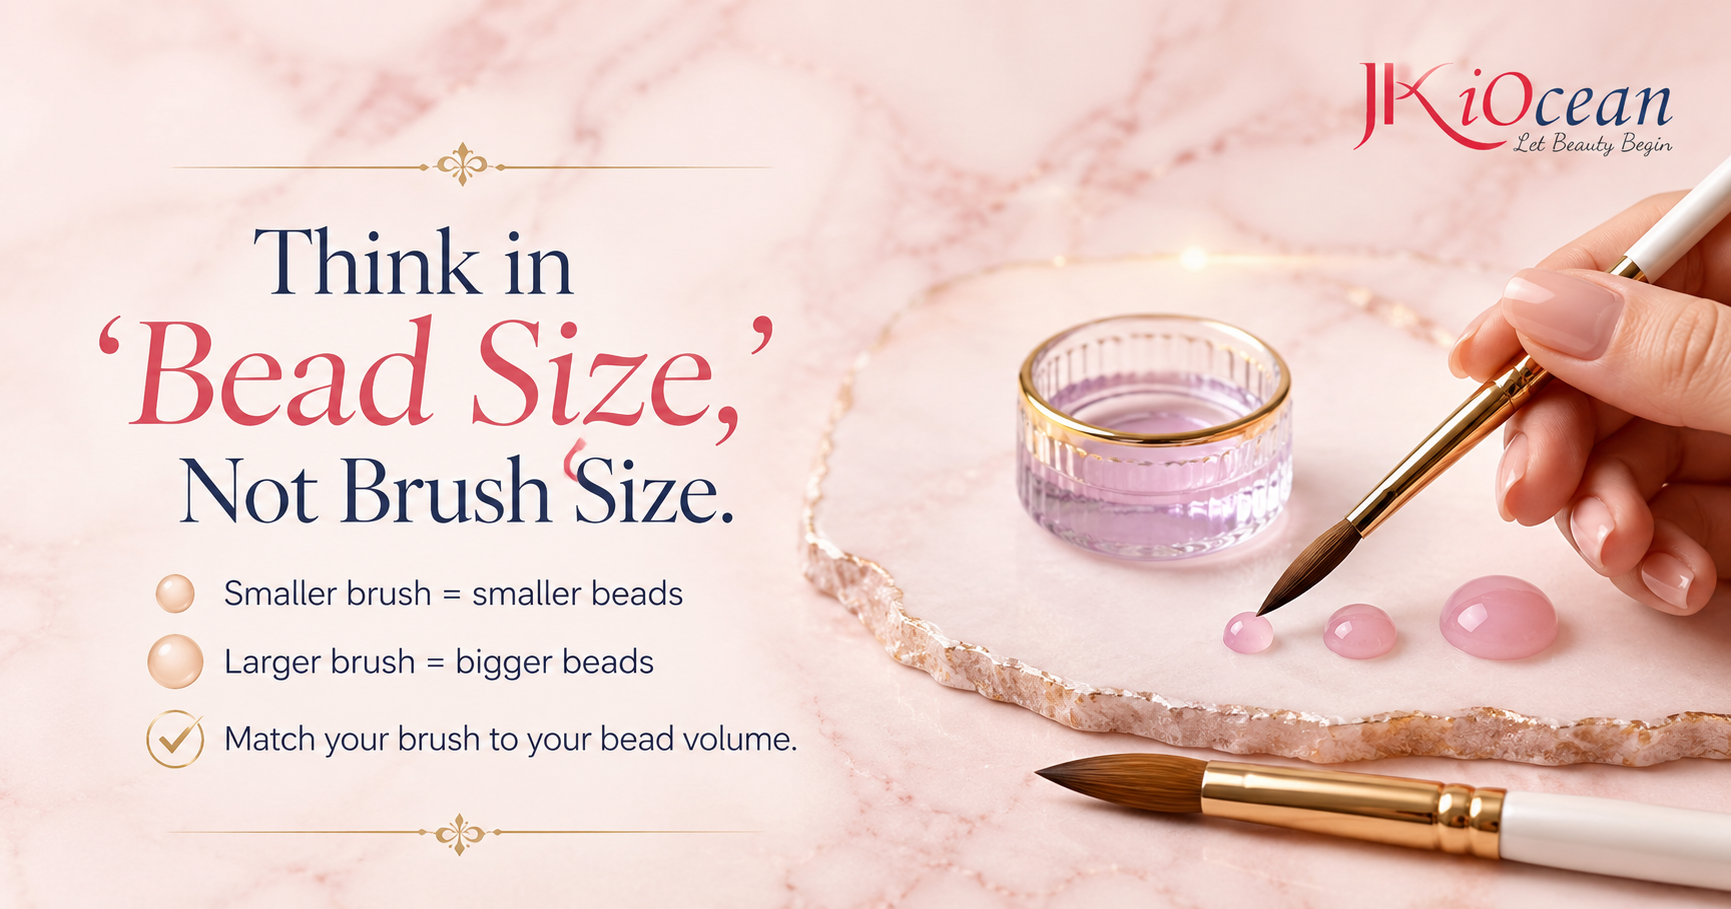
Acrylic application is bead management. Your brush size determines how easily you can pick up and control beads.
-
Smaller brushes naturally pick up smaller beads
-
Larger brushes pick up bigger beads with fewer dips
-
The “best size” is the one that matches your typical bead volume
If you constantly reload monomer and your bead dries fast, your brush is likely too small for your pace. If your product floods the cuticle, your brush may be too large for your current control.
The “3-Zone Nail” Rule: Match Brush Size to Where You Work
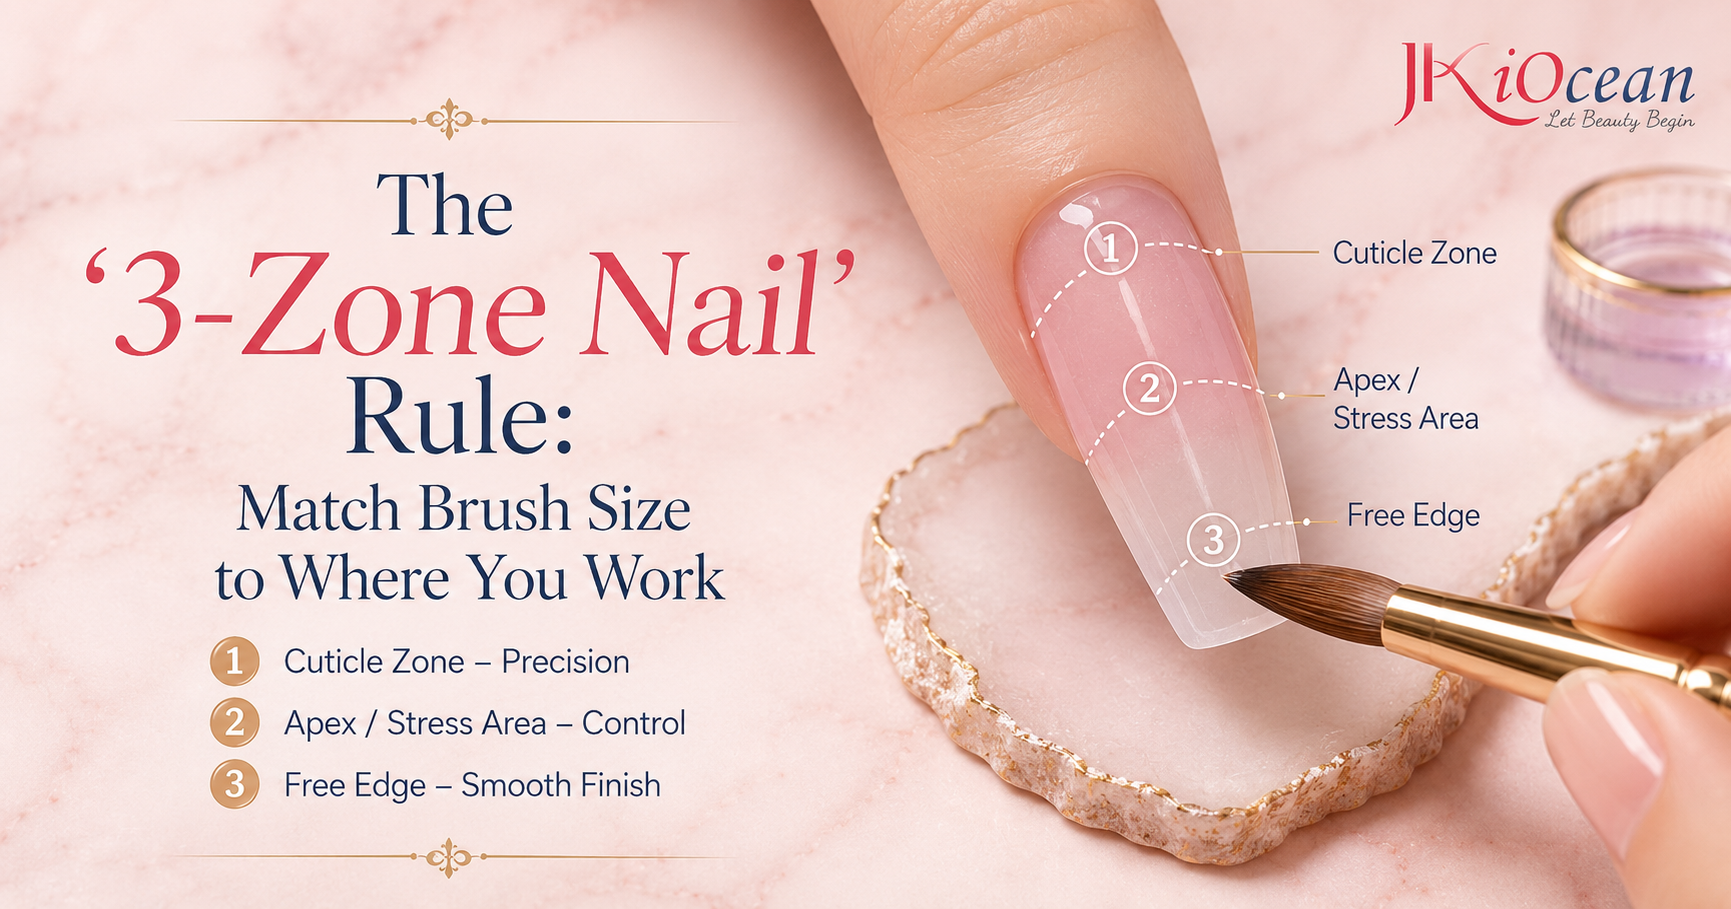
Most acrylic work happens in three zones:
-
Cuticle zone (precision and thin blending)
-
Apex / stress area (structure and strength)
-
Free edge (coverage and shape)
Small brushes feel easier in zone 1. Larger brushes are faster for zones 2 and 3. The goal is to choose a size that can handle all three zones comfortably—especially if you only want one brush.
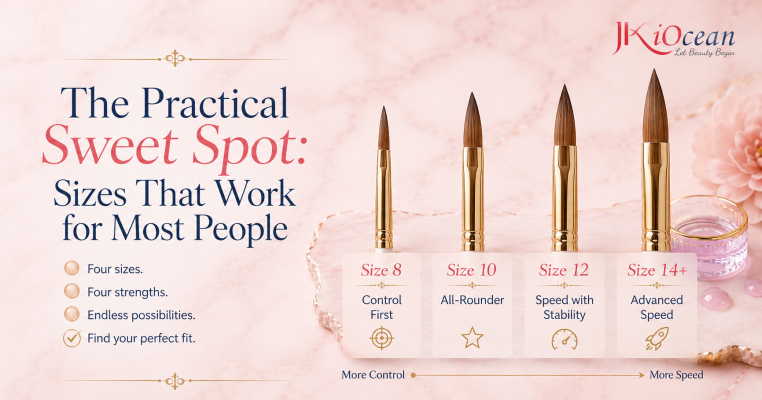
The Practical Sweet Spot: Sizes That Work for Most People
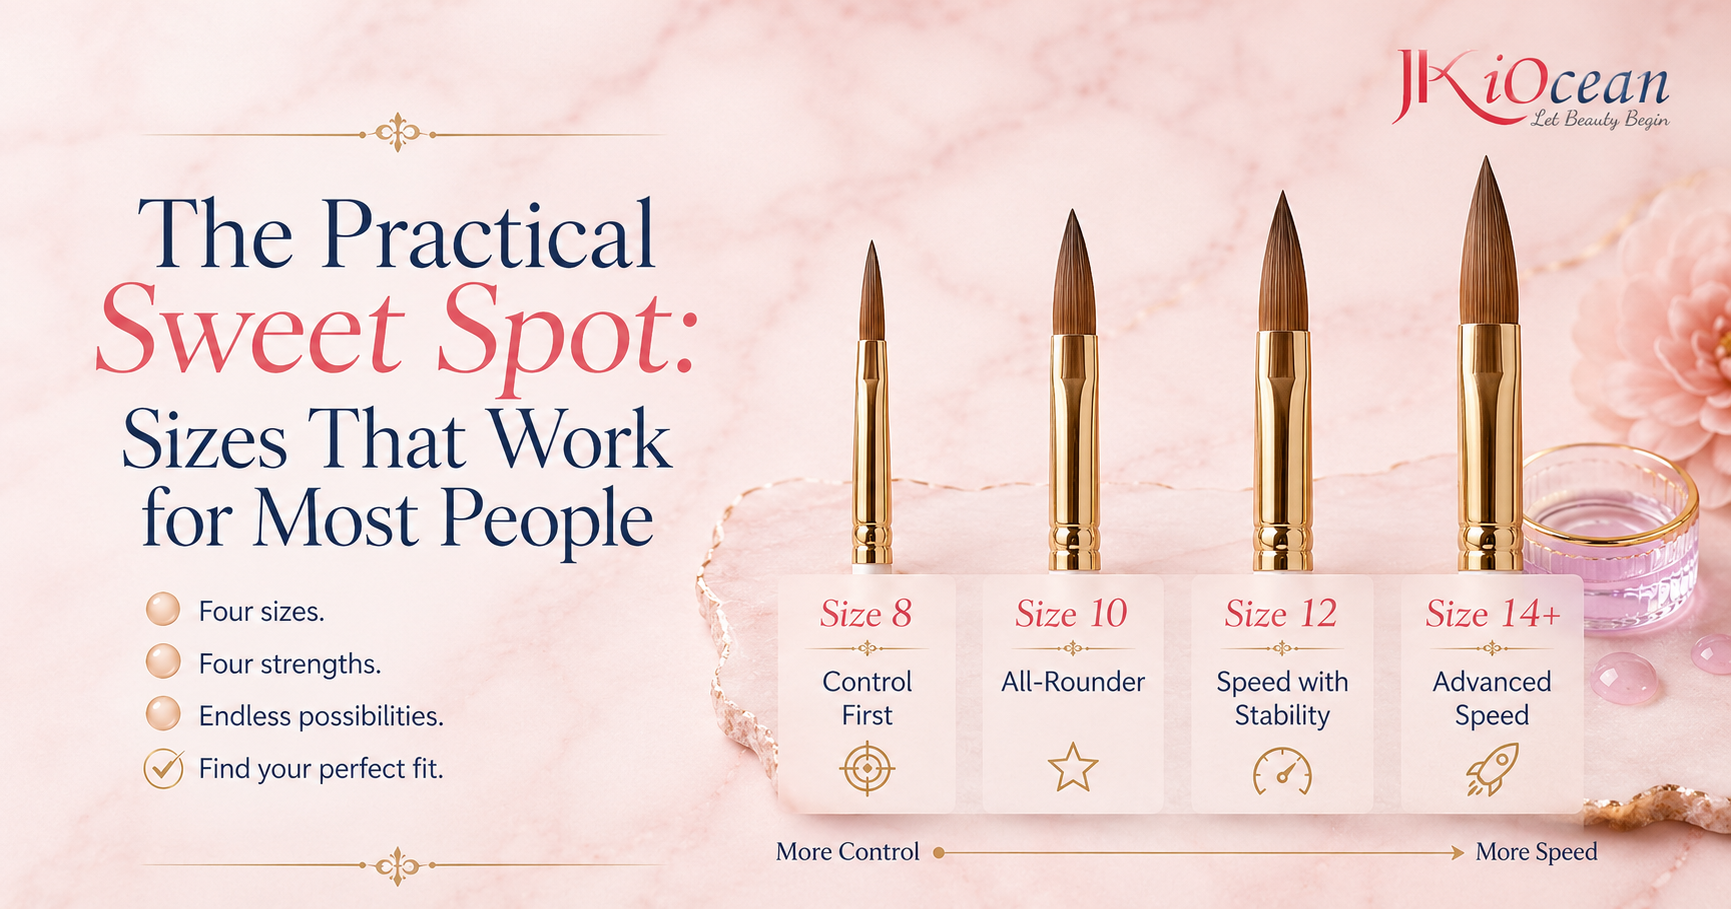
Instead of giving one “perfect” number, use this range:
Size 8: Control-first
Best when:
-
You’re learning bead ratios
-
You have smaller nail beds
-
You want to avoid flooding the cuticle
-
You do short sets or natural overlays
Reality check: It can feel slower on longer nails because you reload often.
Size 10: The true all-rounder
Best when:
-
You want one brush that does almost everything
-
You’re doing a mix of overlays and full sets
-
You want balance between control and speed
This is often the easiest “best brush size” to recommend when you don’t know your style yet.
Size 12: Speed with stability
Best when:
-
You’re doing full sets daily
-
You want faster coverage without jumping to an oversized brush
-
You’re comfortable forming consistent beads
Size 12 is popular in salons because it can be fast but still controllable.
Size 14+: Advanced speed
Best when:
-
You do longer nails often
-
You prefer larger beads
-
You already control monomer to powder ratio well
If you are still learning, a size 14 can feel like driving a large car in a tight parking lot. Possible, but stressful.
Choose by Nail Length: A Quick Shortcut
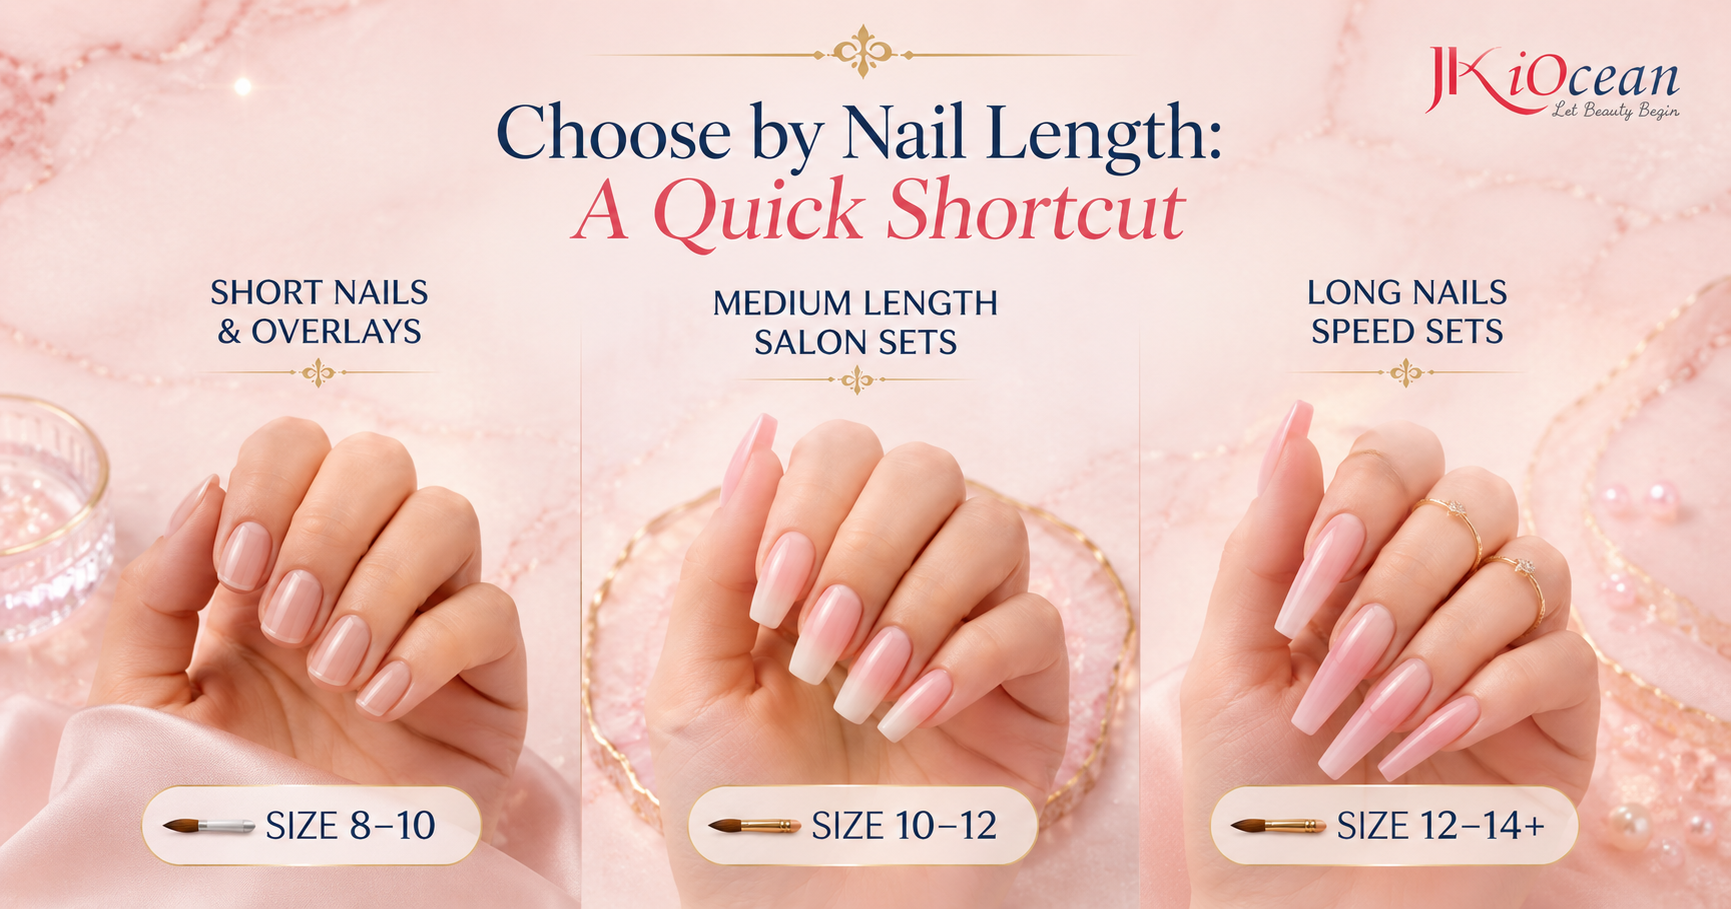
If you want a fast answer, match brush size to typical length:
-
Short nails and overlays: size 8–10
-
Medium length salon sets: size 10–12
-
Long nails and speed sets: size 12–14+
This is not a strict rule, but it helps prevent beginner mistakes like using a giant brush for tiny nail beds.
Choose by Skill Level: What Feels Easiest to Learn With
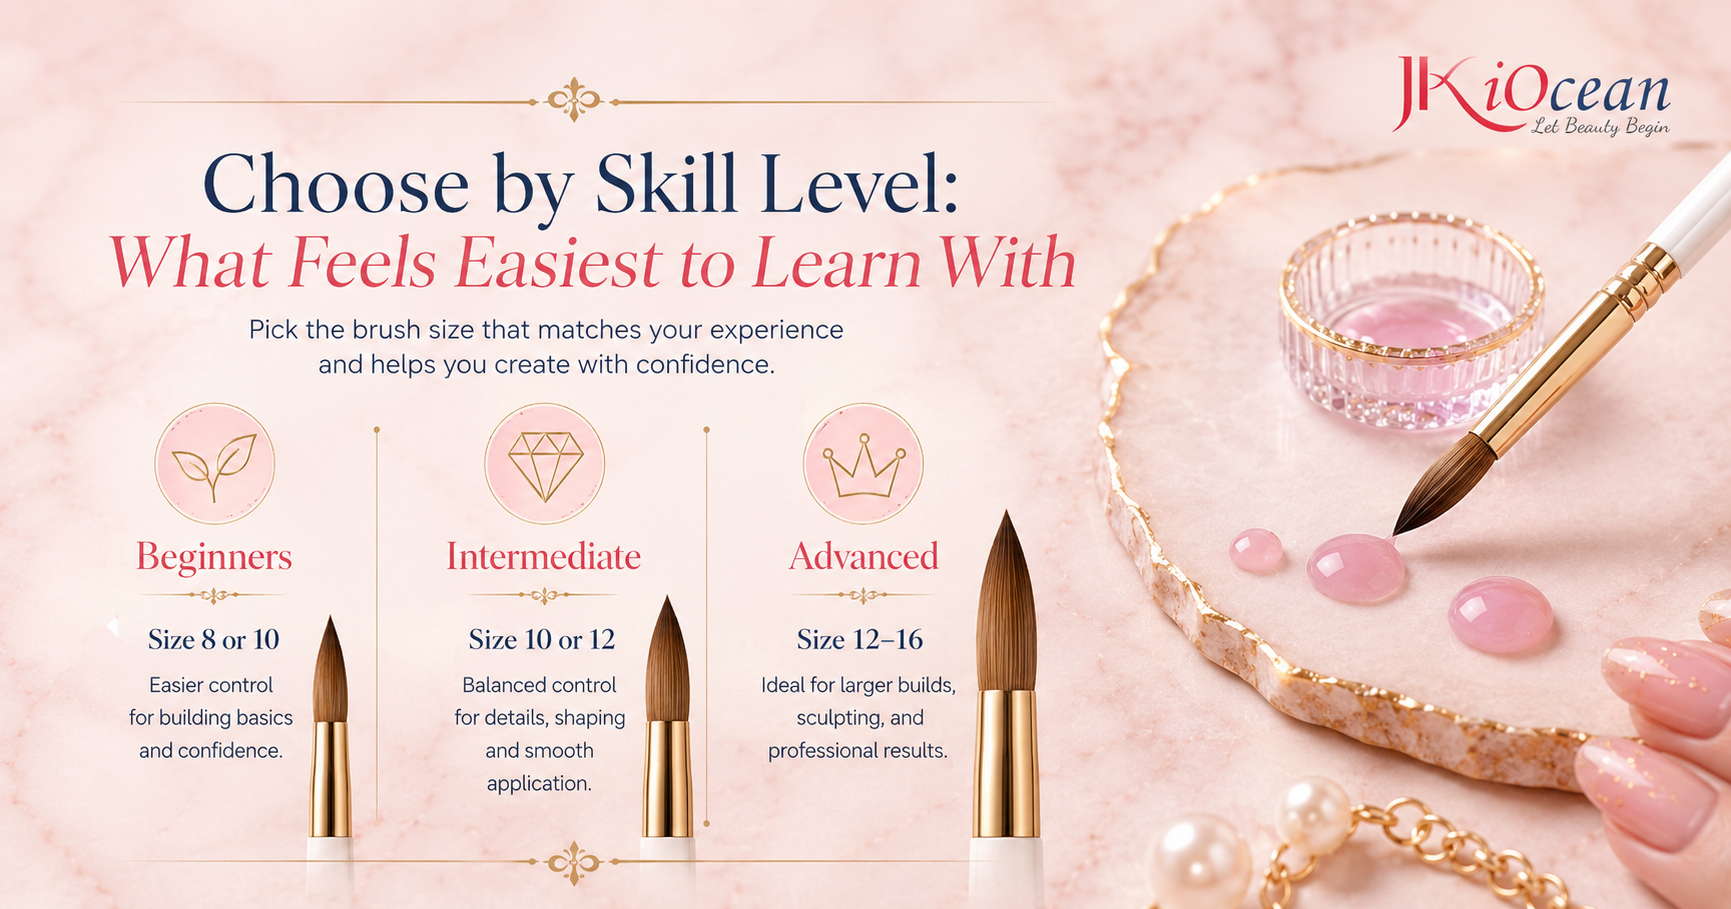
Beginners
Start with size 8 or 10.
Size 8 improves control. Size 10 helps you grow into real salon pacing faster.
Intermediate
Size 10 or 12.
At this stage, you’re working on consistency and speed, not survival.
Advanced
Size 12–16.
The brush becomes a time-saving tool rather than a control tool.
The “Two-Brush Strategy” Pros Use (When You’re Ready)
Many professional nail techs eventually use two sizes:
-
Smaller brush for cuticle precision (clean blends)
-
Larger brush for fast coverage and building structure
A practical combo is:
-
Size 8 or 10 for the cuticle zone
-
Size 12 or 14 for faster body work
If you only want one brush, choose the size that matches the majority of your work—usually 10 or 12.
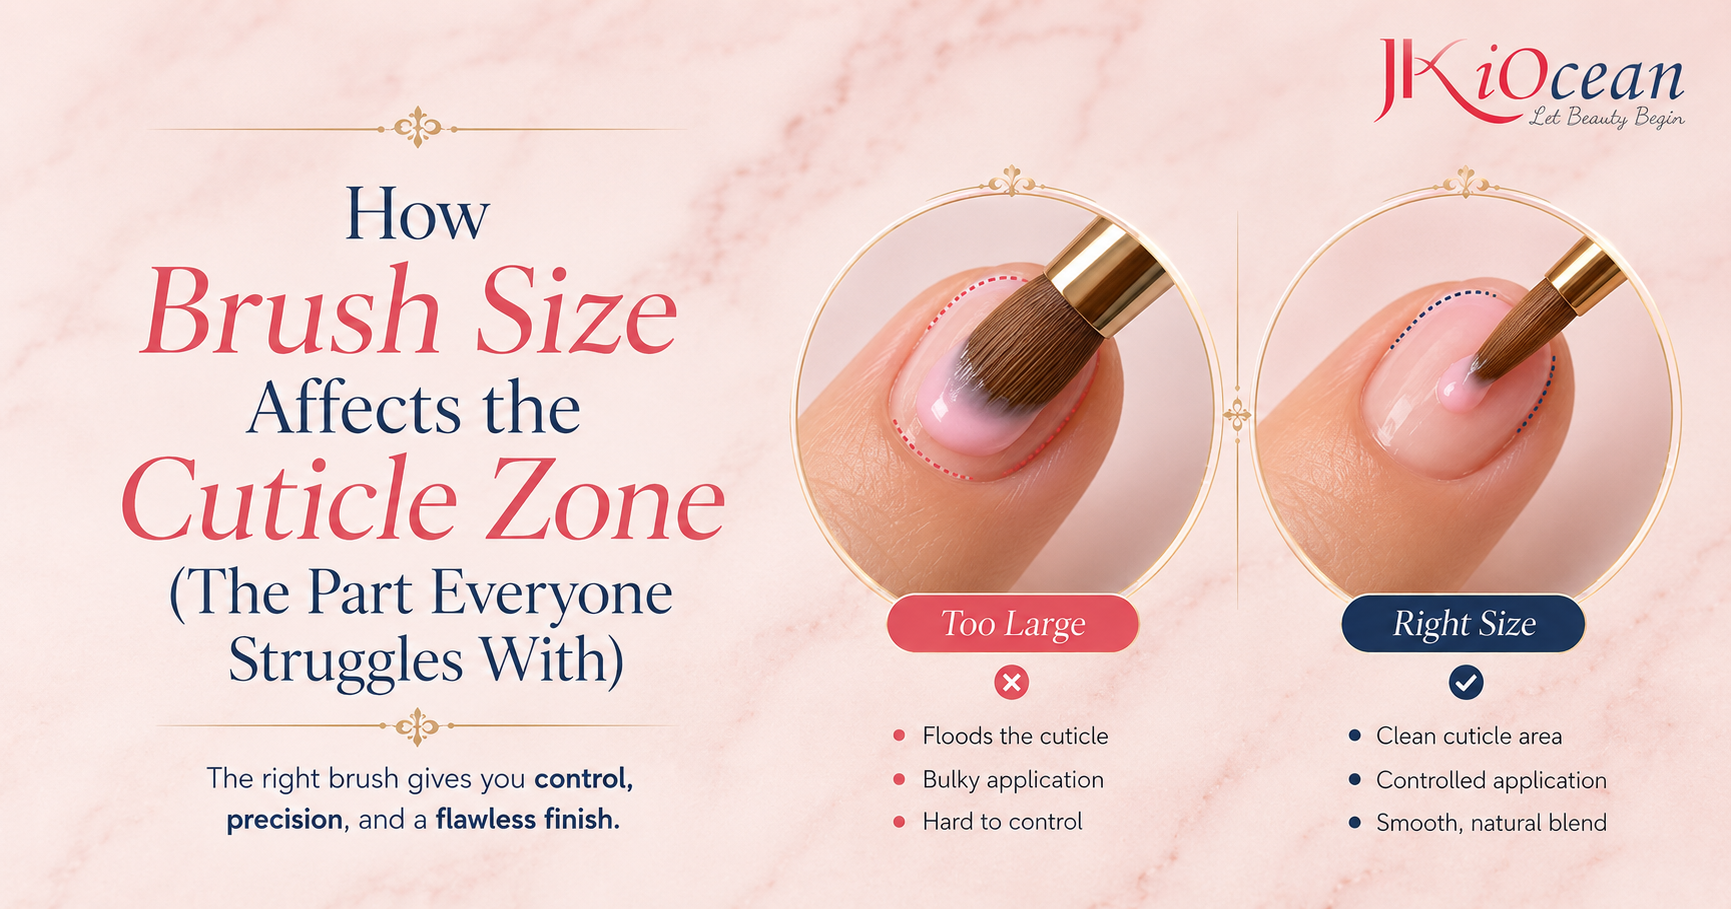
How Brush Size Affects the Cuticle Zone (The Part Everyone Struggles With)
The cuticle zone is where sets look expensive or messy.
-
With a large brush, beginners often overload monomer and push product too close to skin.
-
With a smaller brush, you can place smaller beads and feather the edge thinly.
If your acrylic is always bulky near the cuticle, don’t blame your product. Consider stepping down one brush size and practicing micro beads.
A Simple Test to Find Your Best Size in One Practice Session
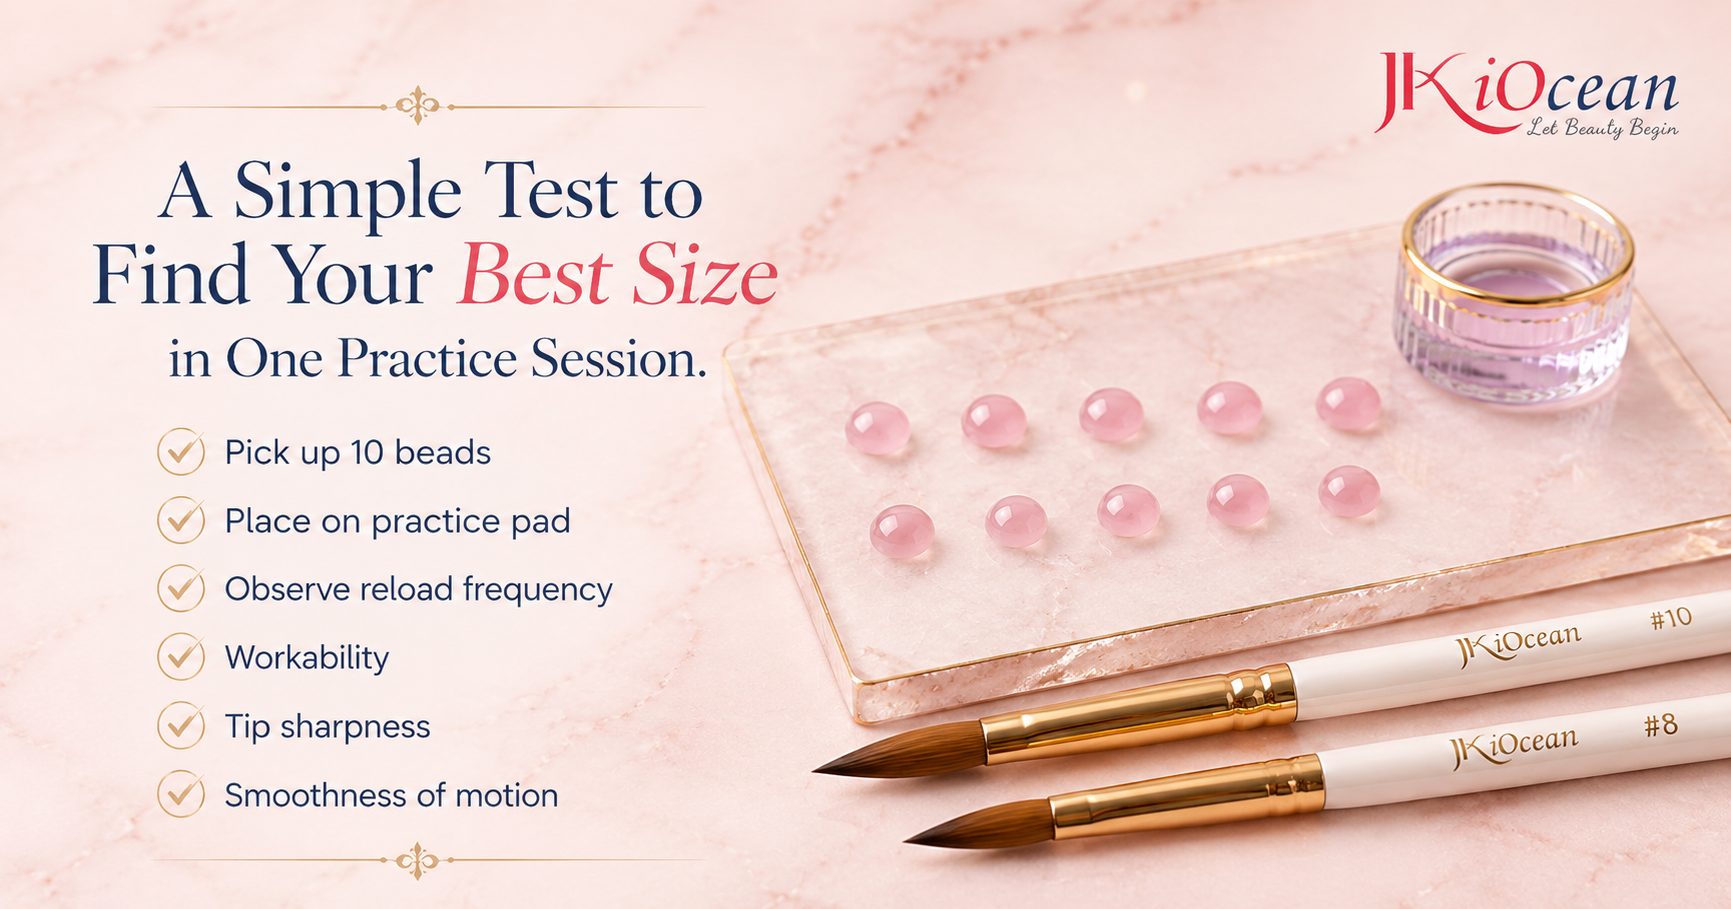
Do this with any two brush sizes you’re considering:
-
Pick up 10 beads with each brush, same monomer, same powder
-
Place each bead on a practice pad, not on a nail
-
Observe:
-
How often you reload
-
Whether beads stay workable
-
Whether the brush tip stays sharp
-
How smooth your press-and-glide motion feels
-
The “best brush size” will feel like it naturally supports your pace without forcing you to rush or over-control.
Common Myths About Acrylic Brush Size
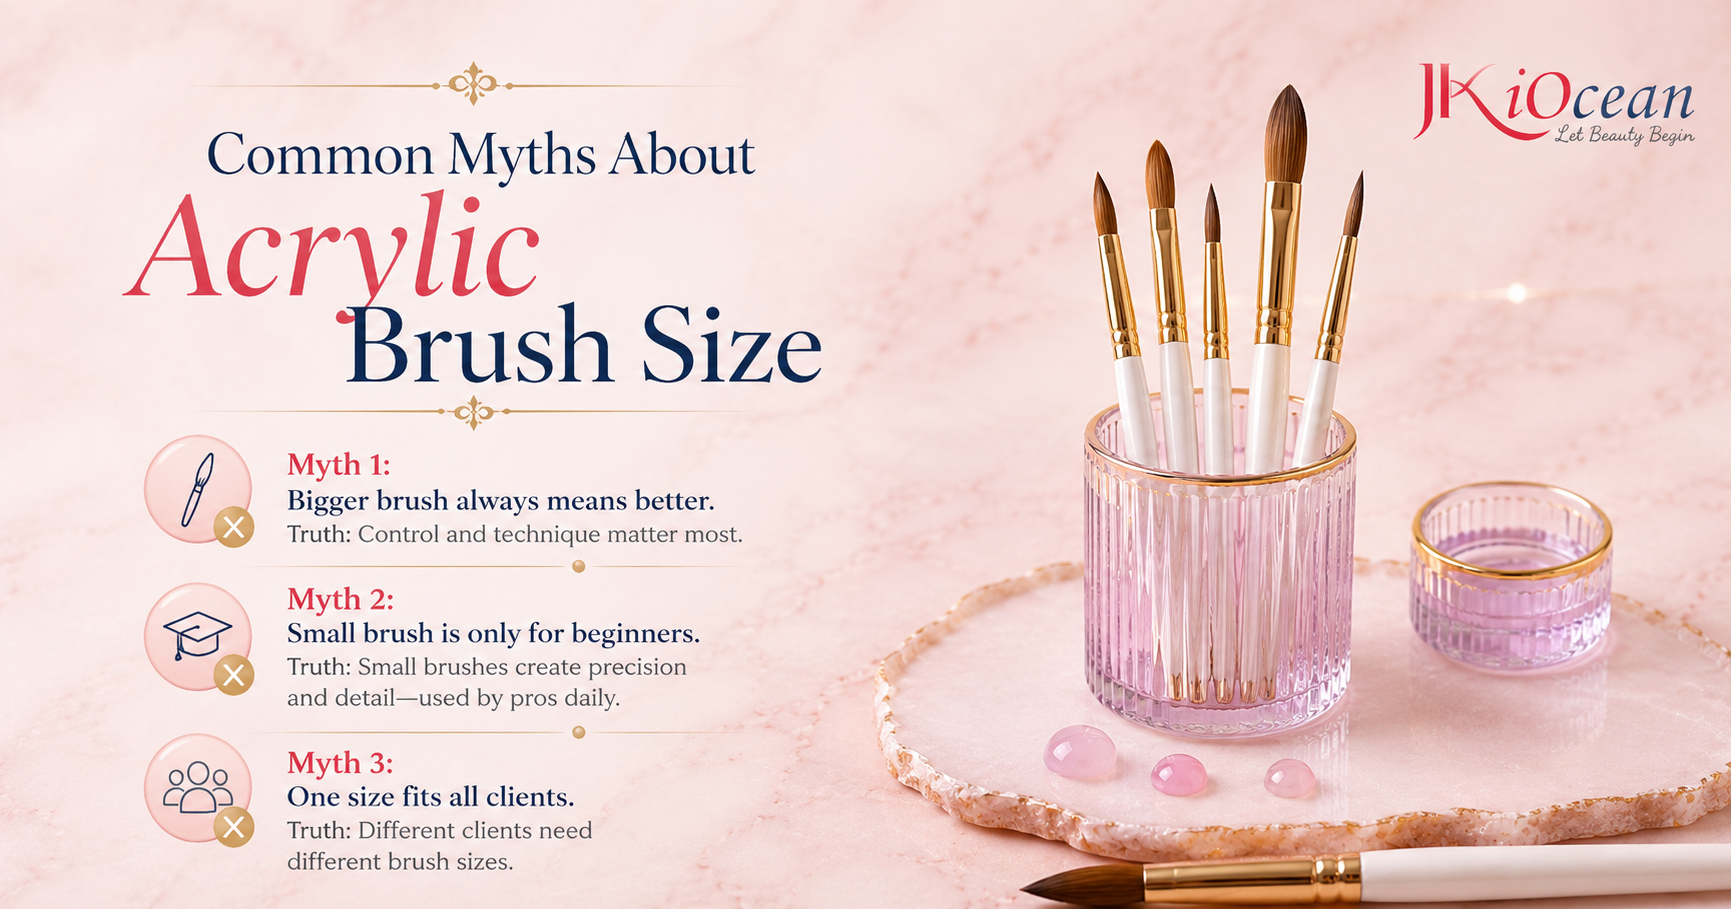
Myth 1: Bigger brush always means better
Bigger brush means faster only if your technique is stable. Otherwise it means flooding, thicker cuticle area, and more filing.
Myth 2: Small brush is only for beginners
Some pros love smaller brushes for ultra clean cuticle work and precision. Skill level doesn’t always equal brush size preference.
Myth 3: One size fits all clients
Nail bed size matters. Very small nail beds can look bulky fast with oversized brushes.
The Best Brush Size Depends on Your Environment Too
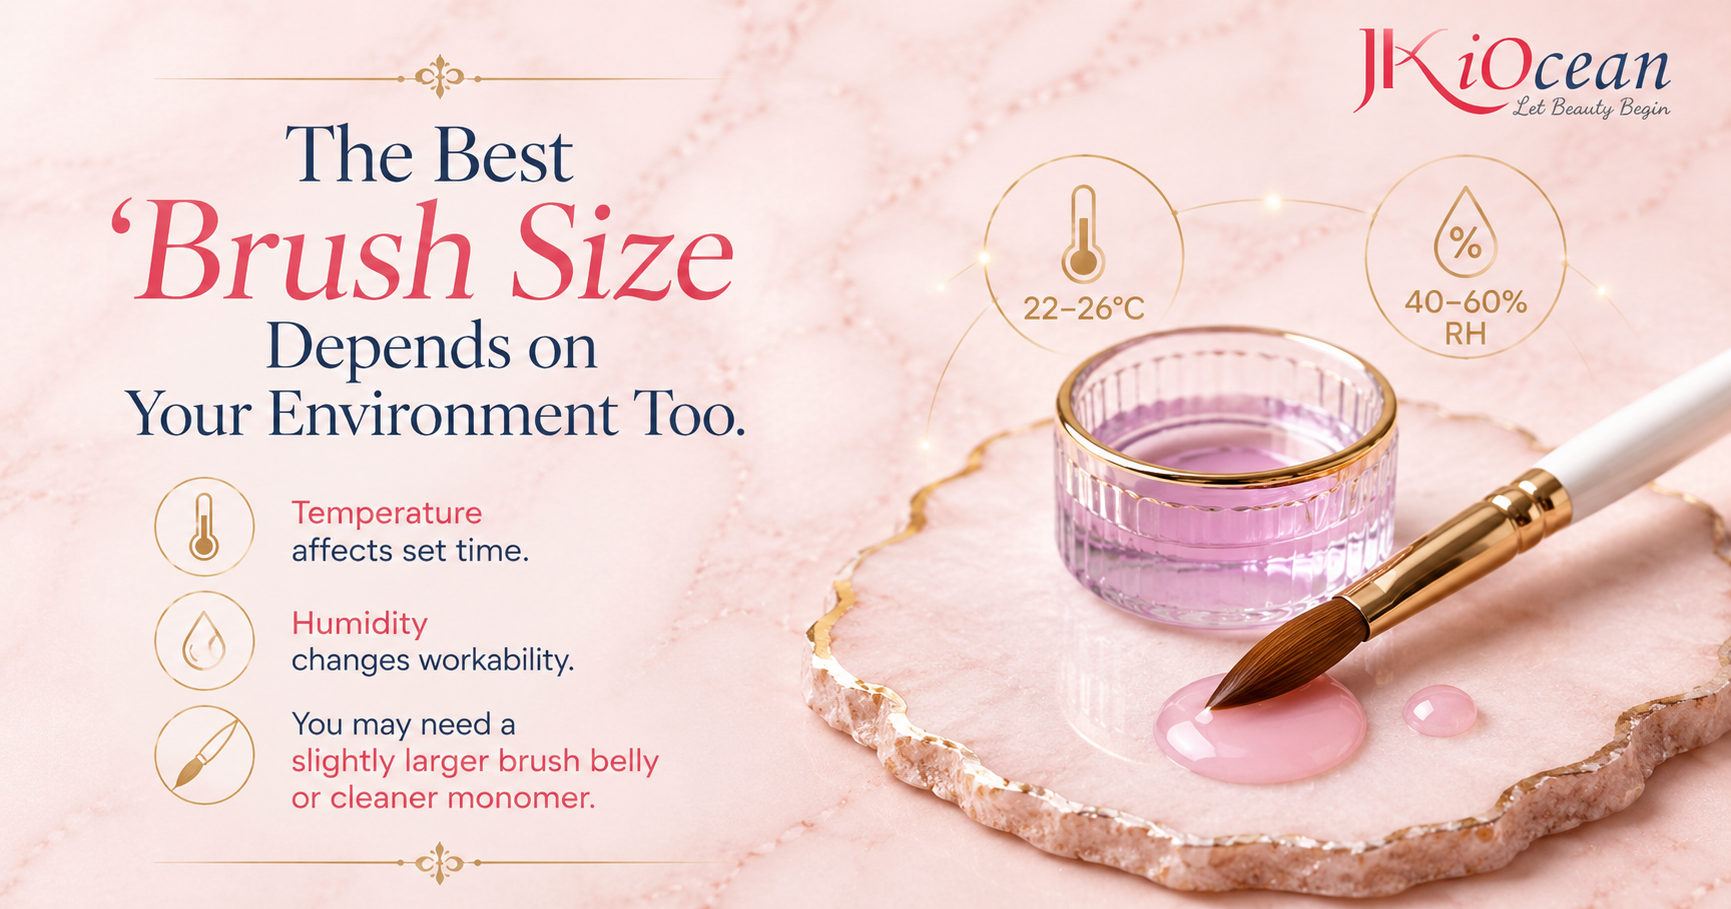
Room temperature and humidity affect how acrylic behaves. In warmer environments, beads can set faster, and a brush that holds monomer well becomes more important. If your beads feel like they’re drying too quickly, you may need:
-
slightly larger brush belly
-
cleaner monomer
-
faster working rhythm
Sometimes changing size from 8 to 10 solves the “dry bead” issue instantly.
The Best Brush Size For Acrylic Nails is the size that matches your bead style and your typical nail length—while keeping your cuticle zone clean and your workflow efficient. If you’re still deciding, you rarely go wrong with:
-
Size 10 for balance
-
Size 12 for salon speed once you’re comfortable
-
Size 8 if control is your priority right now
Choose the brush that makes acrylic feel calm, not rushed. When your brush works with you, your sets get smoother, faster, and noticeably more professional.