
 3D Gel
 Accessories
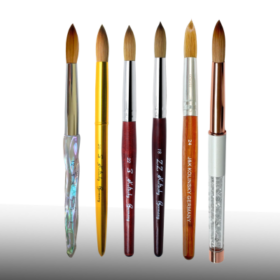 Acrylic Brushes
 Art Brushes
 Clippers
 Design
 French Brushes
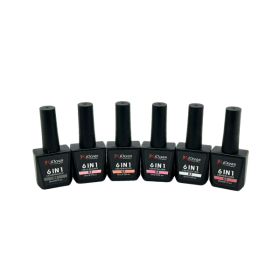 Builder Gel
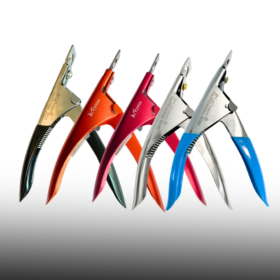 Nail Tip Cutter
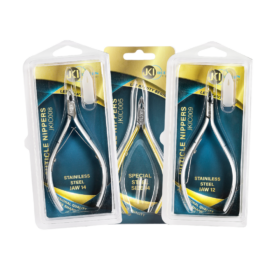 Nippers
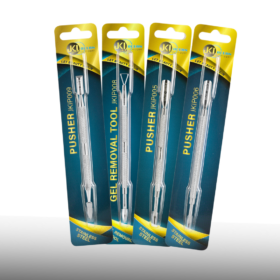 Pusher
 Scissors
 Tweezers
May
If you are new to acrylic, the brush is the difference between “this is impossible” and “wait, I can do this.” The best acrylic nail brush for beginners is not the biggest or the fanciest. It is the one that helps you pick up a consistent bead, place it without panic, and blend smoothly near the cuticle without flooding the skin.
This guide breaks down what actually matters when you buy your first acrylic brush, what size is easiest to learn with, which bristle types are worth it, and the simple habits that keep your brush from fraying or hardening.
Start With the Goal: Control Beats Speed
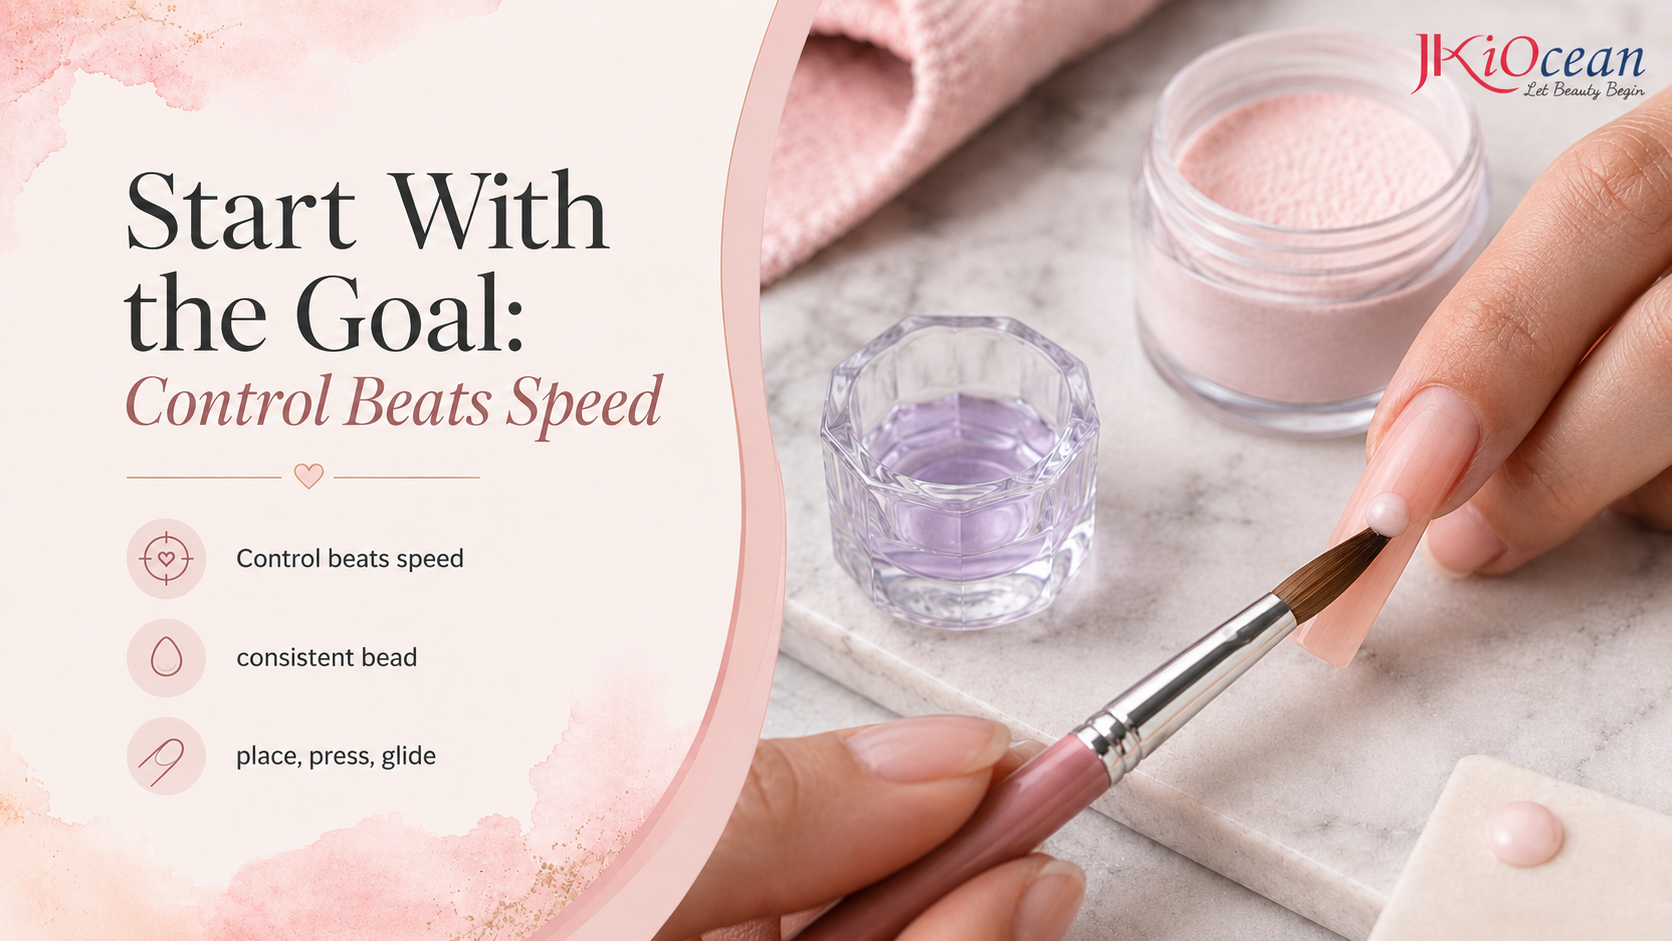
Beginners often choose a brush based on what looks professional. Pros can work fast with large brushes because they already control monomer, powder, and timing. When you are learning, your goal is control. A beginner friendly brush should let you:
-
Form a bead that is not too wet or too dry
-
Place the bead where you want without it running
-
Press and glide without the brush splaying
-
Clean the brush quickly between beads
If any of those feel hard, the brush size, shape, or bristle quality is probably working against you.
The Easiest Brush Size For Beginners
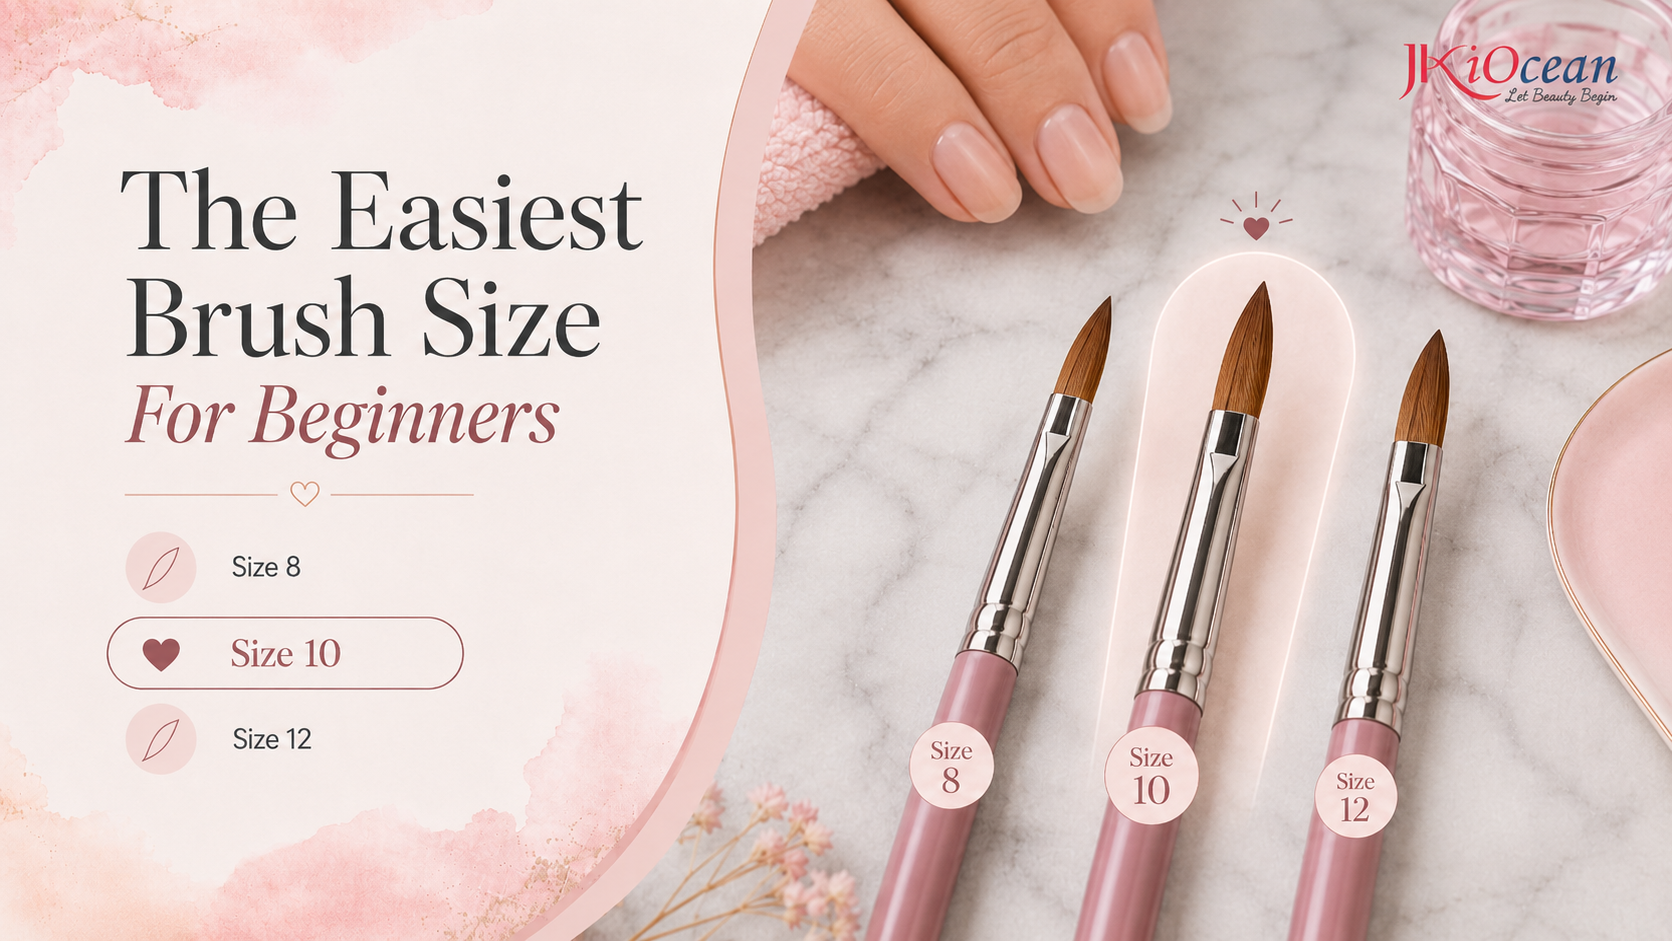
Most new nail artists do best with a brush that is not too small and not too big. Too small means you keep reloading monomer and your beads dry fast. Too big means you overload monomer and flood the cuticle area.
A practical beginner range looks like this:
-
Size 8 gives strong control for smaller nail beds and practice hands
-
Size 10 is the best all around starter for most people
-
Size 12 can be great once you can control bead ratio and want faster coverage
If you only want one brush to start, choose size 10 in an oval shape. It gives enough belly to hold monomer while still feeling manageable near the cuticle.
Brush Shape: Oval Is the Beginner Sweet Spot
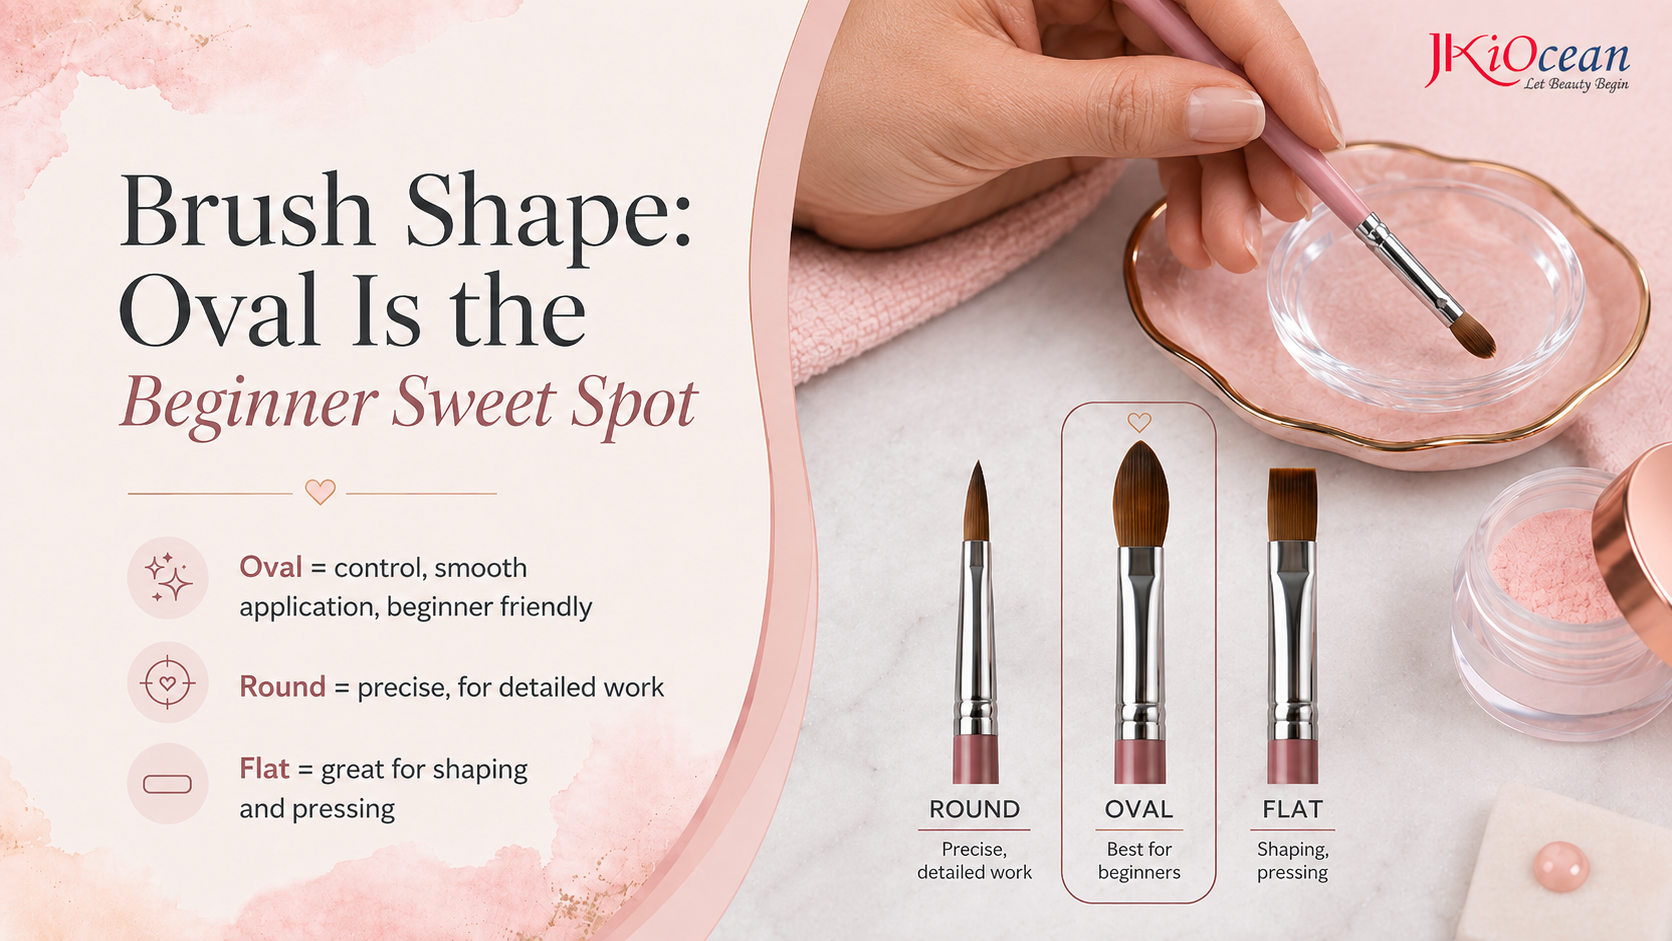
For acrylic, the oval shape is popular for a reason. It supports three beginner needs at once: bead control, cuticle blending, and sidewall precision.
Here is how shapes behave:
-
Oval is balanced. It presses, blends, and keeps a clean edge.
-
Round can feel pointier. It is nice for detail but can feel less forgiving.
-
Flat is usually not the first choice for acrylic beginners. It is more common in gel work.
If you are learning, oval helps you learn the classic place, press, glide motion without fighting the brush.
Bristle Type: Kolinsky vs Synthetic in Beginner Terms
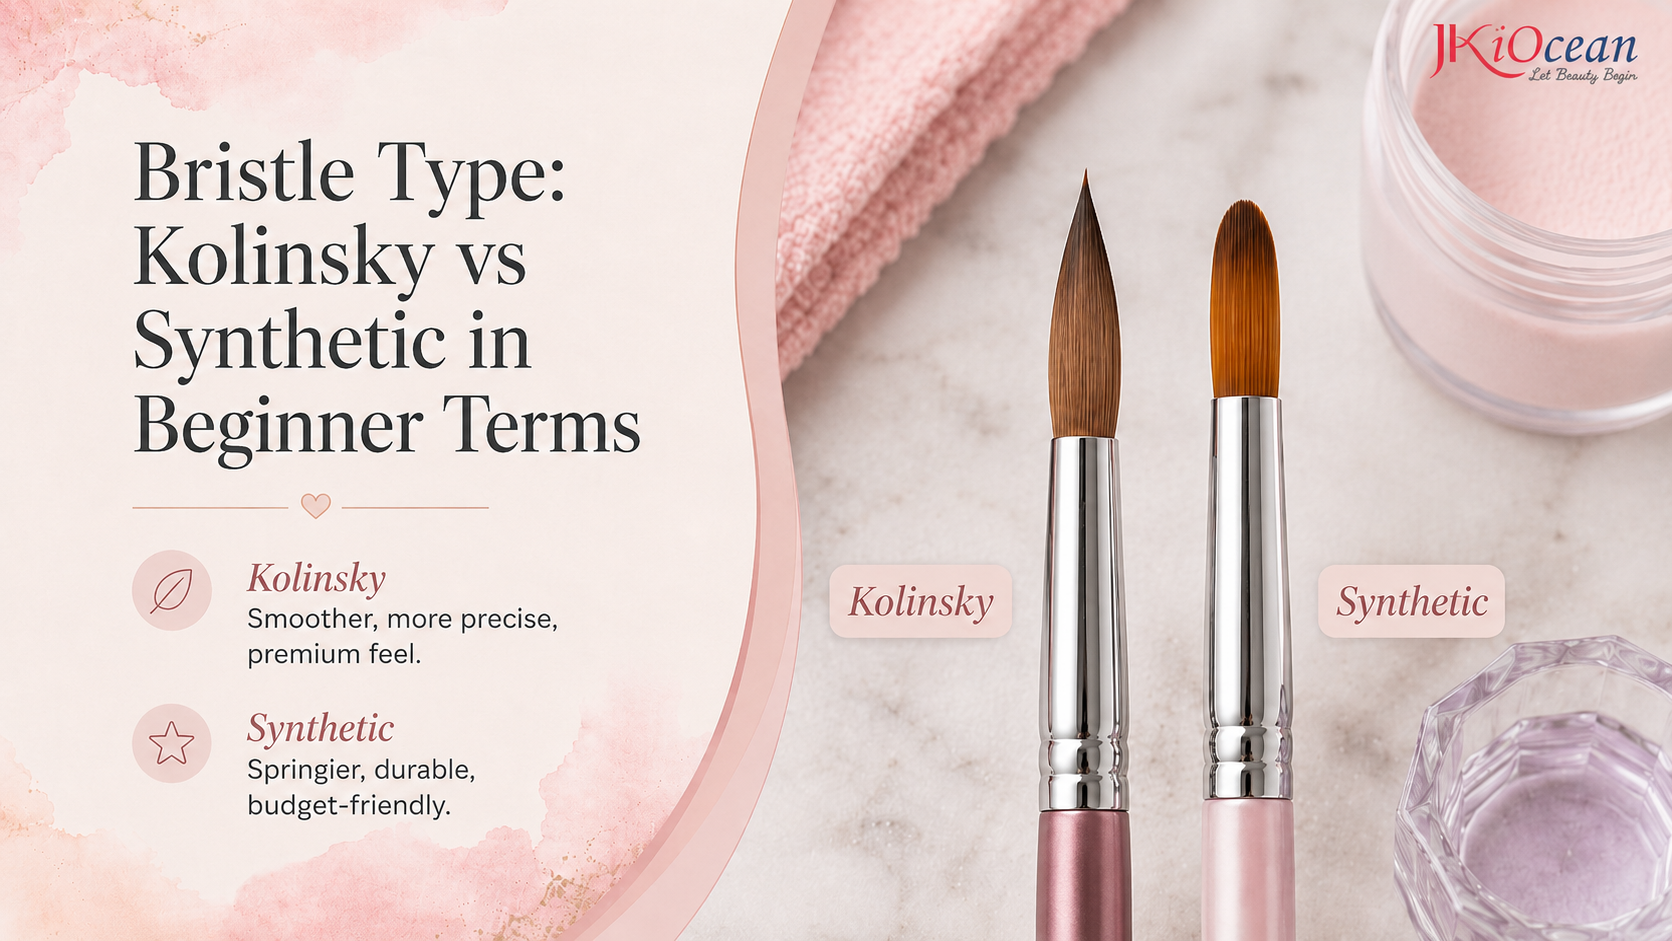
You will see two common options: natural hair (often Kolinsky sable) and synthetic hair.
A beginner friendly way to think about it:
-
Natural hair tends to hold monomer more evenly, which helps keep beads workable.
-
Synthetic hair often holds less monomer and can feel springy, which can make beads dry faster and blending feel streaky.
That said, beginners can start with either. If you practice frequently and want smoother control, a good quality Kolinsky brush can make learning easier. If you are practicing casually, a decent synthetic brush can still work, but expect to upgrade sooner.
A key point: the label alone is not enough. A poorly made “Kolinsky” brush can still shed, splay, or loosen at the ferrule.
The Ferrule and Handle Matter More Than You Expect
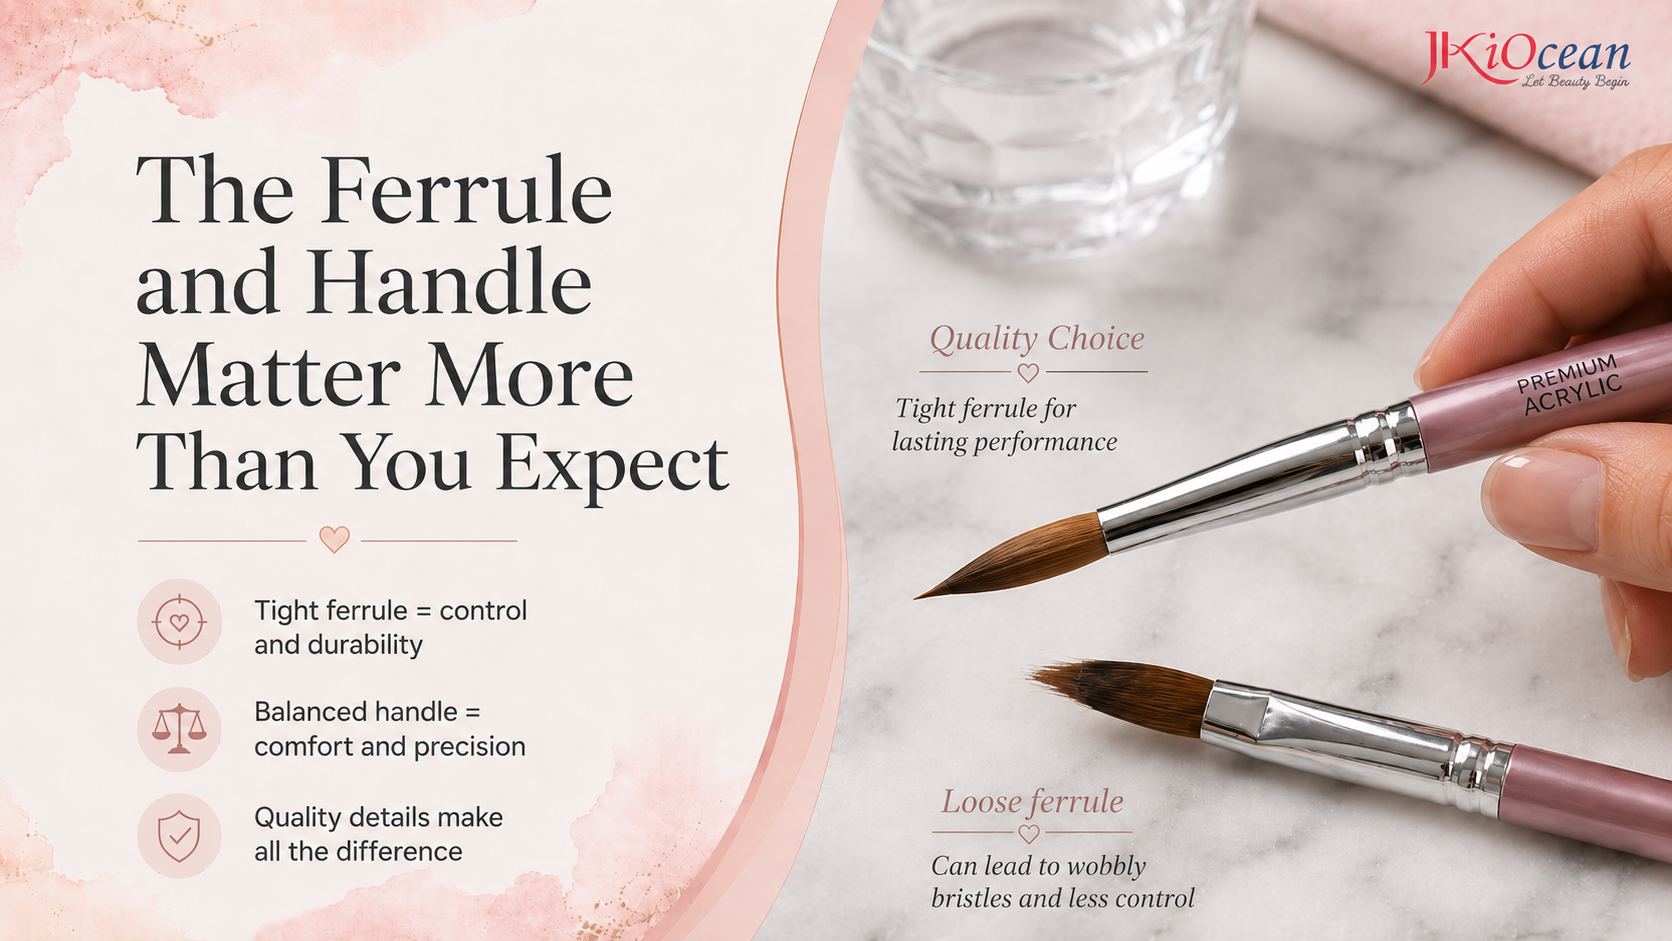
The ferrule is the metal part that holds the bristles. Many brush problems come from a weak ferrule, not the hair.
Check these basics:
-
The ferrule should feel tight and solid with no wiggle.
-
The bristles should not shed when you lightly pinch and release.
-
The point should form naturally when the brush is slightly wet.
Handle comfort matters too. If the handle is slippery or unbalanced, your hand will tense up and you will push too hard. Beginners do best with a handle that feels stable and not overly heavy.
A Simple Buying Test You Can Do Quickly
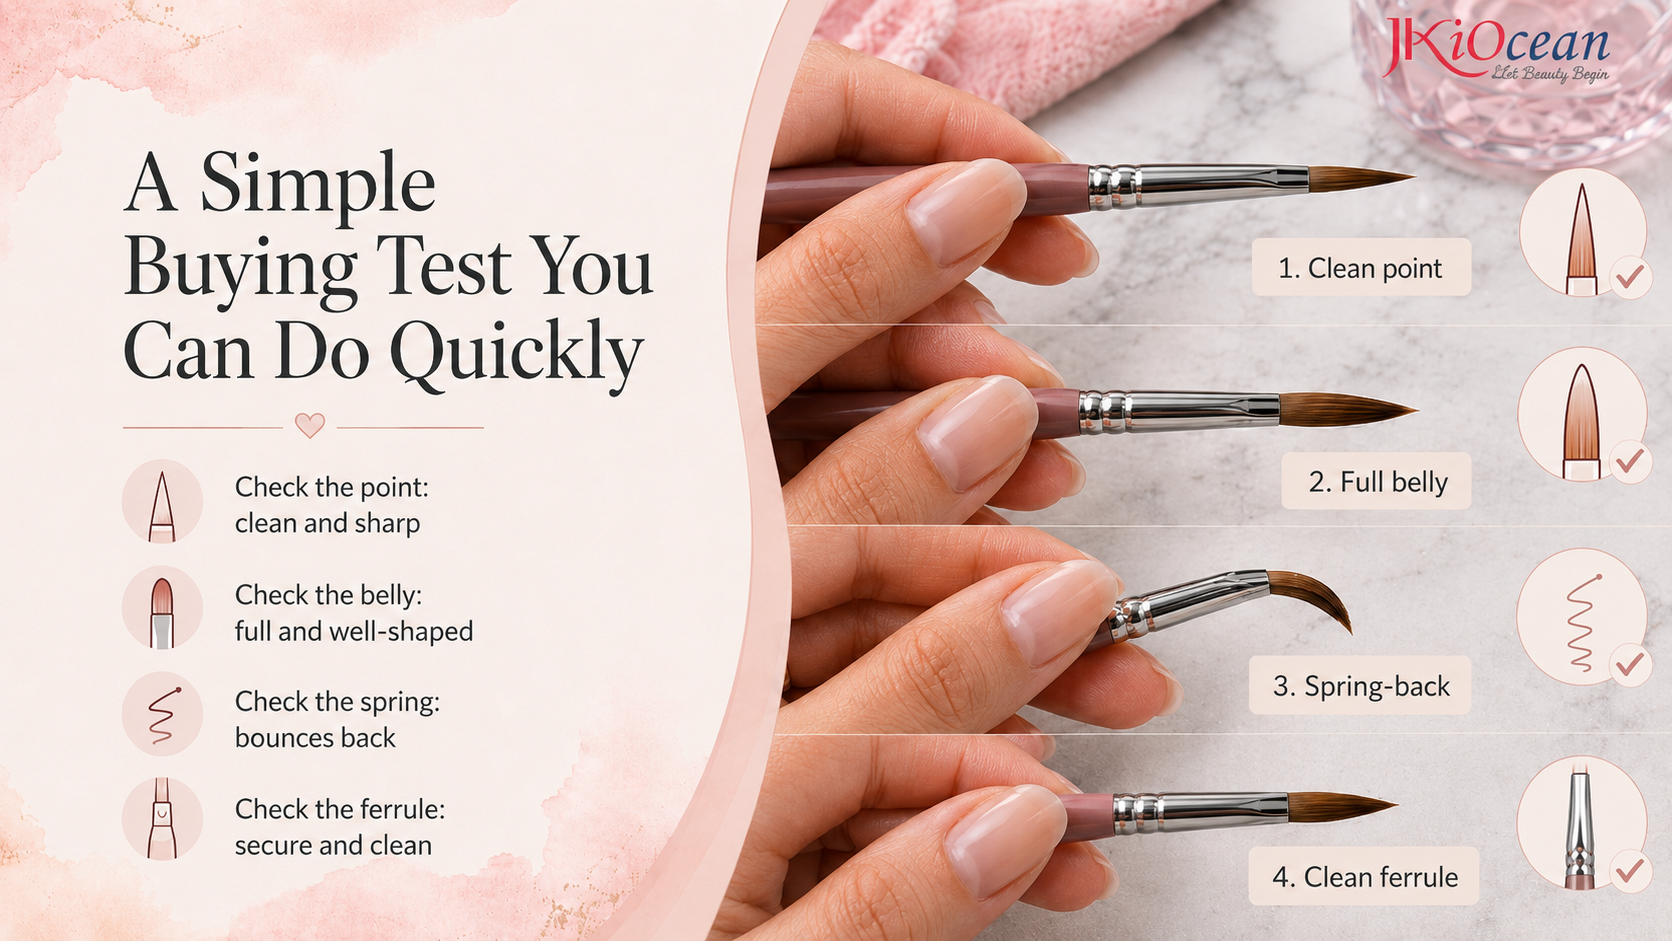
Even if you cannot dip the brush in monomer at the store, you can still evaluate it:
-
Look at the tip. It should come to a clean point, not a blunt wedge.
-
Check the belly. You want a visible mid section that can hold liquid.
-
Press the bristles gently and release. The hair should bounce back, not stay splayed.
-
Inspect the ferrule edge. It should look clean with no gaps or glue blobs.
If a brush fails any of these, it will likely fight you during application.
How to Prep a New Acrylic Brush Before First Use
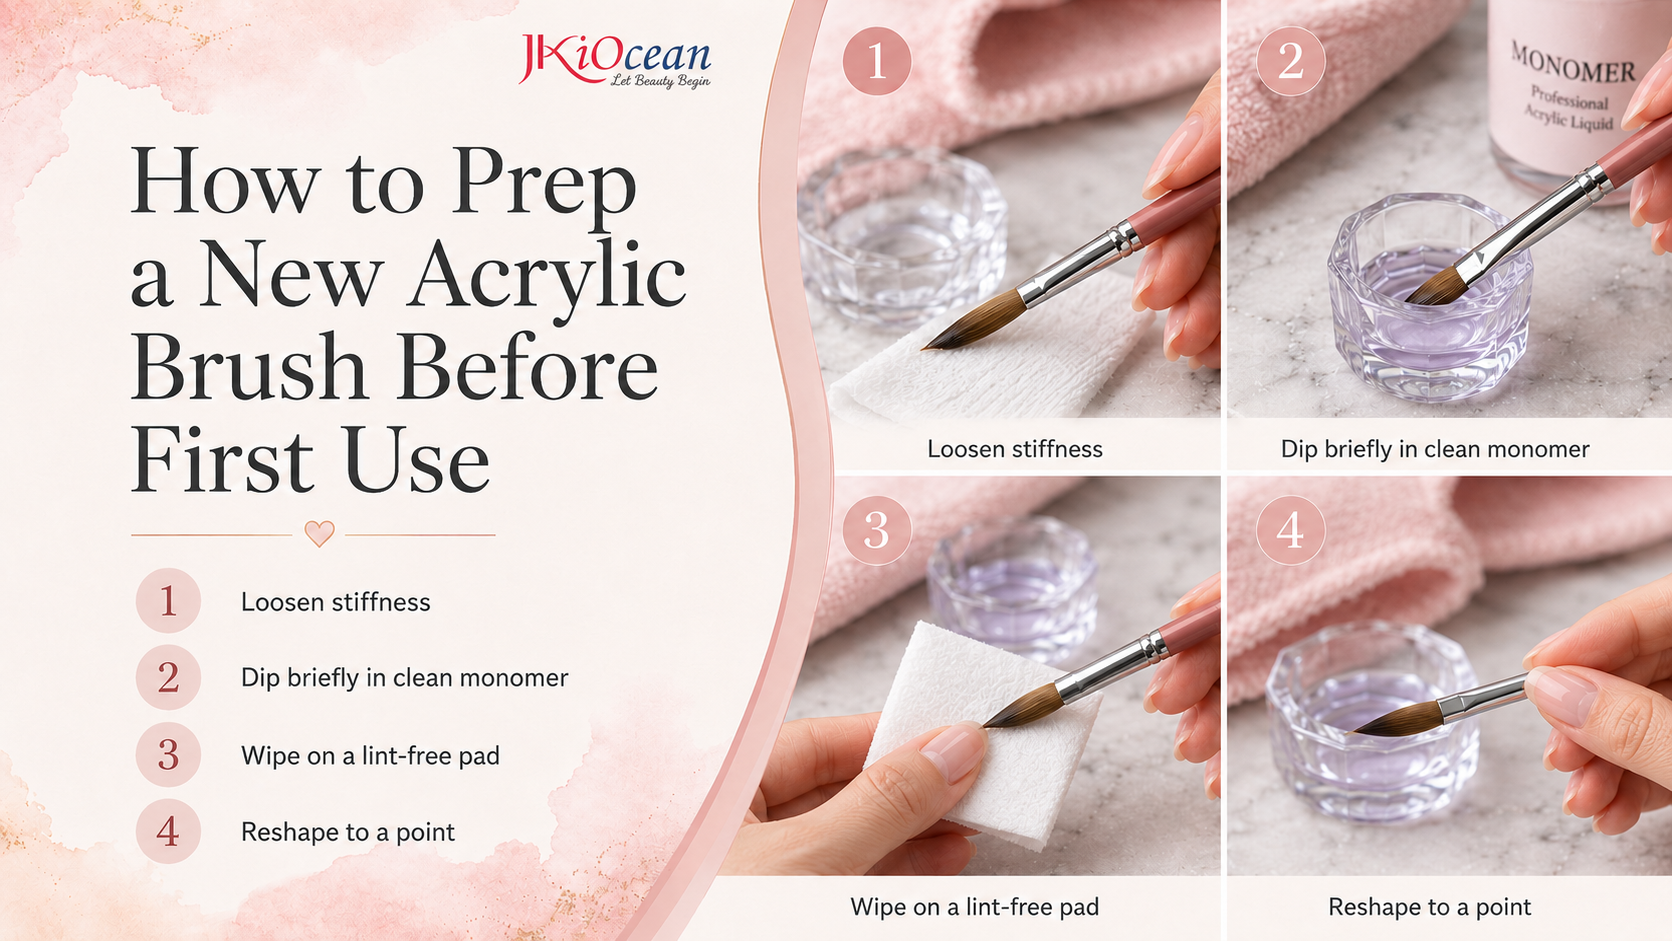
Many new brushes arrive with a protective coating to keep the hairs shaped. If you skip proper prep, the brush can behave stiff or split.
A safe prep routine:
-
Gently roll the bristles between your fingers to loosen stiffness.
-
Dip briefly in clean monomer.
-
Wipe on a lint free pad.
-
Repeat until the brush becomes flexible and forms a point.
Avoid acetone for routine prep. It can dry out bristles and shorten brush life.
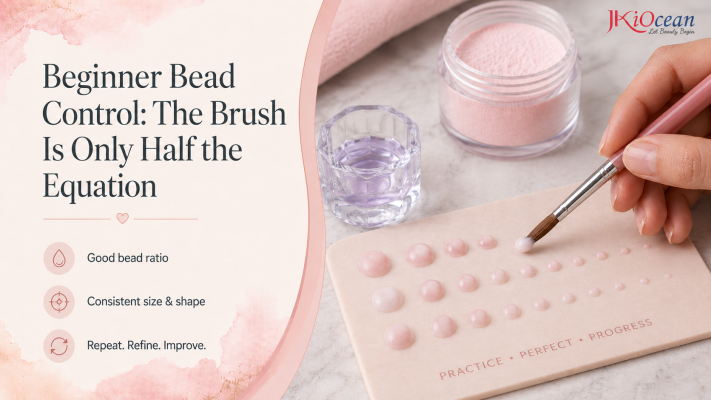
Beginner Bead Control: The Brush Is Only Half the Equation
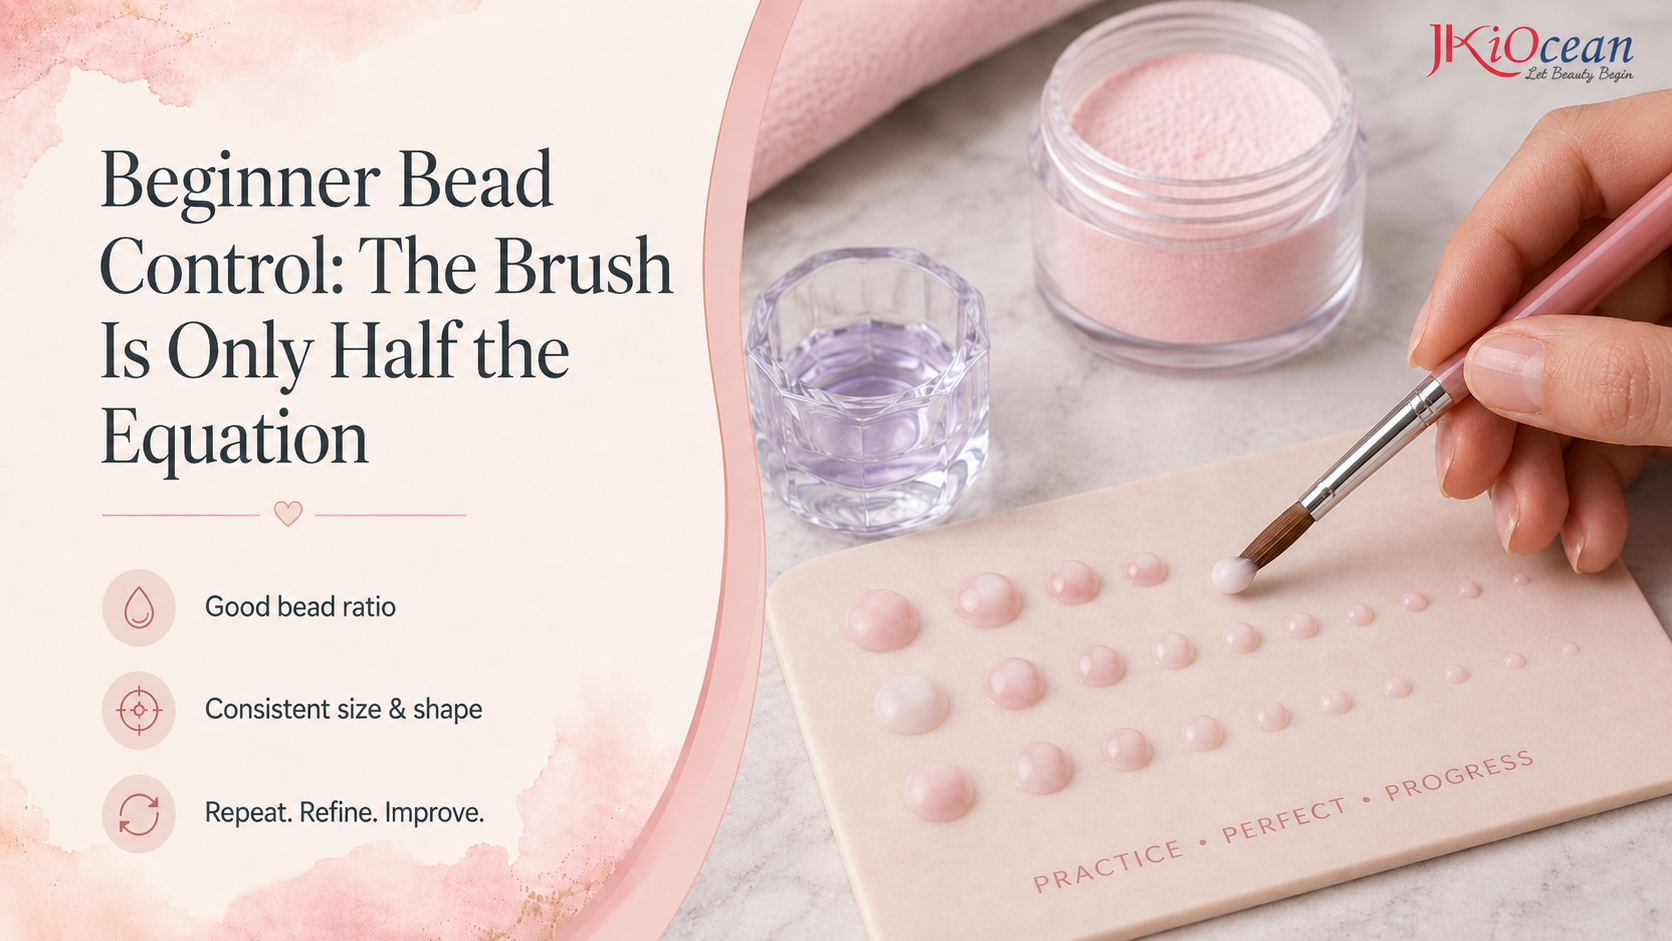
Even with the best acrylic nail brush for beginners, your bead depends on ratio. If your beads keep running, you likely have too much monomer. If they look grainy, you likely have too little.
A quick learning drill:
-
Practice picking up 10 beads on a practice pad without placing them on a nail.
-
Aim for the same size bead each time.
-
Watch the surface. A good bead looks smooth and satiny, not watery and not dusty.
Once you can create consistent beads, your application becomes dramatically easier.
Brush Care: How Beginners Accidentally Ruin Brushes
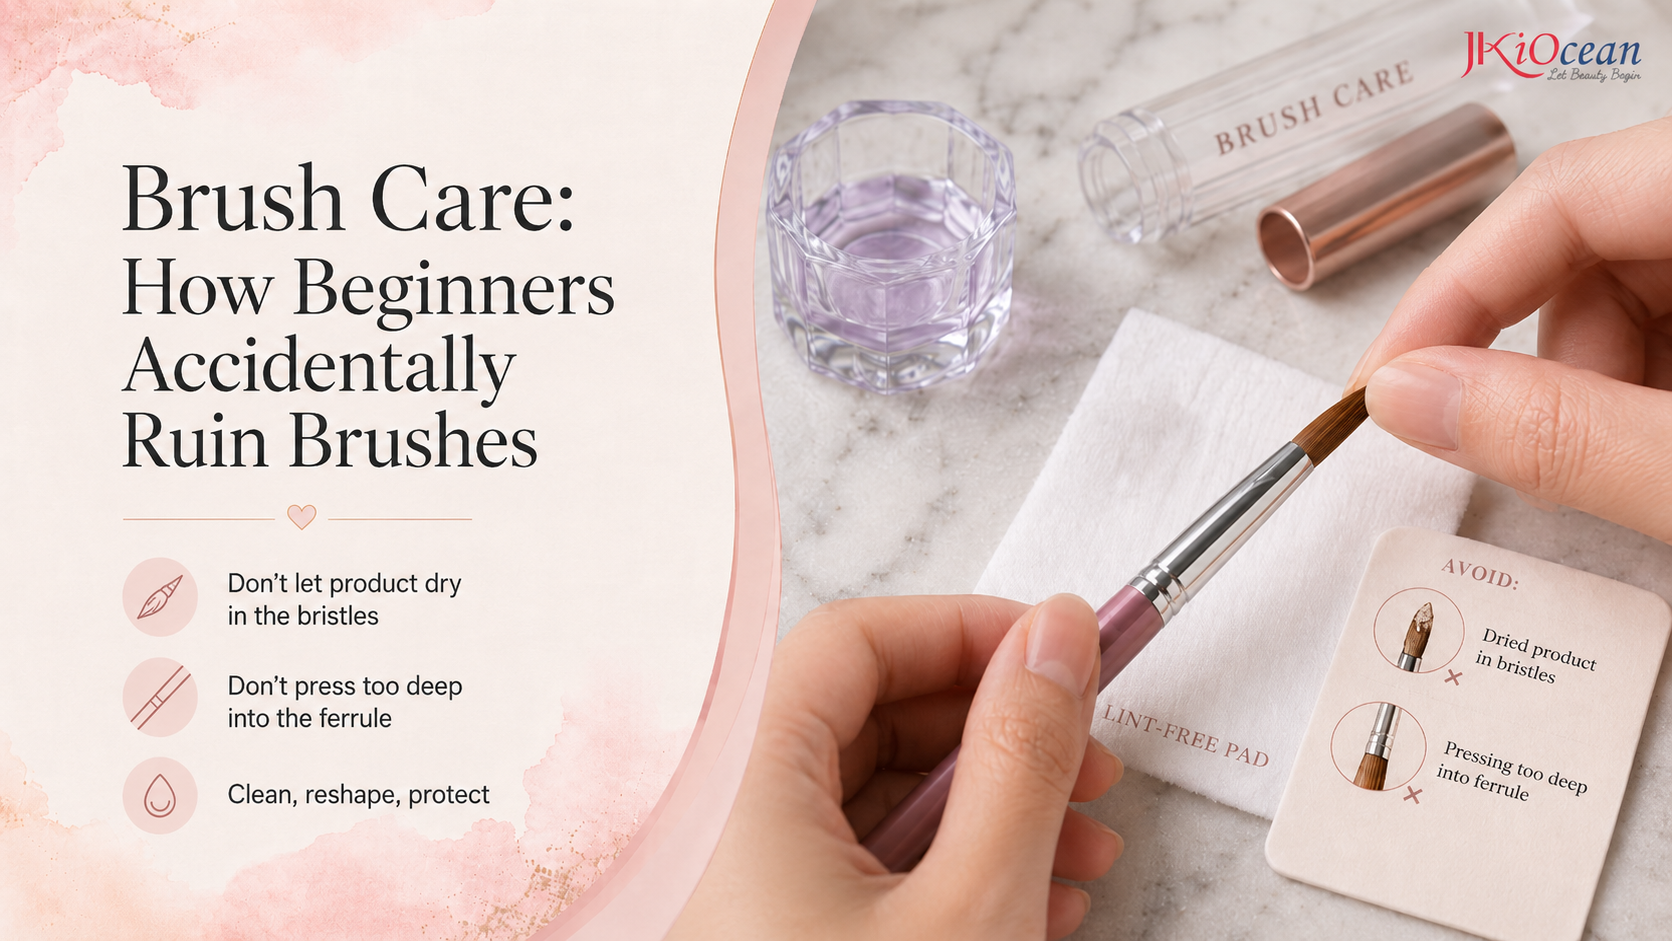
Most acrylic brushes do not die from age. They die from dried product inside the bristles.
Avoid these common mistakes:
-
Letting acrylic cure in the brush while you pause to shape
-
Pressing too hard and forcing product deep into the ferrule
-
Cleaning with harsh solvents too often
-
Storing the brush without reshaping the tip
A simple care routine between beads:
-
Wipe on a lint free pad.
-
Dip lightly in monomer.
-
Wipe again and reshape the point.
At the end of the session, clean until the brush wipes clear, reshape the tip, and store it protected so the bristles are not crushed.
What to Buy First If You Want a Small Starter Kit
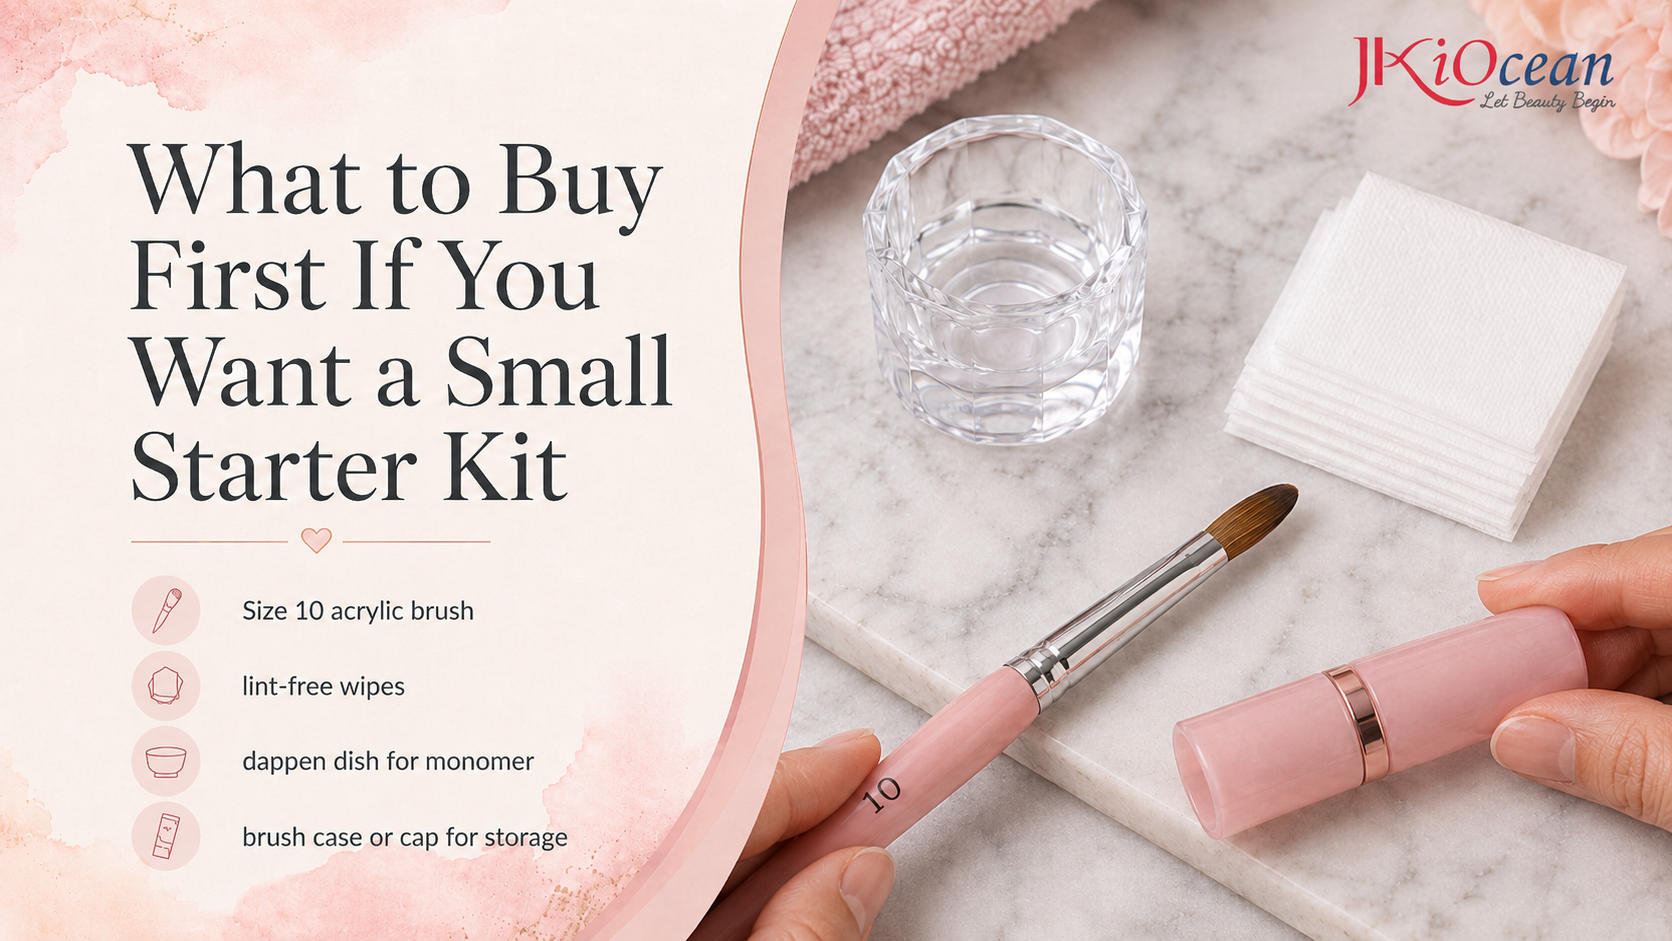
If you are building your first setup, keep it simple:
-
One oval acrylic brush in size 10
-
A lint free wipe stack
-
A dappen dish for monomer
-
A brush case or cap for storage
As your control improves, you can add a second brush, often a size 12 for speed or a smaller brush for detailed cuticle work.
The best acrylic nail brush for beginners is the one that helps you learn control without frustration. Choose an oval brush with a manageable size, focus on consistent beads, and treat brush care like part of the skill. When the brush stays sharp, clean, and predictable, acrylic becomes a technique you can repeat confidently, not a gamble every set.
Meta description: Best acrylic nail brush for beginners explained. Learn ideal size, shape, bristles, buying checks, and care tips for smoother acrylic application.

hanna
HANA is a Nail Tool Consultant at JKIOCEAN with years of hands-on experience helping customers find the perfect tools for their salon needs. With deep product knowledge and a passion for the nail industry, Hana specializes in guiding both beginners and professionals toward the best choices in acrylic brushes, clippers, nippers, and more. Her insights are trusted by salon owners and nail artists across the U.S.