
 3D Gel
 Accessories
 Acrylic Brushes
 Art Brushes
 Clippers
 Design
 French Brushes
 Builder Gel
 Nail Tip Cutter
 Nippers
 Pusher
 Scissors
 Tweezers
May
If you’re searching “nail tools cuticle pusher”, you’re likely trying to solve one of the most common manicure problems: messy cuticle lines, lifting gel, or polish that chips too soon. A cuticle pusher looks simple, but it’s one of the highest-impact tools in nail care—because it directly affects adhesion and how clean your manicure looks when it grows out.
This guide explains what a cuticle pusher does, the different types, how to choose the right one, and the safest step-by-step method to use it for professional-looking results—without over-trimming or damaging the nail plate.
What Is a Cuticle Pusher and What Does It Do?

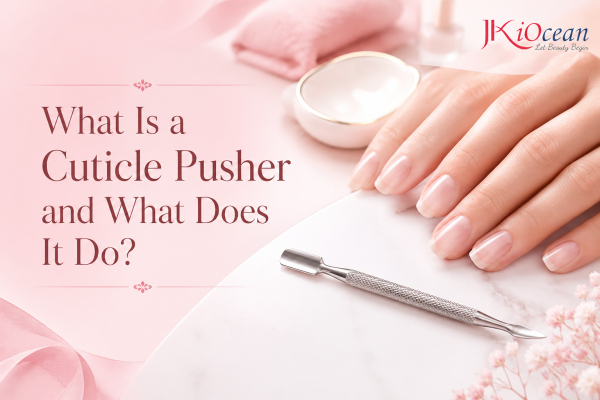
A cuticle pusher is a hand tool used to gently push back the cuticle area and lift non-living tissue from the nail plate. The key job isn’t “shoving skin back.” The real job is removing the invisible layer of dead cuticle residue (often called eponychium buildup) that clings to the nail plate and causes:
- Gel lifting at the cuticle
- Polish peeling early
- Rough cuticle edges that snag
- A bulky or uneven base near the cuticle zone
A good cuticle pusher helps create a clean, flat surface so products bond properly and your manicure looks crisp.
Why a Cuticle Pusher Is One of the Most Important Nail Tools
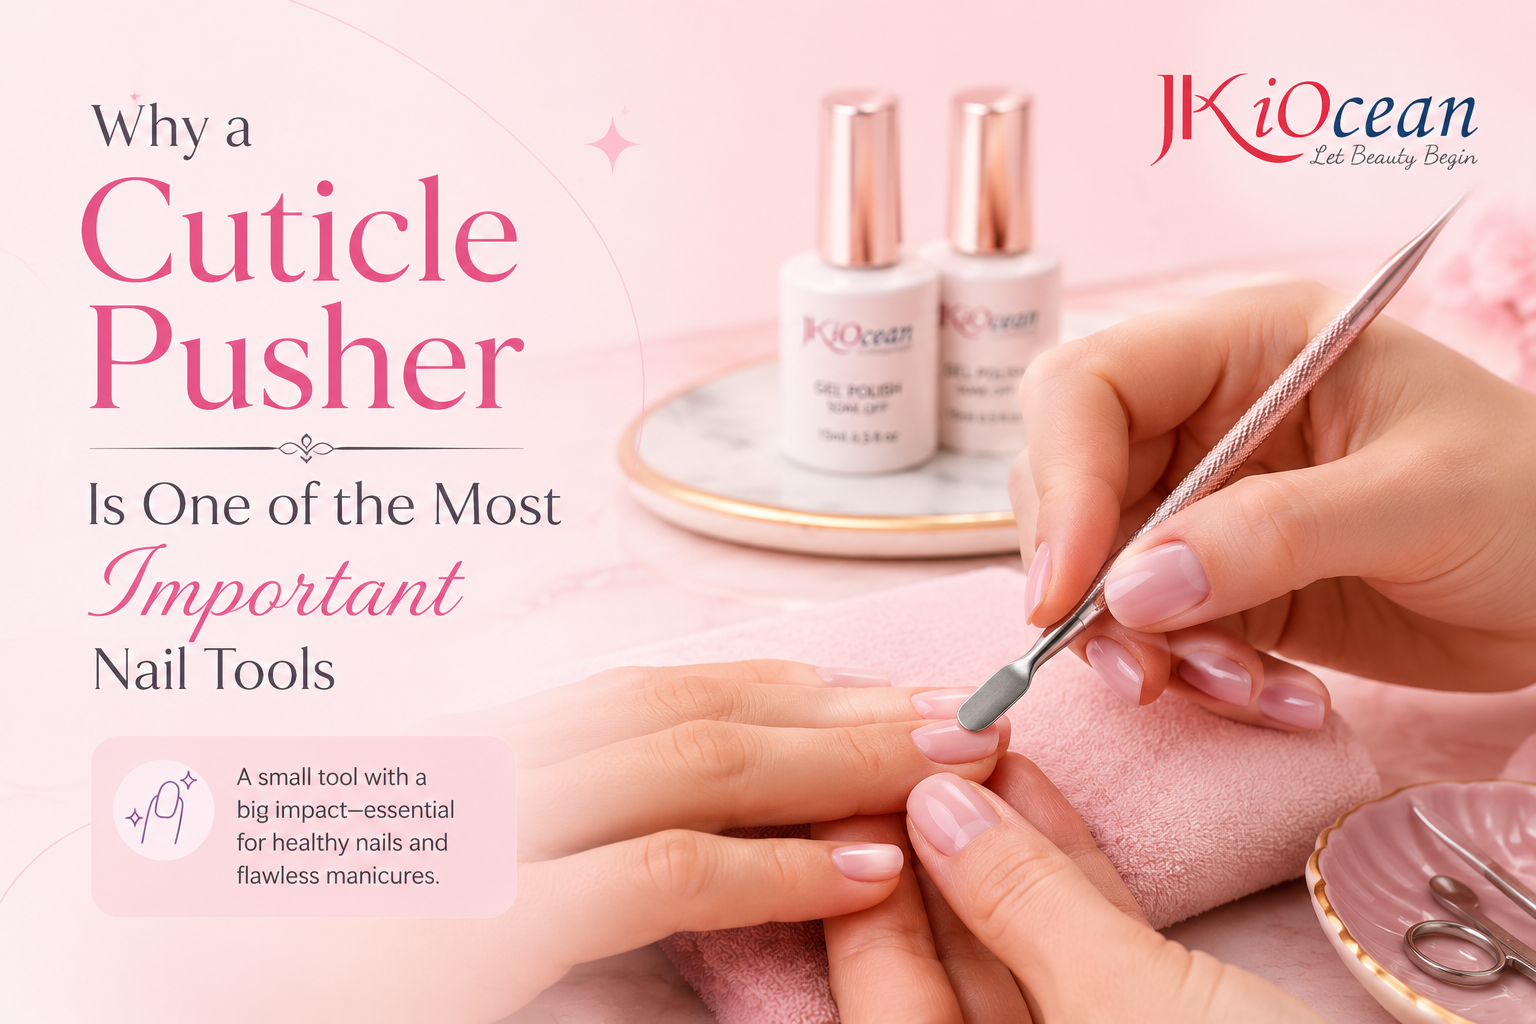
Even if you never wear gel, cuticle pushing improves nail appearance. But if you do wear gel polish, builder gel, acrylic overlays, or press-ons, a cuticle pusher becomes essential.
Benefits of proper cuticle pushing:
- Cleaner cuticle line (the manicure looks more “expensive”)
- Better base coat contact with the nail plate
- Less lifting and longer wear time
- Less need for aggressive cuticle cutting with nippers
- Smoother grow-out and less ragged skin around the nail
A pusher is the quiet hero of nail prep.
Types of Cuticle Pushers (And When to Use Each)
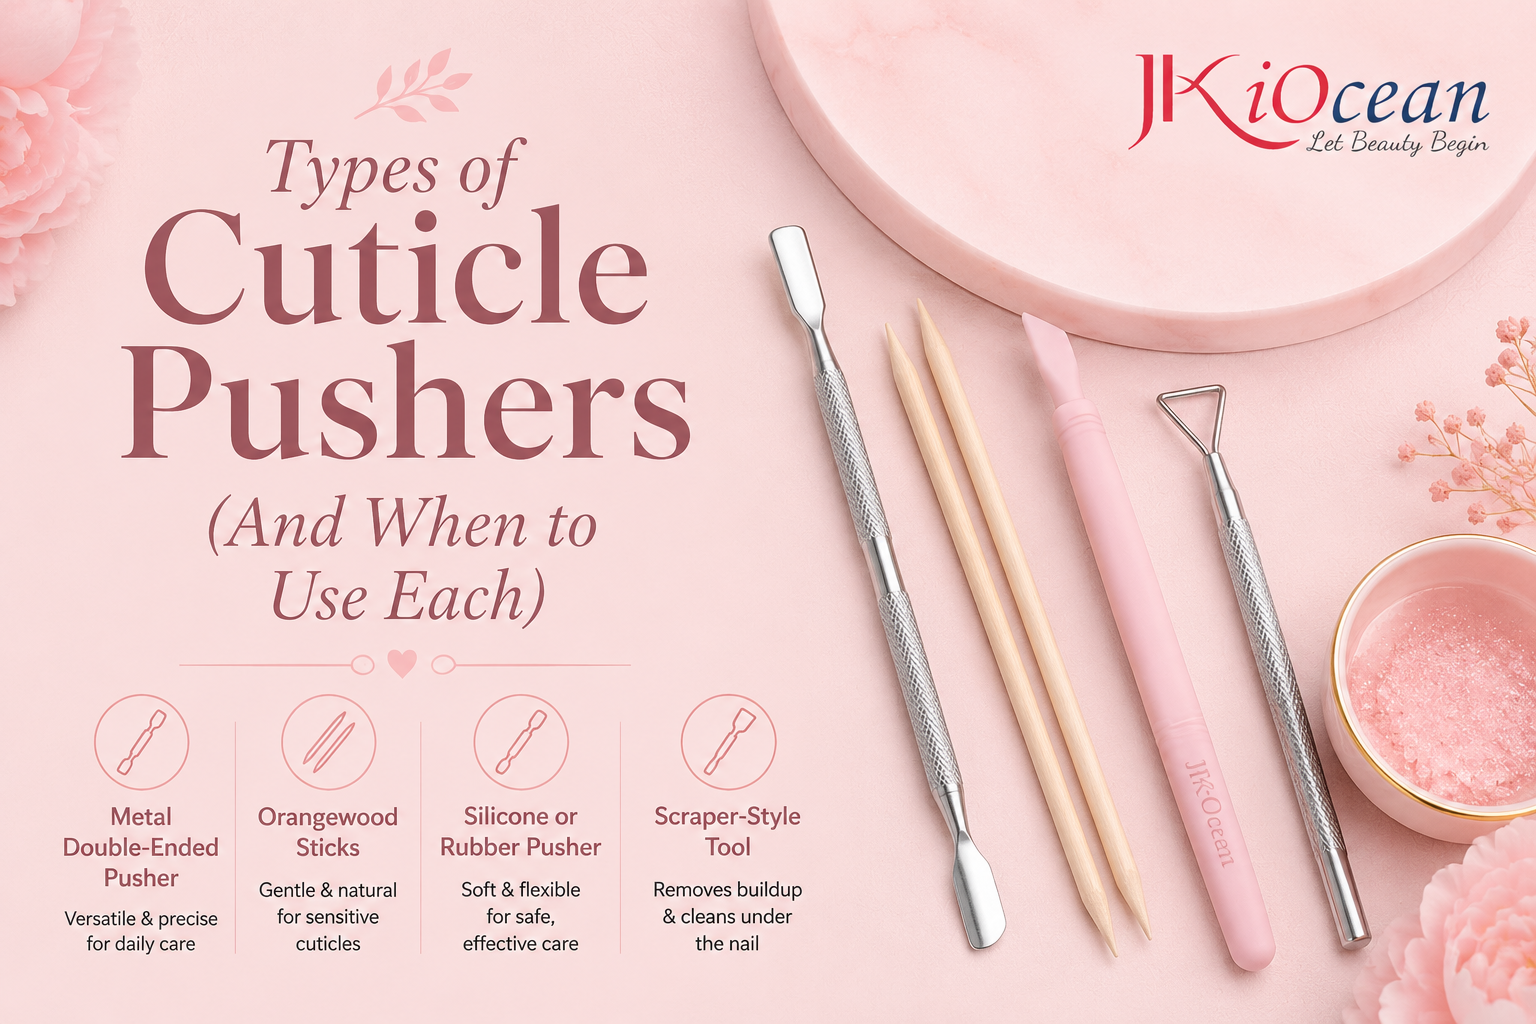
Metal Cuticle Pusher (Double-Ended)
This is the most common professional option. Usually includes:
- A rounded “spoon” end for pushing back and lifting residue
- A beveled/knife end for sidewalls and tight corners
Best for: salon use, consistent results, easy disinfection.
Wooden Orangewood Stick
Disposable, gentle, and beginner-friendly.
Best for: home users, sensitive cuticles, light cleanup, and detail nudging.
Downside: less durable and less effective on thick residue.
Rubber/Silicone Cuticle Pusher
Soft tip reduces the chance of scratching and feels gentle on sensitive clients.
Best for: beginners, clients with delicate nail plates, minimal prep routines.
Downside: may not remove stubborn cuticle residue.
Cuticle Scraper / Curette Style Tool
Designed to lift stubborn residue more directly.
Best for: experienced users who want deeper plate cleaning without aggressive nipping.
Caution: can scratch if used with pressure or wrong angle.
How to Choose the Right Cuticle Pusher
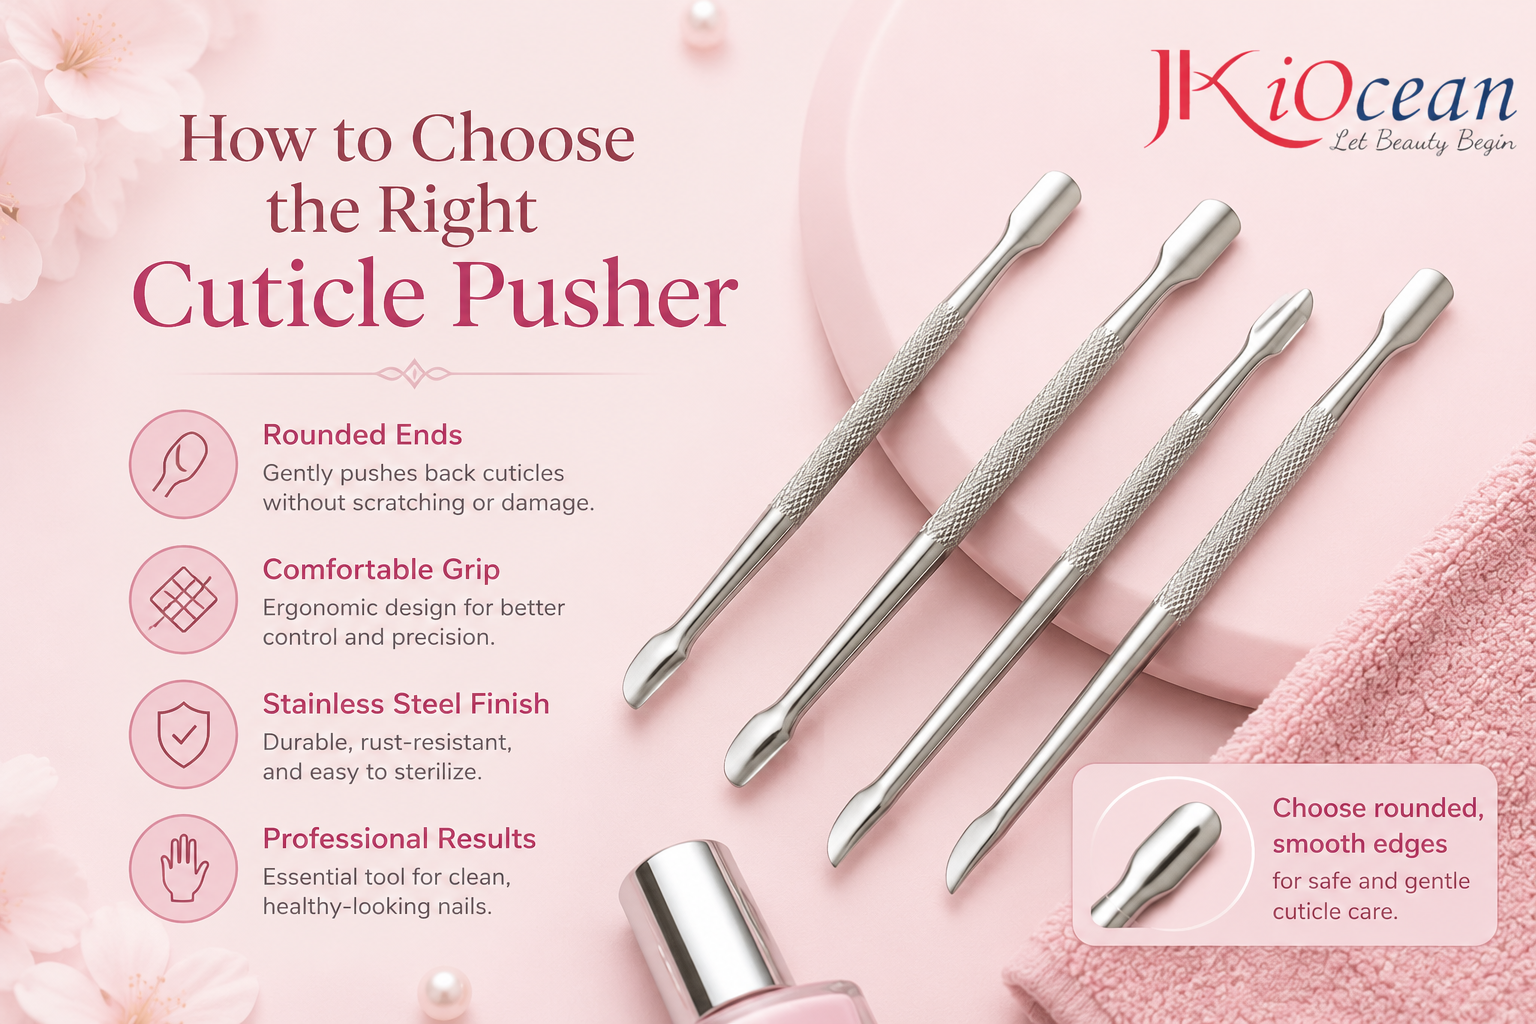
A quality cuticle pusher should feel stable, smooth, and safe in your hand.
Checklist:
- Stainless steel for durability and sanitation (if metal)
- Rounded edges (not sharp like a blade)
- Non-slip handle for better control
- Ends sized appropriately for your nail bed (especially small nails)
- Balanced weight (too light encourages pressure; too heavy can fatigue)
If the tool makes you press hard to “do anything,” it’s either the wrong type or the wrong technique.
How to Use a Cuticle Pusher Safely (Step-by-Step)
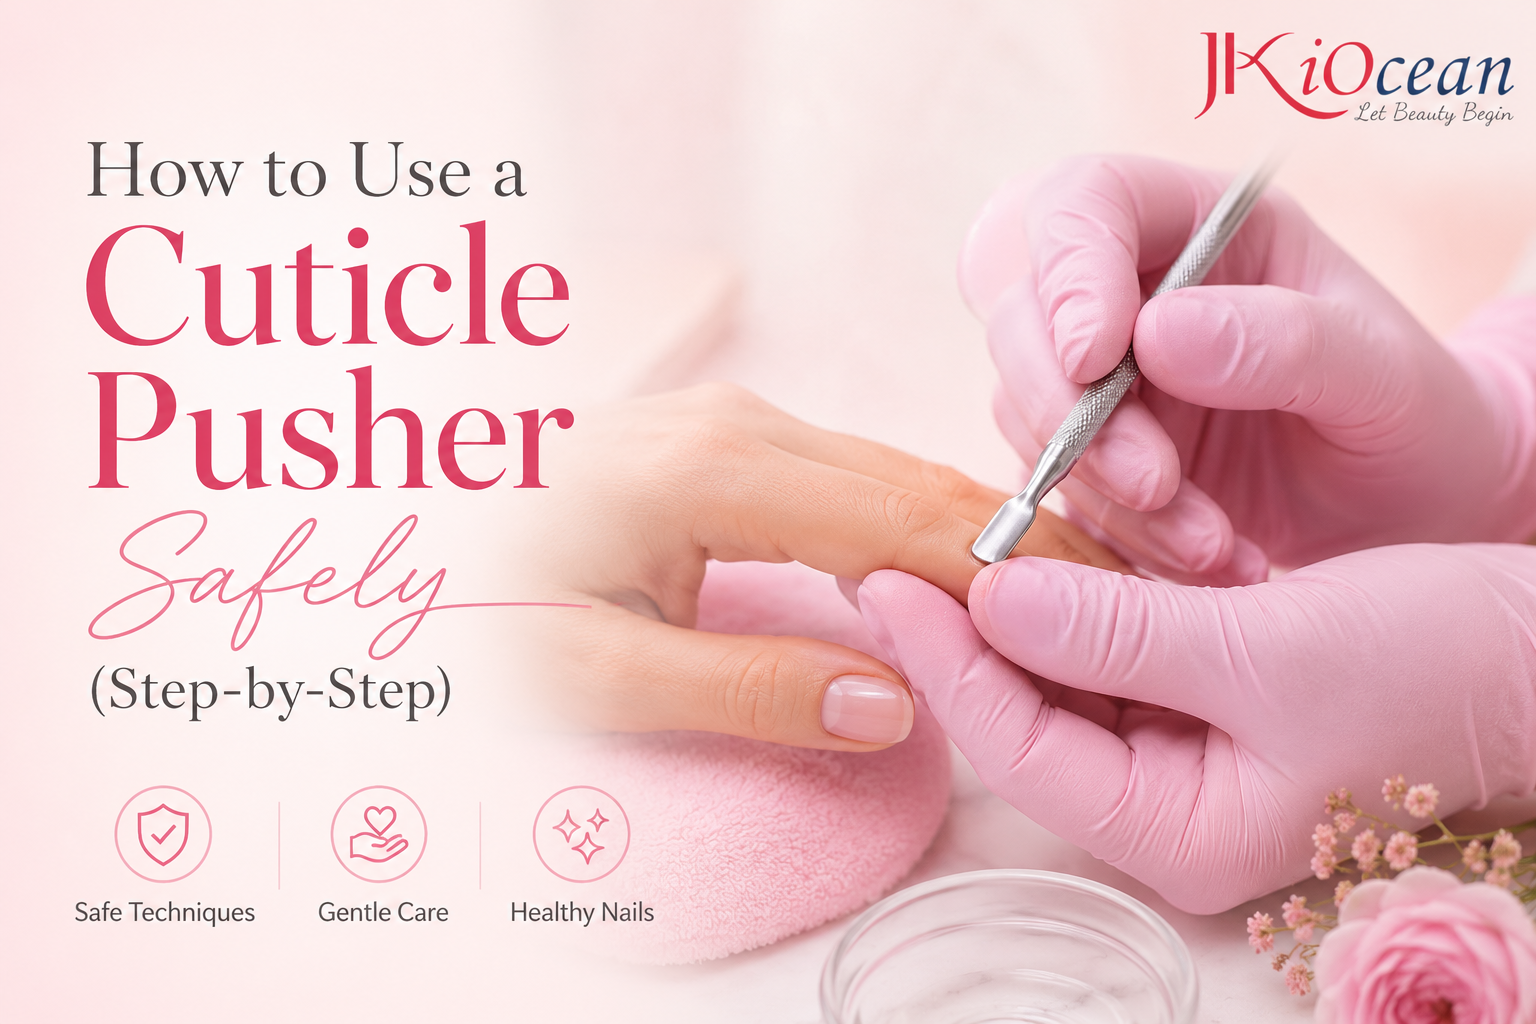
This method is designed to be effective but gentle.
Step 1: Clean and dry hands
Wash hands and remove oils. Clean nails help you see the cuticle line clearly.
Step 2: Soften the cuticle area (briefly)
You can:
- Soak in warm water for 2–3 minutes, or
- Apply cuticle softener for the recommended time
Then dry thoroughly. Over-soaking makes skin swell and increases tearing risk.
Step 3: Position the pusher correctly
Hold the tool like a pencil. Use the rounded end and set it at 30–45 degrees.
This angle is everything. If you hold it too upright, you’ll scrape and scratch.
Step 4: Push back gently
Glide from the cuticle line toward the center using small strokes.
Your goal is to move the cuticle back slightly, not force it.
Step 5: Lift and remove residue from the nail plate
As you push, you’ll see thin residue lifting. Keep strokes light and controlled.
If residue is stubborn, add a bit more softener and wait 30 seconds—not more pressure.
Step 6: Clean sidewalls
Use the beveled end or the edge of the rounded end to sweep sidewalls lightly.
Step 7: Brush off debris and cleanse
Use a nail brush or lint-free wipe to remove residue.
If you’re applying gel or polish, cleanse the nail plate before base coat.
Step 8: Decide if nippers are necessary
Often, pushing is enough. Only use nippers for clearly lifted dead skin that is hanging or snagging.
Step 9: Finish with cuticle oil
Oil reduces dryness and helps prevent future hangnails.
Pro Technique Tips That Make a Big Difference
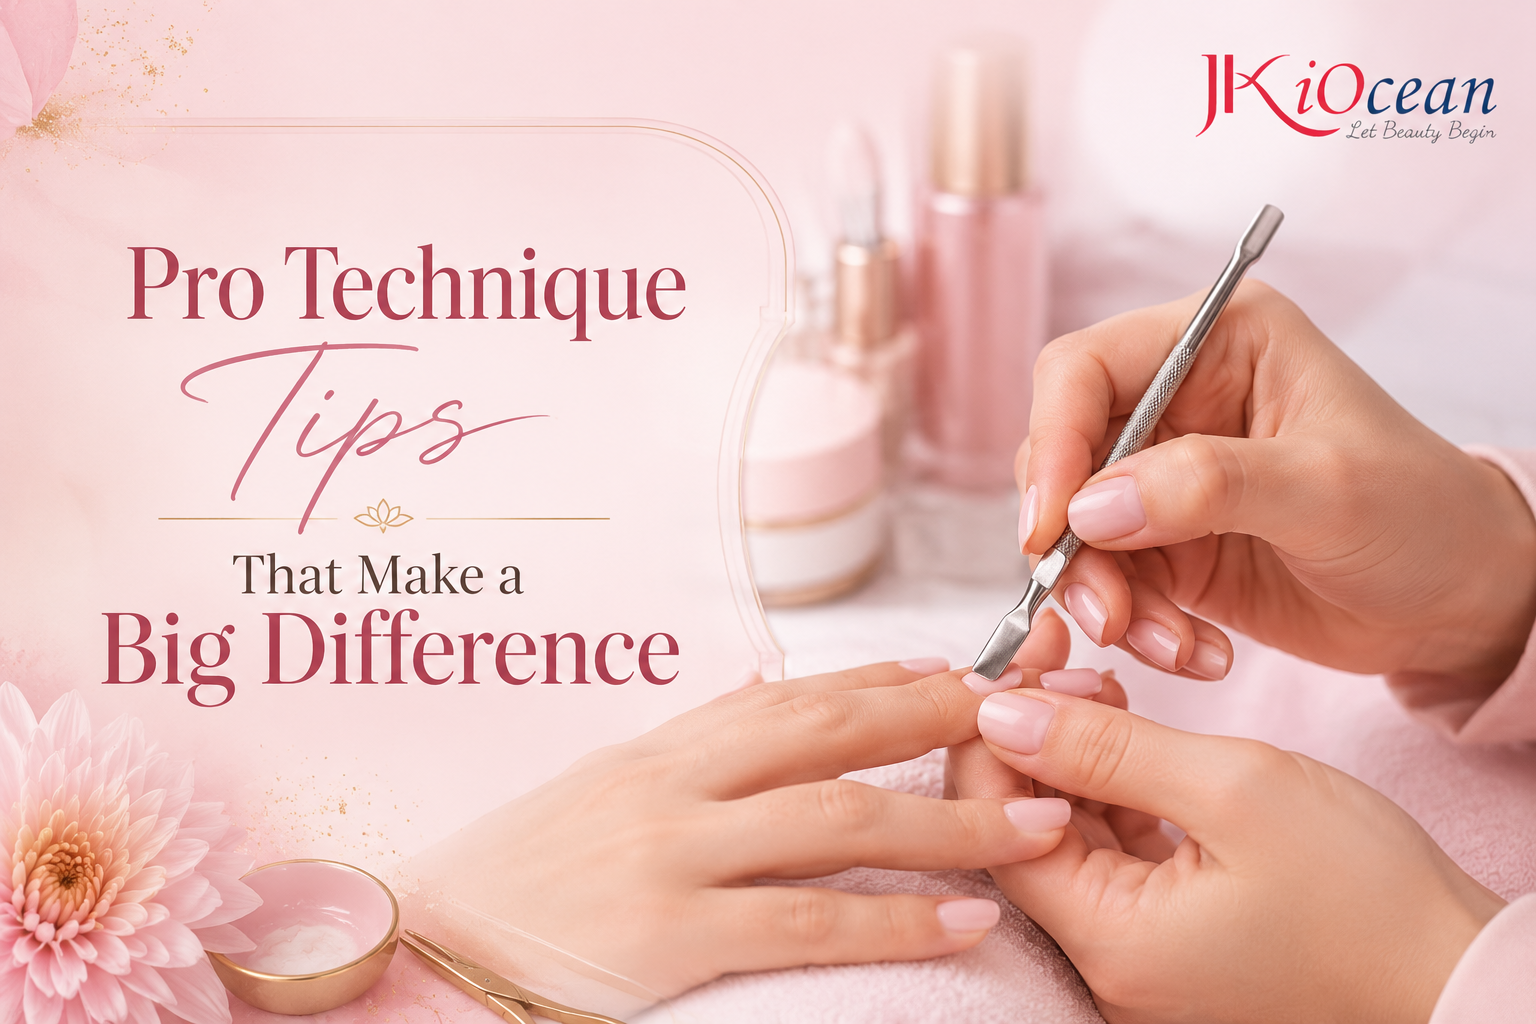
- Use small strokes, not one big push
- Keep pressure light—let softener do the work
- Rotate the finger rather than twisting your wrist
- Work nail by nail so residue doesn’t dry back down
- If you see “white chalky marks” on the plate, you’re scraping too hard
A pusher should never make the nail plate look scratched or cloudy.
Common Mistakes (And How to Avoid Them)
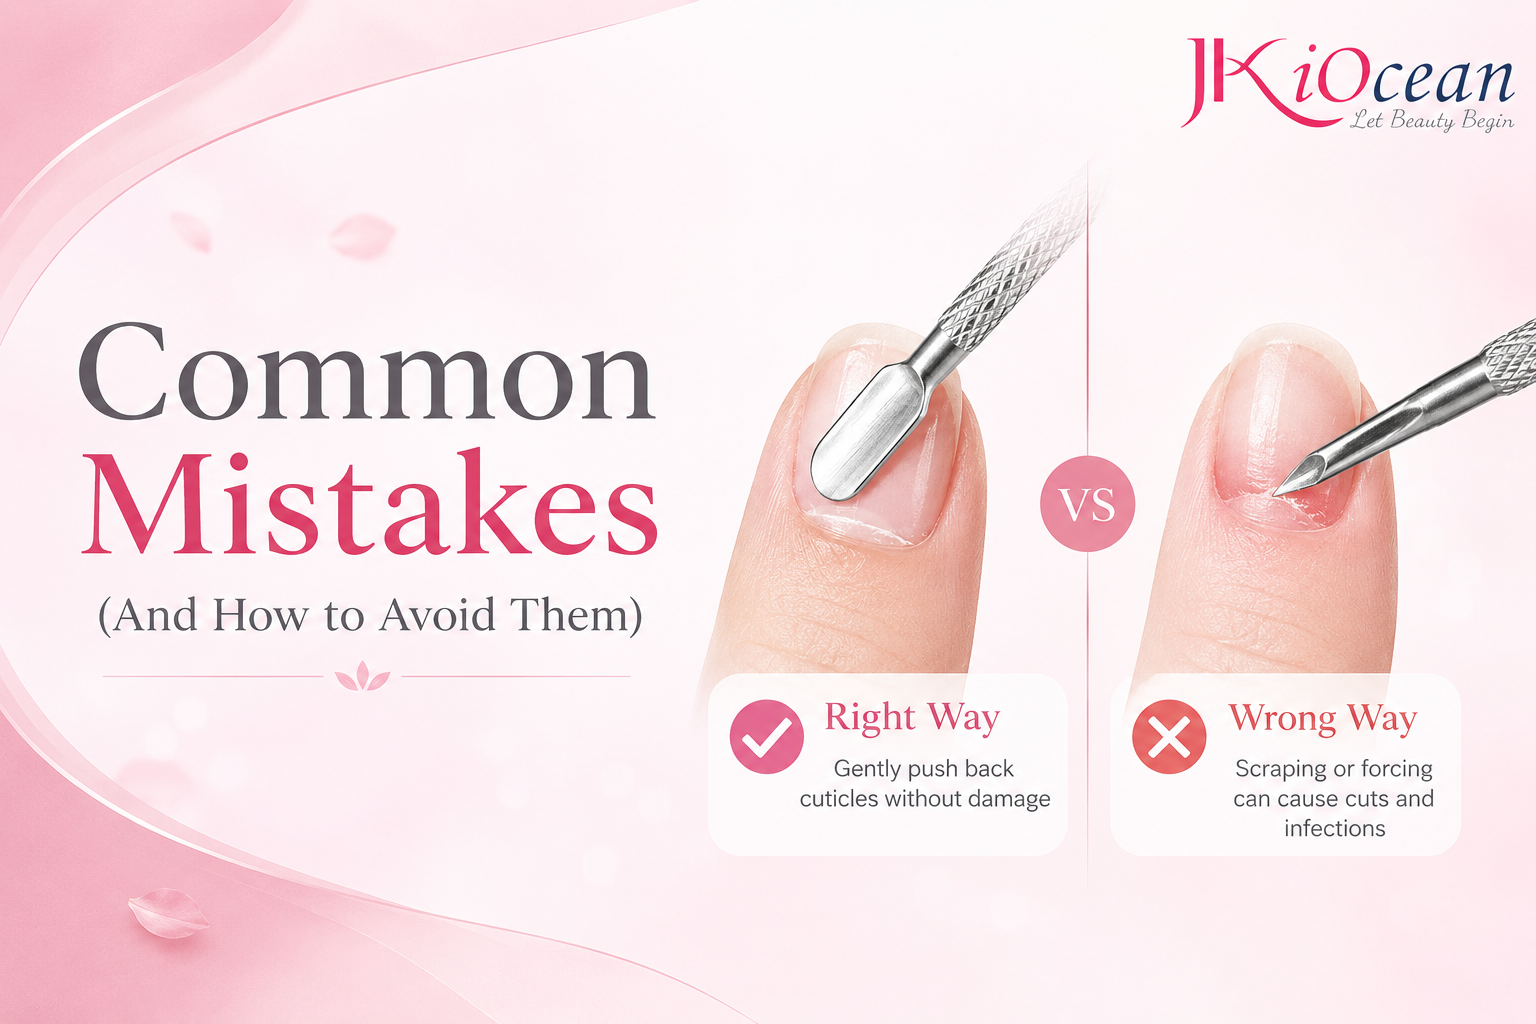
Mistake 1: Scraping like you’re “cleaning a pan”
Result: scratched plate, weak adhesion, sensitive nails.
Fix: reduce pressure and lower the angle.
Mistake 2: Pushing without softening
Result: you need more force, which leads to irritation.
Fix: short soak or softener first.
Mistake 3: Cutting everything after pushing
Result: redness and thick regrowth.
Fix: only trim lifted dead skin.
Mistake 4: Using a sharp tool edge on the nail plate
Result: micro scratches that can lead to lifting.
Fix: use rounded ends and gentle strokes.
Hygiene and Storage for Cuticle Pushers
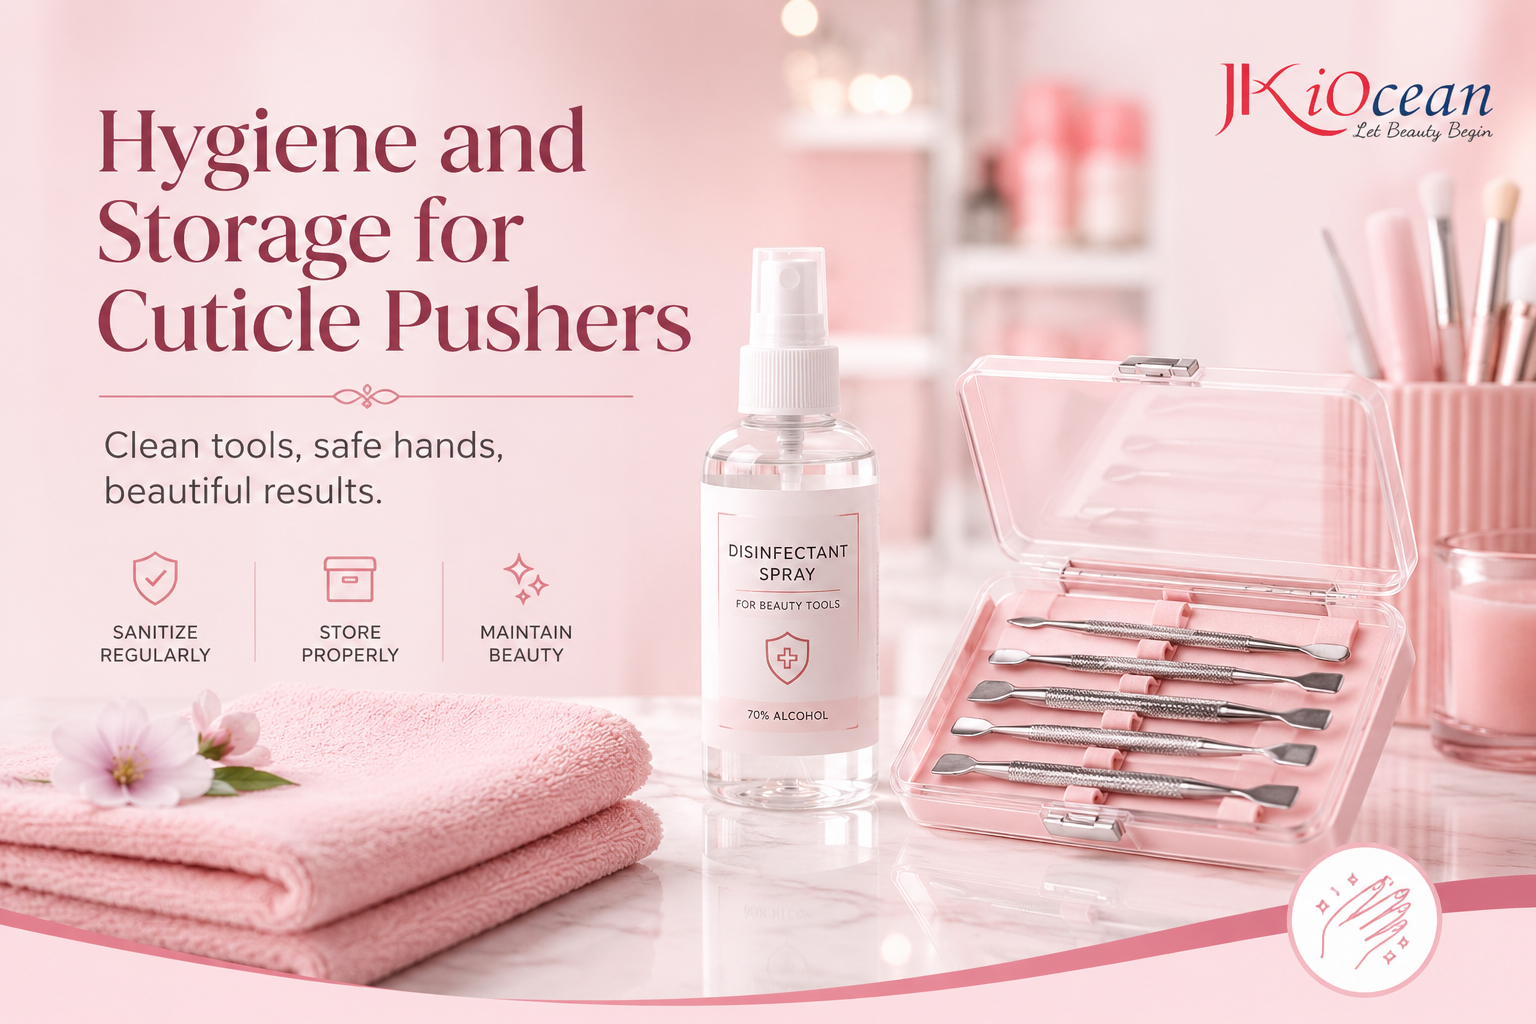
Because this tool touches skin, proper sanitation matters.
For professional use:
- Wash off visible debris
- Disinfect with appropriate solution and contact time
- Dry completely
- Store in a closed container (clean vs used)
For home use:
- Clean with soap and water
- Wipe with alcohol
- Keep it dry and stored away from moisture
Rust and residue buildup reduce both safety and performance.
When Not to Use a Cuticle Pusher
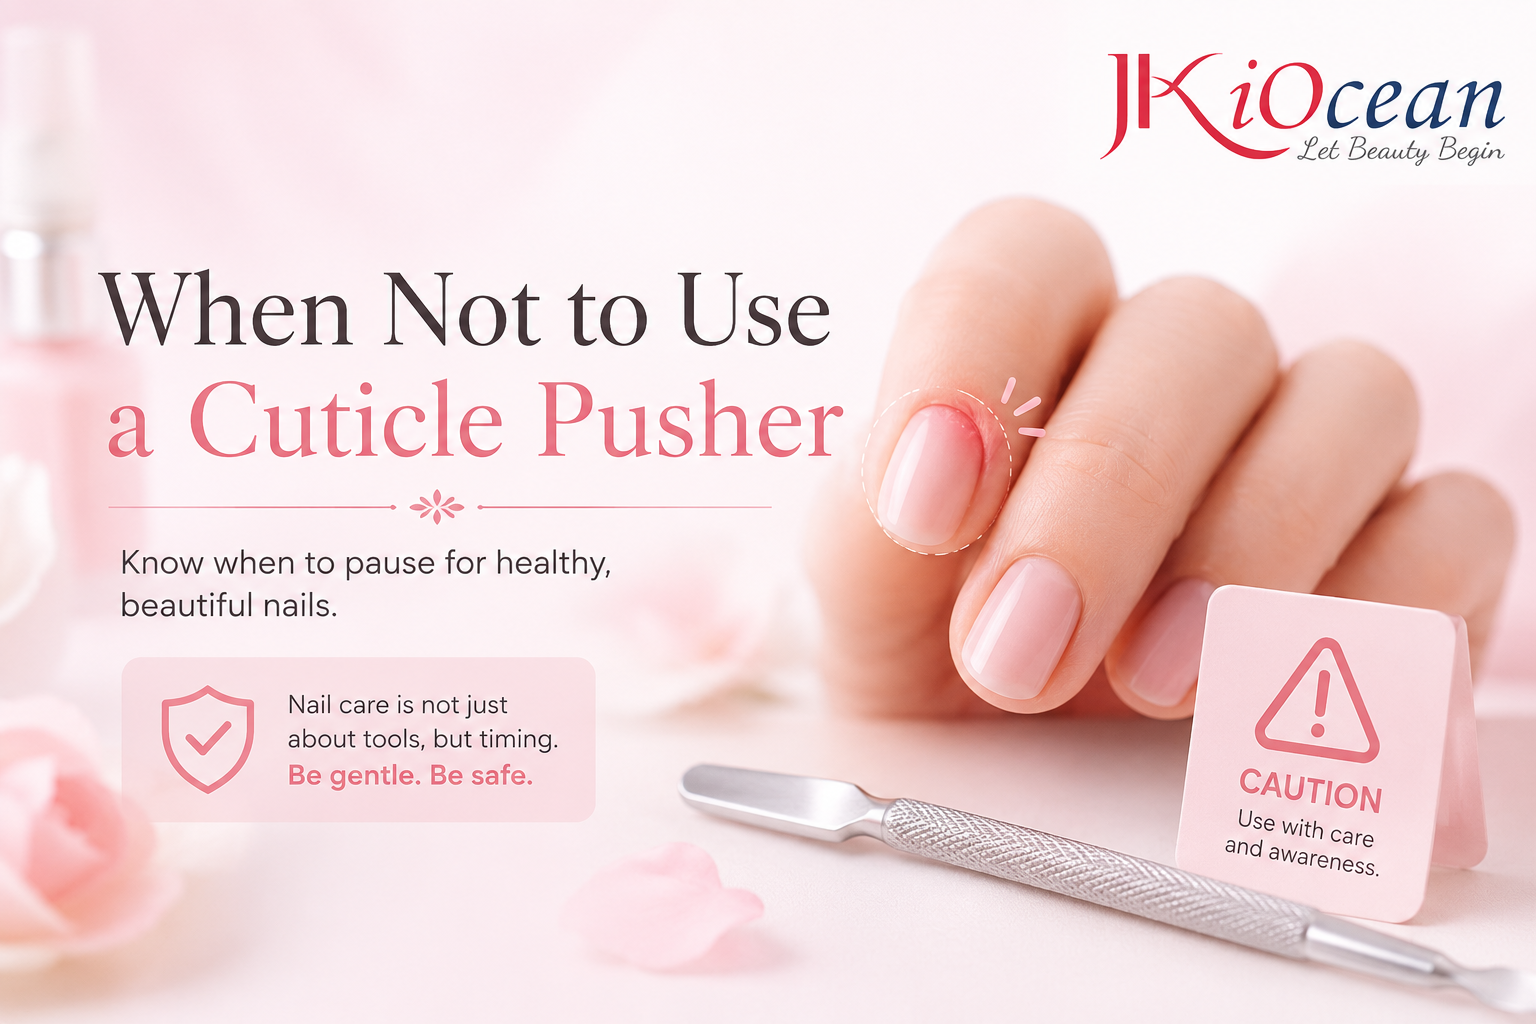
Avoid pushing cuticles if:
- There is swelling, infection, or open cuts
- The cuticle area is very tender
- You suspect fungal or bacterial issues
- You have severe nail plate sensitivity
In these cases, stop and prioritize safety over aesthetics.
A nail tools cuticle pusher isn’t just a “prep step.” It’s a foundation tool that improves the look of your manicure, reduces lifting, and keeps nails healthier by minimizing aggressive cutting. When used properly—with the right angle, gentle pressure, and brief softening—it can transform your results more than any new polish color ever will.
If you want nails that look cleaner, last longer, and grow out smoother, mastering the cuticle pusher is one of the smartest upgrades you can make.

hanna
HANA is a Nail Tool Consultant at JKIOCEAN with years of hands-on experience helping customers find the perfect tools for their salon needs. With deep product knowledge and a passion for the nail industry, Hana specializes in guiding both beginners and professionals toward the best choices in acrylic brushes, clippers, nippers, and more. Her insights are trusted by salon owners and nail artists across the U.S.