
 3D Gel
 Accessories
 Acrylic Brushes
 Art Brushes
 Clippers
 Design
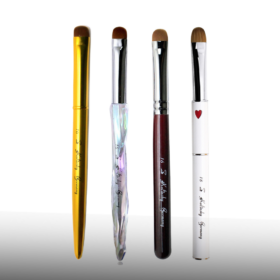 French Brushes
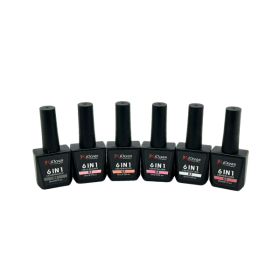 Builder Gel
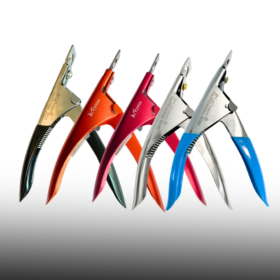 Nail Tip Cutter
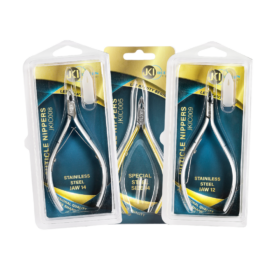 Nippers
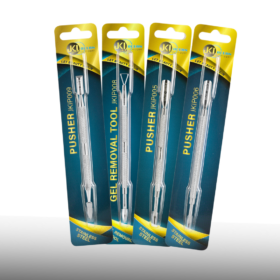 Pusher
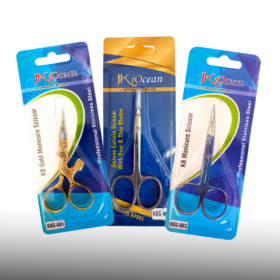 Scissors
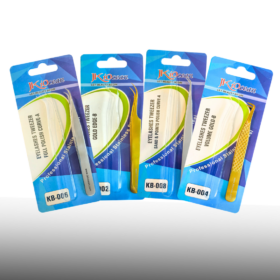 Tweezers
Feb
Blogs
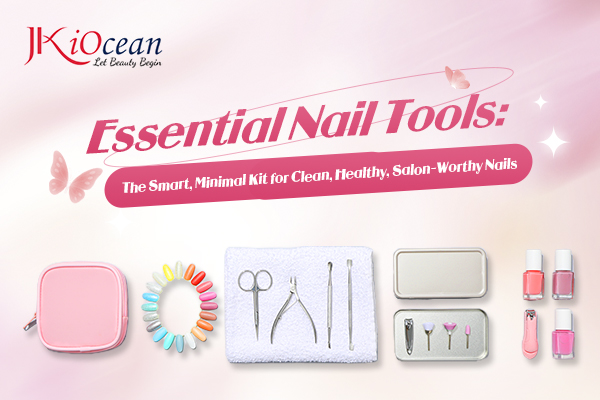
Essential Nail Tools: The Smart, Minimal Kit for Clean, Healthy, Salon-Worthy Nails
If you search “essential nail tools,” you’ll find endless lists that assume everyone wants the same thing. In reality, a good kit depends on your goals: natural nail care, gel polish, extensions, or full-on nail art. This guide cuts through the noise and gives you a minimal, high-impact toolkit—the tools that actually make a difference, plus how to use them safely, how to choose quality, and how to maintain them so they last.
No heavy product pushing here. Just practical value you can apply immediately.
What “Essential” Really Means in Nail Care
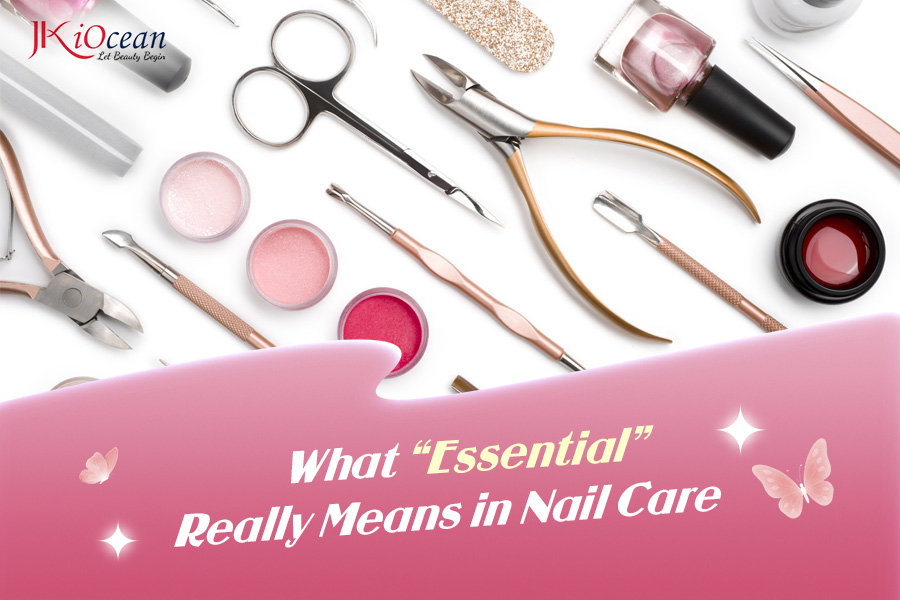
A tool is essential if it does at least one of these:
-
Improves nail health (prevents splitting, peeling, irritation)
-
Improves adhesion (reduces lifting and chipping)
-
Improves precision (clean cuticle line, sharp shape, smooth finish)
-
Improves hygiene (reduces infection risk, cross-contamination)
-
Saves time (reduces rework and repairs)
If a tool doesn’t meet any of those outcomes, it’s optional—not essential.
The Essential Nail Tools List (Minimal, But Complete)
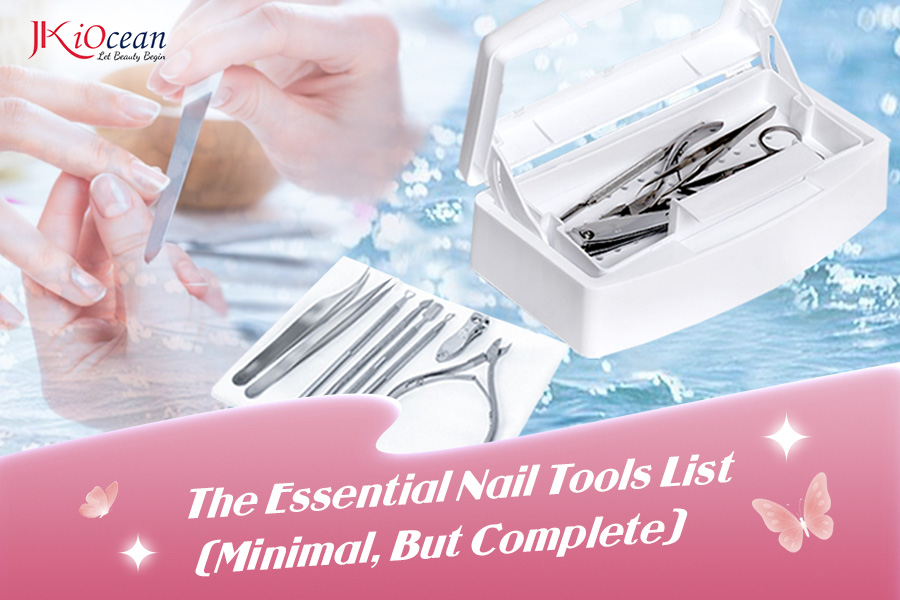
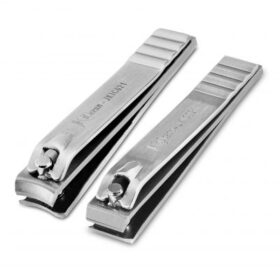
Nail Clippers (Finger + Toe)
Why essential: Clean, controlled length changes without tearing the nail.
How to use: Clip dry nails in small bites; for toes, cut straight across to reduce ingrowns.
Quality check: Blades close evenly with no gaps; stainless steel body; comfortable lever.
Common mistake: Cutting big chunks (causes splits) or clipping right after soaking.
Nail File (Two Grits That Cover Almost Everything)
If you only buy two files, make them:
-
240 grit (natural nails, edge refinement)
-
180 grit (refining overlays and stronger shaping)
How to use: Shape using long strokes in one direction.
Avoid: 100 grit on natural nails—it thins and frays the plate.
Pro tip: A file is your “finishing tool.” Use clippers for rough length, file for precision.
Sponge Buffer (180/220)
Why essential: Smooths ridges and surface texture before polish or gel—without aggressive thinning.
How to use: Light pressure, short strokes. Stop once the surface looks even.
Avoid: Over-buffing until the nail looks chalky white (you’ve removed too much).
Dual-End Cuticle Pusher (Spoon + Bevel)
Why essential: Invisible cuticle residue is the #1 reason polish and gel lift early.
How to use: After softening, hold at 30–45° and gently glide from cuticle toward the center. Use the bevel end for sidewalls.
Avoid: Scraping hard—pressure causes redness and irritation.
Cuticle Nippers (6–9 mm Jaw)
Why essential: For safe removal of lifted, non-living cuticle and hangnails.
How to use: Trim only what is clearly dead and lifted. Micro-snips, no pulling.
Avoid: Cutting living tissue for a “perfect” line—this leads to inflammation and thicker regrowth.
Quality check: Tips meet evenly; spring is smooth; tool doesn’t wobble.
Nail Dust Brush (Soft Bristle)
Why essential: Dust left on the plate weakens adhesion and makes top coat look gritty.
How to use: Brush after every filing/buffing step; cleanse afterward.
Avoid: Using makeup brushes (they often contain oils).
Lint-Free Wipes + Nail Cleanser (or 70% Isopropyl Alcohol)
Why essential: This is your “reset button” between steps. It removes dust, oils, and sticky dispersion layers.
How to use: Wipe the plate before base coat and after curing if your system requires it.
Avoid: Cotton pads that shed fibers into gel.
Disinfection Setup (The Most Ignored Essential)
Even at home, hygiene matters. In a salon, it’s non-negotiable.
Minimum essentials:
-
Disinfectant solution and a lidded container/tray
-
Separate storage for Clean vs Used tools
-
Paper towels and gloves
How to run it: Wash debris → immerse for full contact time → dry completely → store closed.
Avoid: “Quick wipes” and storing damp tools (rust + bacteria risk).
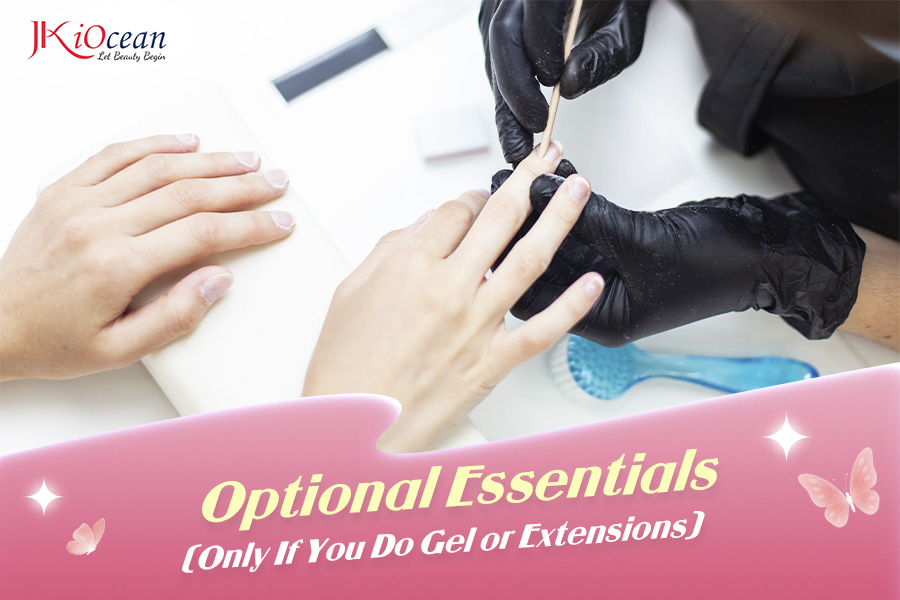
Optional Essentials (Only If You Do Gel or Extensions)
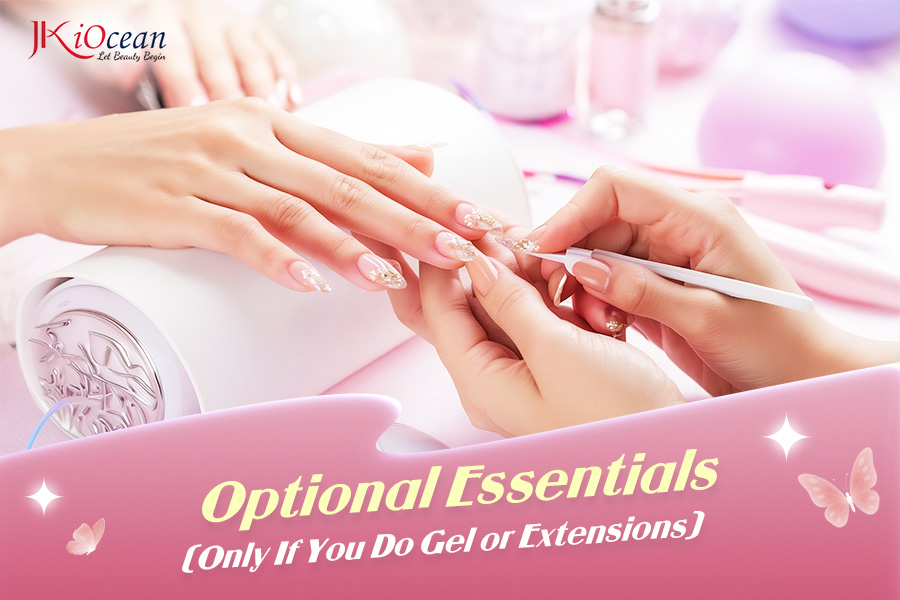
If your services include gel polish, overlays, or extensions, add these.
UV/LED Lamp (For Gel Systems)
Why essential: Under-curing is one of the biggest causes of lifting, dullness, and sensitivity over time.
What to look for: Consistent output, proper wavelength (often 365–405 nm), multiple timers, reflective interior.
How to use: Thin layers, cap the free edge, cure by the brand’s schedule.
Avoid: Guessing cure time or using a weak lamp.
A Small Detail Brush or Clean-Up Brush
Why essential: Clean cuticle lines are what make nails look expensive.
Use for: Cleaning floods before curing, perfecting French smiles, crisp edges.
Avoid: Letting gel touch skin (leads to lifting and irritation).
The “Essential Nail Tools” Workflow (A 12-Minute Routine)
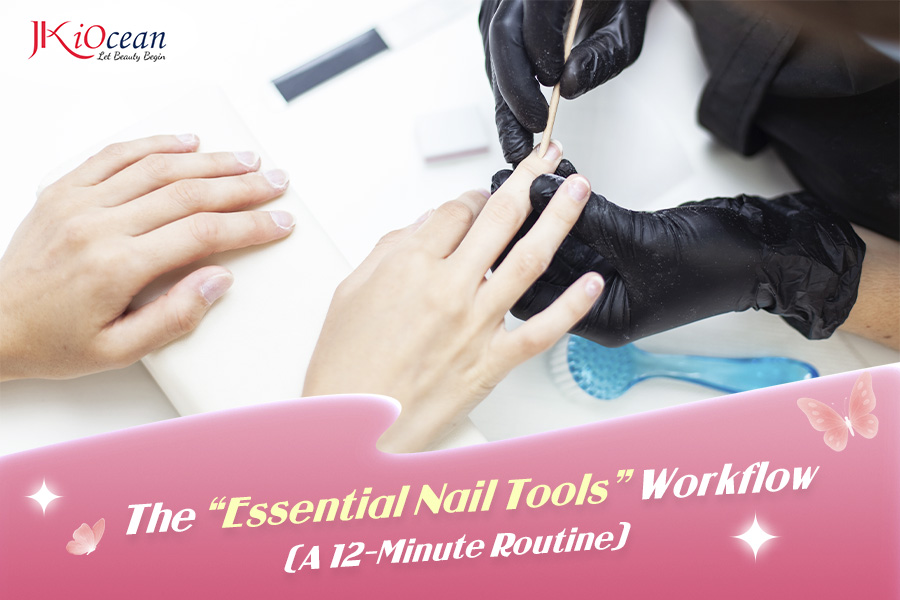
If you want a repeatable process that protects nail health, follow this order:
-
Sanitize hands and tools
-
Clip length (dry nails)
-
File shape (240 for natural nails)
-
Softly buff (180/220 buffer)
-
Apply cuticle softener or quick soak (2–3 min)
-
Push cuticles gently (30–45°)
-
Trim only lifted dead skin (nippers)
-
Brush away dust
-
Cleanse nail plate (lint-free wipe + cleanser)
-
Apply polish/gel system if desired
-
Finish with oil and hand cream
-
Disinfect tools and store properly
This routine alone solves most “my nails peel,” “my polish chips,” and “my cuticles look messy” complaints.
How to Choose Quality Tools (Without Overpaying)
Use these fast checks before buying:
-
Steel matters: stainless steel resists rust and sterilizes well.
-
Alignment test: close nippers/clippers under a light—gaps mean poor cutting.
-
Ergonomics: if you need a death grip, you’ll fatigue quickly.
-
Surface finish: smooth, no sharp edges on handles.
-
Consistency: reputable brands maintain quality across batches.
You don’t need luxury pricing—but you do need reliable construction.
Common Mistakes That Ruin Nails (Even With Good Tools)
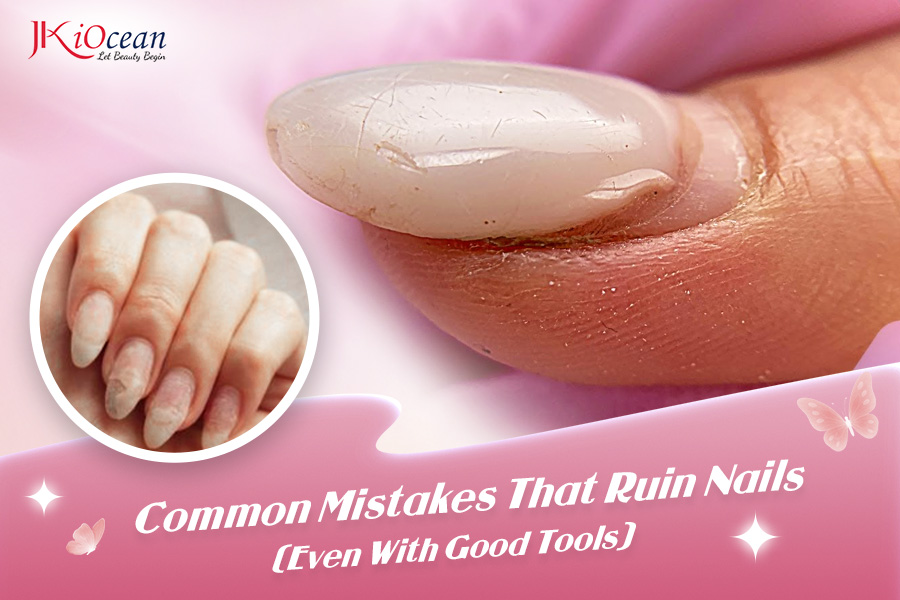
Mistake 1: Over-trimming cuticles
Result: redness, soreness, thicker regrowth.
Fix: push gently, trim only lifted dead skin.
Mistake 2: Using coarse files on natural nails
Result: peeling and splitting.
Fix: 240 grit for natural nails, 180 only for stronger edges or overlays.
Mistake 3: Over-buffing
Result: thin, sensitive nails.
Fix: buff only until smooth, never until “hot” or chalky.
Mistake 4: Skipping dust removal
Result: gritty top coat, poor adhesion.
Fix: dust brush + cleanser wipe every time.
Mistake 5: Poor sanitation
Result: cross-contamination risk and tool damage.
Fix: clean → immerse → dry → store closed.
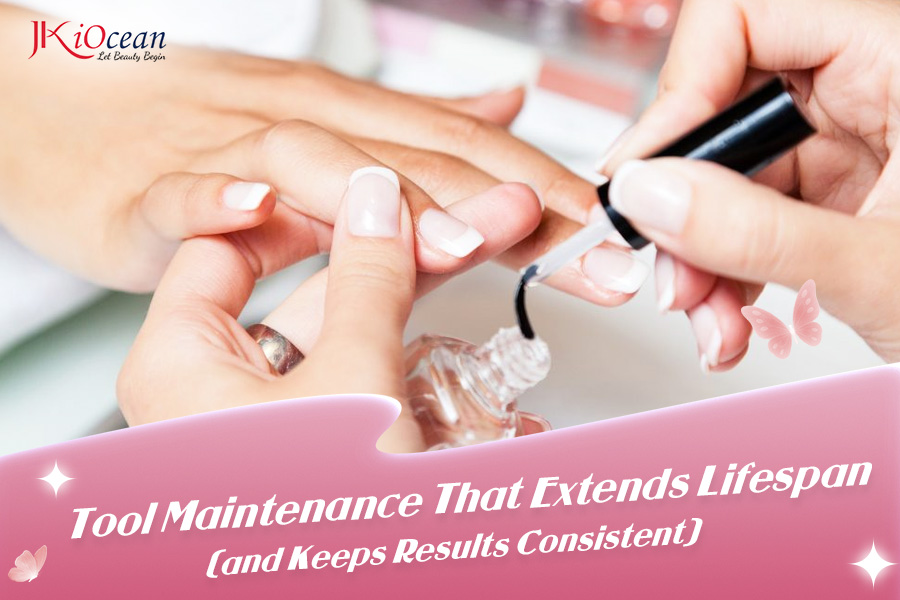
Tool Maintenance That Extends Lifespan (and Keeps Results Consistent)
-
Dry metal tools completely before storage
-
Oil nipper joints weekly (one drop, wipe excess)
-
Replace files and buffers regularly (they are consumables)
-
Store tools in a closed case with separate “clean” and “used” sections
-
Don’t throw sharp tools into a drawer—misalignment happens fast
A well-maintained basic kit beats an overloaded kit every time.
FAQ (Snippet-Friendly)
What are the most essential nail tools for beginners?
Clippers, 240 file, 180/220 buffer, cuticle pusher, nippers, dust brush, cleanser wipes, and a simple disinfection setup.
Do I need cuticle nippers?
If you get hangnails or visible dead cuticle, yes—but use them minimally and only on lifted, non-living tissue.
Which nail file grit is safest for natural nails?
240 grit (or a glass file). Avoid coarse grits.
Why does my polish chip quickly even with good tools?
Most often: cuticle residue left on the plate, dusty surface, or not capping the free edge.
Is a UV/LED lamp essential?
Only if you use gel systems. If you do, it becomes one of the most important essentials.
The best nail results don’t come from a massive collection of gadgets. They come from a small set of essential nail tools used in the right order, with the right pressure, and supported by good hygiene.
If you want nails that look clean, strong, and salon-fresh, focus on:
-
precise cutting,
-
correct grit filing,
-
gentle cuticle work,
-
thorough dust removal,
-
and consistent sanitation.
Master those basics, and everything else—color, art, extensions—becomes easier and more durable.