
 3D Gel
 Accessories
 Acrylic Brushes
 Art Brushes
 Clippers
 Design
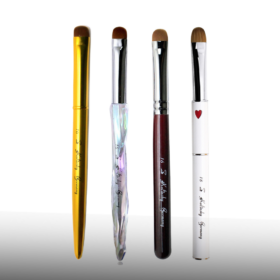 French Brushes
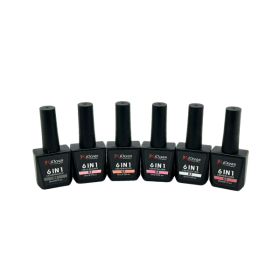 Builder Gel
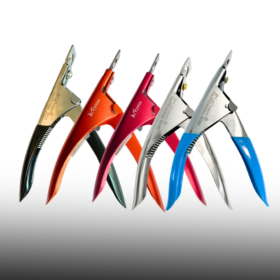 Nail Tip Cutter
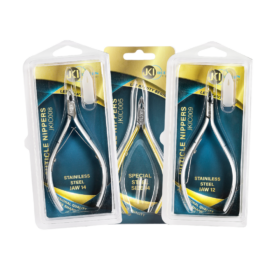 Nippers
 Pusher
 Scissors
 Tweezers
Feb
Blogs
10 Tools Used in Nail Care: What They Do, How to Use Them, and Pro Tips You’ll Actually Apply
Searching for “10 tools used in nail care” usually returns a random checklist. This guide is different: you’ll learn what each tool does, how to use it step-by-step, mistakes to avoid, and simple maintenance so your kit stays sharp, sanitary, and ready. Whether you’re a salon pro or a home perfectionist, use this as your working reference.
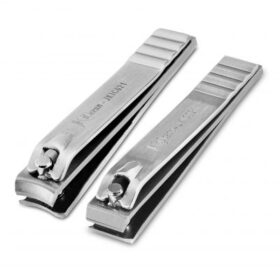
Nail Clippers
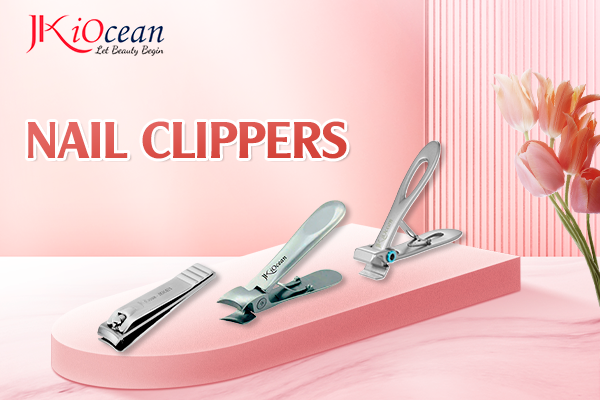
What they do: Quick, controlled length removal on fingers and toes.
How to use (micro-guide):
-
Work on dry nails (wet nails bend and splinter).
-
Clip in small, straight bites, then refine with a file.
-
For toenails, keep the free edge straight to reduce ingrowns.
Avoid: Taking big chunks or clipping immediately after a shower.
Care: Rinse, dry, disinfect after each client. Lock the lever to protect the edge; sharpen/replace if you feel tugging.
Pro tip: Keep a standard clipper for fingers and a wider-jaw clipper for toes.
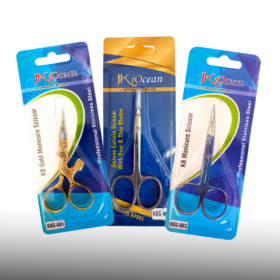
Curved Nail Scissors
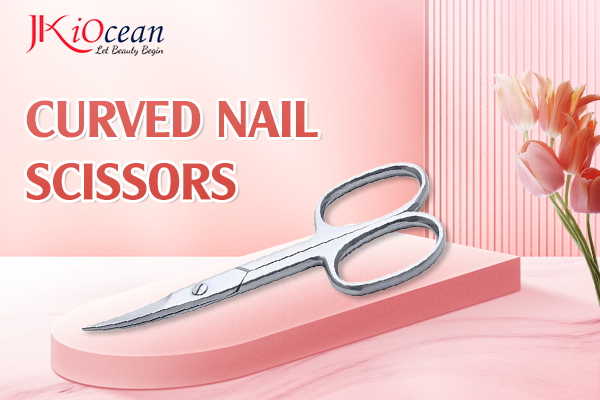
What they do: Micro-adjustments and precision trims where clippers feel bulky.
Use like a pro:
-
Point the tips and make tiny snips—let files do most shaping.
-
Great for refining corners under sculpted nails.
Avoid: Long slicing motions on natural nails (can shred the plate).
Care: Wipe blades, disinfect, and ensure the pivot screw stays snug.
Nail Files (Grit Matters More Than You Think)
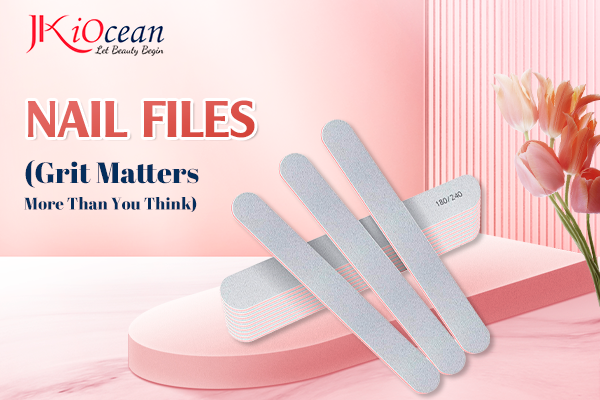
What they do: Shape edges and refine overlays.
The grit matrix:
-
240+ grit: natural nails, edge refining, gentle finish.
-
180 grit: refining builder gel/polygel/acrylic surfaces.
-
100–150 grit: only for reducing enhancement bulk (never on natural nails).
Technique: Long, directional strokes from sidewall to center. Slightly tuck the file under the free edge to refine the lower arch.
Avoid: Aggressive “sawing”—that frays edges and causes splits.
Care: In salons, files are single-client. At home, replace when the surface feels slick or clogged.
Sponge Buffers (180/220 + Optional Shine Block)
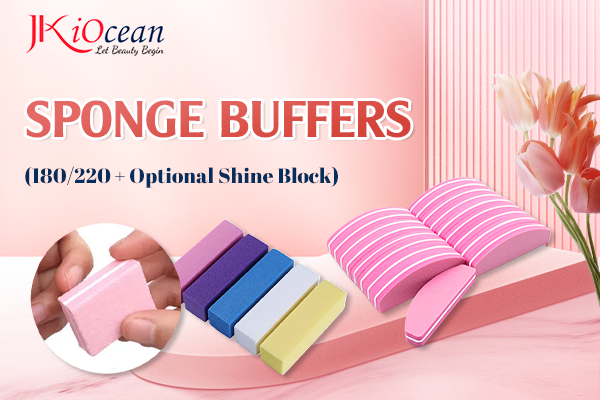
What they do: Smooth micro-ridges, blend transitions, and perfect the surface before top coat.
Use like a pro:
-
Light pressure, short strokes; you’re smoothing, not thinning.
-
Finish with a shine block only for bare-nail looks.
Avoid: Over-buffing the natural plate (white, chalky patches = you went too far).
Care: Wipe dust off; replace often—clogged buffers scratch.
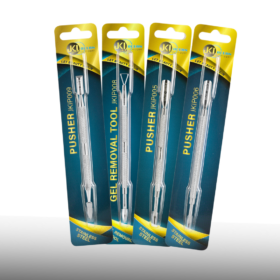
Dual-End Cuticle Pusher (Spoon + Bevel)
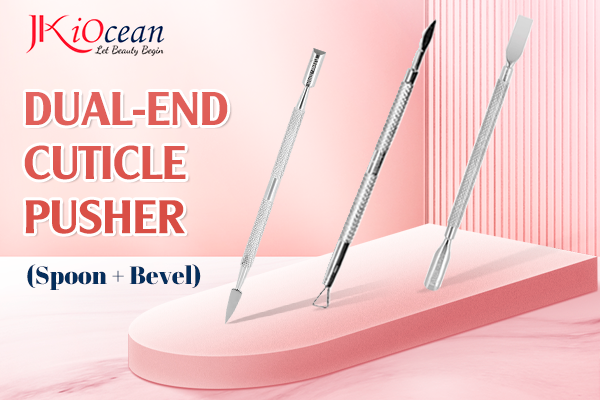
What it does: Lifts invisible cuticle off the nail plate (spoon end) and clears sidewalls (bevel end) so coatings adhere.
How to use:
-
Apply a cuticle softener or soak for 2–3 minutes.
-
Hold at 30–45° and glide from the cuticle toward the center.
-
Use the bevel end to sweep sidewalls and the free-edge underside.
Avoid: Digging. The goal is lift, not scrape—pressure creates rings of fire.
Care: Disinfect fully; keep edges smooth so you don’t press harder than needed.
Cuticle Nippers (6–9 mm Jaw)
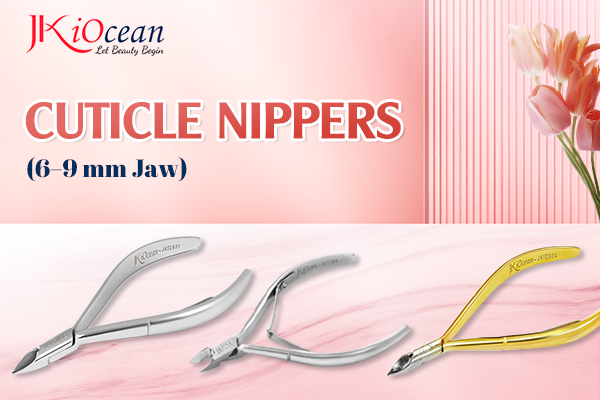
What they do: Trim lifted, non-living cuticle and hangnails after pushing.
Technique:
-
Close the jaws just enough to snip; do not chew or yank.
-
Work in micro sections; stop at any sign of pink.
Avoid: Cutting the living eponychium for a “glass” line—this causes redness and thick regrowth.
Care: Disinfect, dry completely, add one drop of oil at the joint, and cap the tips to protect alignment.
Pro tip: If you feel tugging, the tool is dull or misaligned—service or replace.
E-File + Bits (Speed With Control)
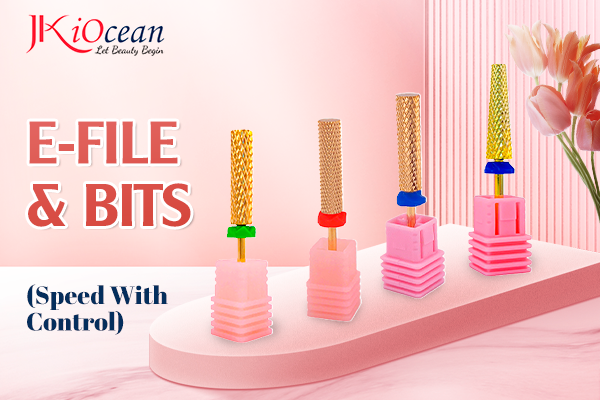
What it does: Fast, consistent prep, refinement, and removal—when used correctly.
Essential bits:
-
Safety smooth-top bit: refine near the cuticle rim without gouging.
-
Barrel/cone: surface shaping and bulk reduction on enhancements.
-
Flame/ball: detailed sidewall work.
-
Mandrel + sanding bands (180/240): gentle prep and finishing.
Use like a pro:
-
Let the bit cut; excess pressure causes heat and “rings of fire.”
-
Keep the bit moving; lift off the nail before changing direction.
Avoid: Coarse bands or high pressure on natural plates.
Care: Clean, disinfect, dry upright, and replace dull bits (they heat faster and scratch).
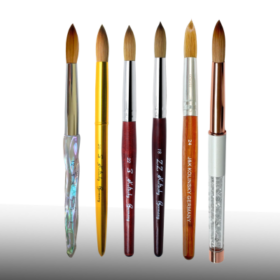
Brushes (Gel / Acrylic / Liner)
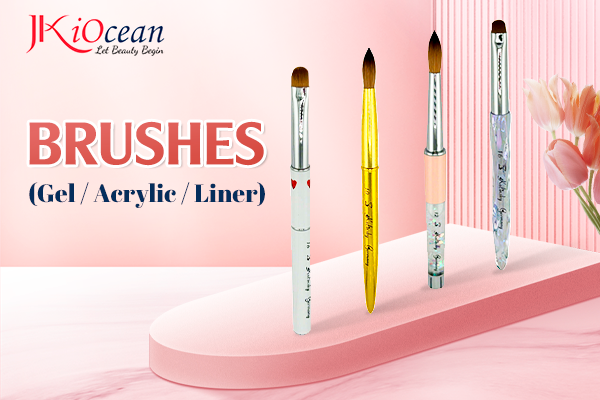
What they do: Place and perfect product—structure, color, and fine lines.
Gel brushes (flat/oval #4–#8):
-
For base, builder/ hard gel, and painting gels.
-
Technique: Float product; let it self-level. Flip the hand 2–4 seconds to center the apex.
Acrylic brushes (oval/round sizes 8–16):
-
For bead pickup and sculpting.
-
Bead cue: Satin look (not runny, not chalky). Place → press → glide.
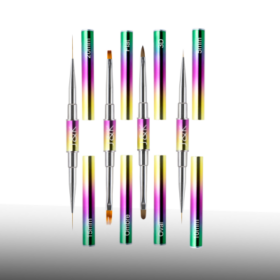
Liner brushes (short & long):
-
For French smiles, micro-lines, and lettering.
-
Art cue: Flash cure complex elements to lock clean edges.
Avoid: Contaminating gel brushes near an active lamp—stray light cures bristles.
Care:
-
Acrylic: Rinse in monomer, wipe on an absorbent pad, reshape, cap.
-
Gel: Wipe with cleanser or brand-approved solution, reshape, cap, store away from light.
Forms & Tip Cutter (Your Length-Building Duo)
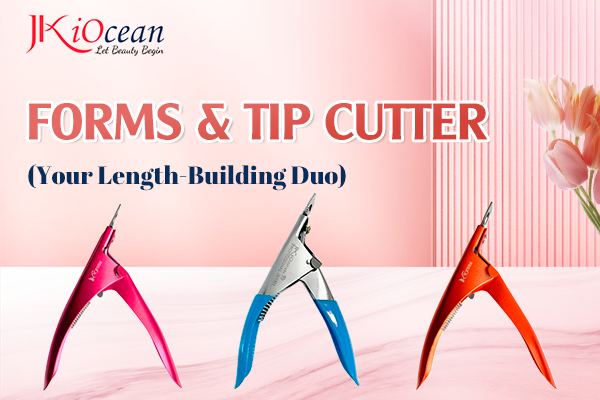
What they do: Create consistent extensions.
Forms (paper/aluminum):
-
Sculpt custom shapes with a clean underside and tailored apex.
Plastic tips:
-
Quick uniform length. Blend the seam, then shape.
Tip cutter:
-
Shortens attached tips evenly without stress lines.
Use like a pro:
-
Choose the right form angle for the chosen shape (coffin, almond, square).
-
Support the tip as you cut to avoid micro-cracks.
UV/LED Lamp (The Cure That Makes It Last)
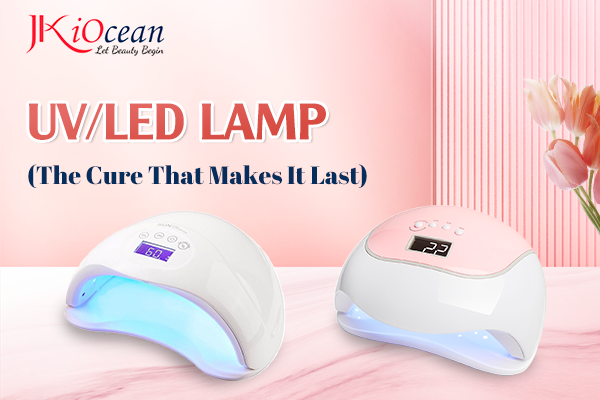
What it does: Cures gel systems to full strength and gloss.
What to check:
-
Wavelength coverage (commonly 365–405 nm), real wattage, even output.
-
Brand-specific cure times—under-cure leads to lifting and dull patches.
Use like a pro:
-
Thin, even layers; cap the free edge.
-
Flash cure (5–10 seconds) for complex art, then full cure by the book.
Care: Wipe interior reflectors, keep vents dust-free, and replace aging units when cure weakens.
Putting the 10 Nail-Care Tools Into a Smooth Workflow
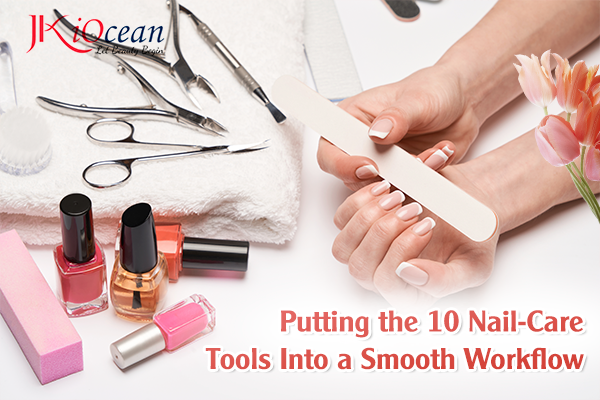
Here’s a streamlined sequence you can adopt today:
-
Sanitize & Set Up – Lint-free wipes, clean tools laid left-to-right in service order.
-
Length & Shape – Clippers → file (correct grit) → buffer (light).
-
Cuticle Care – Softener → pusher (30–45°) → micro-trim with nippers.
-
Build/Color – Choose brushes per system (gel/acrylic), forms or tips if extending.
-
Cure – UV/LED lamp matched to your brand’s schedule.
-
Finish & Detail – Refine, line work with liners, top coat, cap edges, full cure.
-
Aftercare – Cuticle oil, hand cream; client guidance on gloves and daily oil.
-
Clean Chain – Used tools into the “Used” tray → wash debris → immerse/disinfect → dry → oil joints → store closed.
Avoid These Common Pitfalls (and the Tool Fix)
-
Frayed free edges: You’re filing too coarse. Switch to 240 grit or a glass file; finish in one direction.
-
Red cuticle rim: You’re pushing too hard or cutting living skin. Use the pusher at 30–45° and trim only lifted white tissue.
-
Lumpy overlays: Float builder over a thin slip layer; flip the hand to center the apex; refine with 180 grit.
-
Heat spikes with e-file: Pressure is the problem—lower pressure, keep the bit moving, and lift before changing direction.
-
Rhinestones popping off: Use rhinestone gel, create a tiny reinforcement ring, cure fully; never top-coat the stone’s face.
Maintenance That Saves Money (and Protects Nails)
-
Per client: Used tools go straight into a lidded “Used” tray—never back on the table.
-
Daily: Wash → immerse/disinfect metal tools for full contact time → dry completely → oil joints lightly → store in a closed “Clean Tools” box.
-
Weekly: Sharpen or service nippers if you feel tugging; deep-clean brush caps and palettes.
-
Monthly: Replace dull bits/files; test lamp cure; refresh silica gel packs in storage drawers.
Rule of thumb: If a tool makes you press harder, it’s dull or misaligned—service or replace before it damages the nail plate.
Mini Loadouts You Can Copy
Natural-Nail Essentials: Clippers, dual-end pusher, 6–9 mm nippers, 240 file, 180/220 buffer, lint-free wipes, cuticle oil.
Gel Overlay Set: Add gel brushes, base + builder gel, matched UV/LED lamp, cleanser, top coat, short & long liners.
Extension & Removal Add-Ons: Forms or tips + tip cutter, e-file with safety + barrel bits, sanding bands (180/240), dust control.
FAQ (Snippet-Ready)
Which nail file is safest for natural nails?
240 grit (or a glass file). Coarser grits can fray and thin the edge.
Do I need an e-file to be professional?
No—but with training, it speeds removal and refinement. Start with a safety smooth-top bit at low RPMs.
Why does gel lift even with careful prep?
Often under-cure or product touching skin. Verify lamp output and brand timing; keep a clean margin at the cuticle.
Can I store brushes near my lamp?
Avoid it. Stray UV/LED light can partially cure gel in bristles; store capped and away from light.
Mastering the 10 tools used in nail care isn’t about owning everything, it’s about using the right tool, in the right order, with the right touch. Clip dry, file with the correct grit, lift cuticle gently, build with floating control, cure by the book, refine lightly, and protect edges. Keep tools sharp, clean, and organized, and your sets will look glossier, last longer, and feel more comfortable for clients.
Clean chain. Sharp edges. Verified cures. That’s the quiet formula behind every flawless set.