
 3D Gel
 Accessories
 Acrylic Brushes
 Art Brushes
 Clippers
 Design
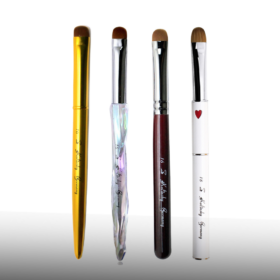 French Brushes
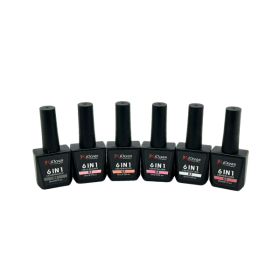 Builder Gel
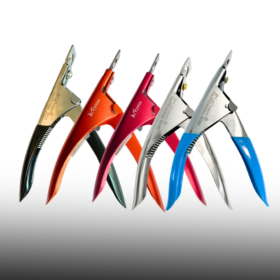 Nail Tip Cutter
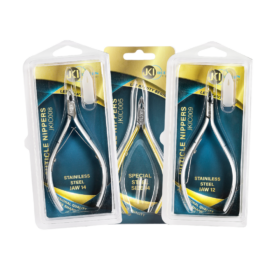 Nippers
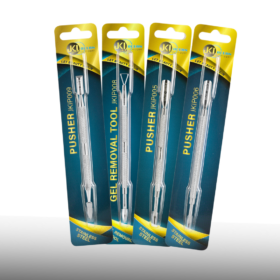 Pusher
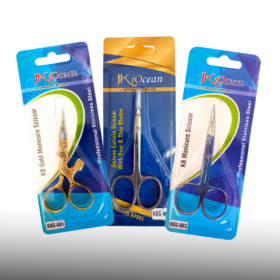 Scissors
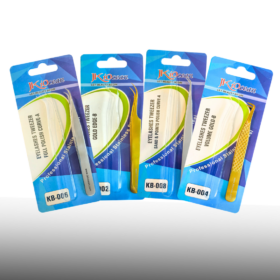 Tweezers

Dec
Blogs
Tools Materials and Equipment in Nail Care: A Complete, Practical Field Guide
When people search “tools materials and equipment in nail care”, they usually want clarity—not another shopping list. This guide maps the entire nail-care stack with a clear framework you can act on today: what belongs in tools (hand instruments), materials (consumables and chemistry), and equipment (machines and devices). You’ll see how each piece fits into the service flow—from prep to finish, plus selection criteria, safety notes, and maintenance schedules. The result: faster services, stronger retention, and healthier nails.
The Nail-Care Stack at a Glance

-
Tools = Handheld, non-powered instruments you manipulate directly.
-
Materials = Consumables and chemistry that stay on the nail or are used up.
-
Equipment = Powered or mechanical devices that cure, extract dust, or sterilize.
Organize your station around five moments of service:
-
Prep & Hygiene → 2) Plate & Cuticle Care → 3) Length & Structure → 4) Finish & Art → 5) Sanitation & Storage
Keep that flow in mind as you build or audit your kit.
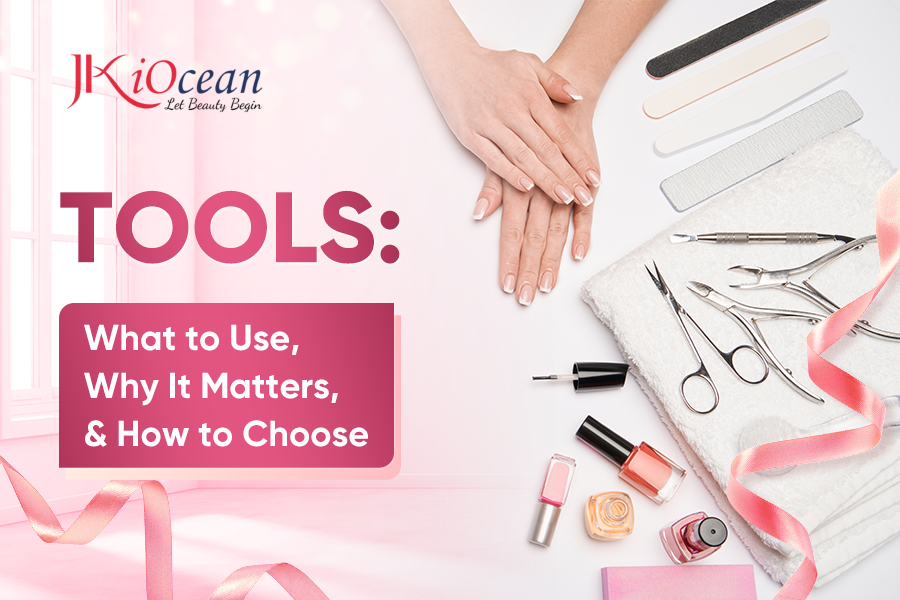
TOOLS: What to Use, Why It Matters, and How to Choose
Precision Cutting & Shaping
-
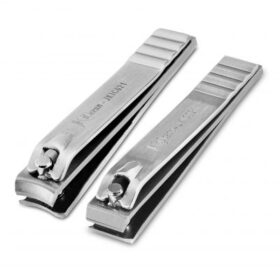
Nail clippers (finger & toe): Stainless steel, aligned jaws, smooth lever action. Use dry nails; clip in small, straight cuts to avoid splits.
-
Curved nail scissors: Micro-adjustments on delicate corners; look for tight pivot screws and fine tips.
-
Nail files (by grit):
-
240+ for natural nails and edge refinement
-
180 for shaping overlays
-
100–150 for reducing enhancement bulk (never on natural plates)
Choose straight/half-moon/banana by your technique.
-
-
Buffers: 180/220 sponge to smooth ridges; optional shine block for clients who skip polish.
Selection cues: Steel grade marked (420/440), no casting burrs, comfortable weight. Files labeled by grit, sealed until use.
Cuticle & Nail-Plate Care
-
Dual-end cuticle pusher (spoon + bevel): Spoon matches nail curve; bevel clears sidewalls.
-
Curette/eponychium cleaner: Scoops invisible cuticle residue safely.
-
Cuticle nippers (6–9 mm jaw): Surgical stainless, perfect tip alignment, smooth spring.
-
Cuticle scissors (optional): For tight corners where nippers can’t reach.
Technique: Soften first, glide at 30–45°, and trim only lifted, non-living tissue. Redness = you’re cutting living skin.
Application & Detailing Tools
-
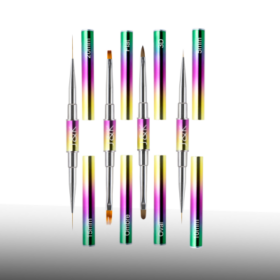
Gel brushes (flat/oval #4–#8): Control different viscosities (base, builder, painting gels).
-
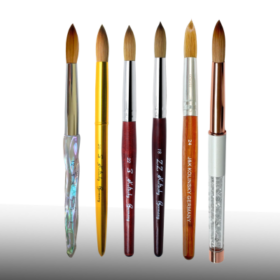
Acrylic brushes (oval/round sizes 8–16): Bead control; larger sizes speed salon work.
-
Spatula/scraper: Transfers polygel; keeps tubes hygienic.
-
Tweezers & rhinestone pickers: Precision placement for decals and crystals.
-
Liners & dotting tools: Fine lines, micro letters, and dot motifs.
-
Tip cutters: Evenly shorten attached tips without stress cracks.
Care: Clean per chemistry (monomer for acrylic, cleanser for gel), reshape, cap, and store away from light.
MATERIALS: The Chemistry and Consumables That Make Results Stick

Prep & Adhesion
-
Dehydrator & primer (acid-free or acid): Oil removal and adhesion promotion.
-
Cuticle remover: Water-based formulas soften keratin bonds; wipe off before coatings.
-
Cleanser (IPA-based or brand-specific): Removes dust and dispersion layers.
Pro tip: Most lifting begins in prep. Residual cuticle = poor adhesion later.
Enhancement Systems
-
Acrylic (monomer + polymer powder): Choose set speed to match room temperature; crystal-clear systems minimize bubbles.
-
Builder/hard gel & liquid builder gel: Self-leveling structure for overlays or short extensions.
-
Polygel (hybrid paste): Sculpt with slip solution; unlimited working time until cured.
-
Tips & forms: Tips for uniform length; forms for custom shapes and clean undersides.
Compatibility rule: Primer type, lamp specs, and cure times must match the brand’s system. Under-cure leads to service breakdown and potential sensitivities.
Color, Finish & Art
-
Base & top coats (gloss/matte; no-wipe or wipe-off)
-
Painting gels (including metallic, pat/cream textures): Dense pigments for coverage and line work.
-
Chrome powders & foils + transfer gels
-
Rhinestone gel / semi-solid glue: Clean, strong hold for crystals and charms.
-
3D sculpting gels: Build raised elements without bulk.
Sequencing: Smooth base → art in thin layers → seal with compatible top. Cap the free edge on each layer.
Removal & Aftercare
-
Acetone/non-acetone removers, wraps, foil, buffer
-
Cuticle oil (jojoba + vitamin E) and strengtheners/serums for post-removal recovery.
Client education: Oil daily, gloves for cleaning, and never use nails as tools.
EQUIPMENT: The Devices That Power Professional Results

Curing Lamps (UV/LED)
-
What to check: Wavelength coverage (commonly 365–405 nm), real wattage, reflective interior, and even output.
-
Timers & soft-cure modes: Prevent heat spikes; follow the brand’s cure schedule.
Reality check: Many failures are lamp-related. Test with the brand’s recommended times; replace aging lamps when cure weakens.
E-File Systems
-
Handpiece + control: Forward/reverse, smooth RPM range, low vibration.
-
Bits & sanding bands: Safety smooth-top for cuticle rim; barrels/cones/flames for bulk shaping.
-
Dust control: Pair with a desk extractor or dust collector.
Technique: Let the bit cut; pressure makes heat and “rings of fire.” Lift off before changing direction.
Sanitation & Safety
-
Disinfectant tray + EPA-registered solution (or autoclave as required)
-
Drying rack for tools post-immersion
-
Closed “Clean Tools” box and a separate “Used” tray
-
PPE: nitrile gloves, glasses, dust masks/respirators
-
Air purification/venting for salons with heavy enhancement work
Chain of hygiene: Wash debris → immerse for full contact time → dry completely → store closed. Wiping alone doesn’t disinfect.
Putting It Together: Three Ready-to-Use BOMs (Bill of Materials)
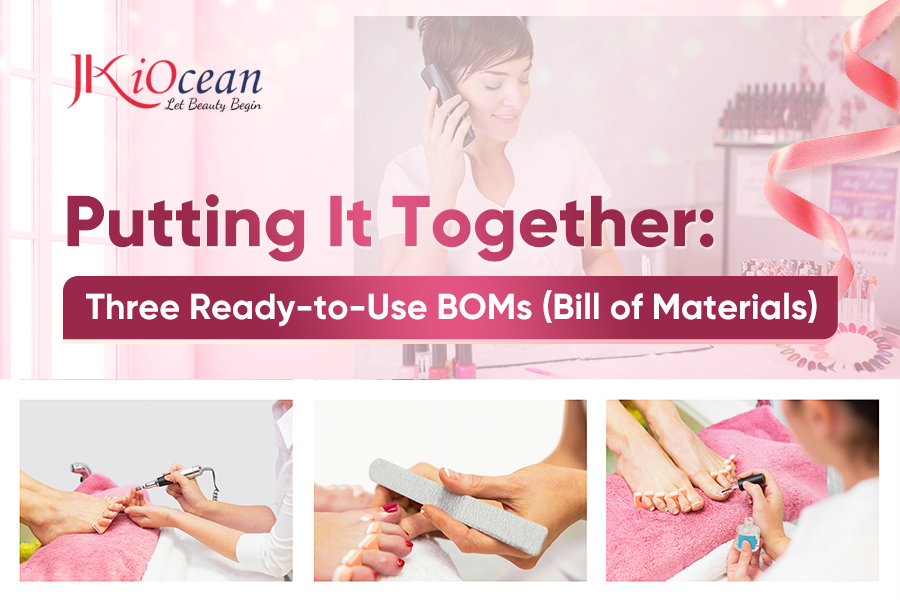
Natural Manicure BOM (clean & classic)
Tools: clippers, dual-end pusher, nippers, 240 file, 180/220 buffer, dust brush, liner (for cleanup).
Materials: cuticle remover, cleanser, base/top, non-acetone remover, cuticle oil.
Equipment: disinfectant tray/solution, drying rack, closed “Clean Tools” box, task lamp.
Sequence: sanitize → soften/push → micro-trim → shape/refine → cleanse → color/top → oil → disinfect/store.
Gel Overlay BOM (short-strength services)
Tools: pusher, nippers, 240 & 180 files, gel brush, liners.
Materials: dehydrator/primer, base, builder or liquid builder gel, color gel, top coat, cleanser.
Equipment: matched UV/LED lamp, dust control, sanitation setup.
Sequence: prep plate → base → thin slip layer → build apex (self-level) → refine → color/art → top → cure → aftercare.
Acrylic Full-Set BOM (custom shape and strength)
Tools: pusher, nippers, 180 & 100 files, acrylic brush (size 8–14), tip cutter, forms (or tips).
Materials: monomer, powders (clear/cover/white), dehydrator/primer, top coat.
Equipment: dappen dish (lidded), e-file + bits, dust collector, sanitation system.
Sequence: prep → tips or forms → bead placement (zone control) → refine architecture → finish surface → top → aftercare.
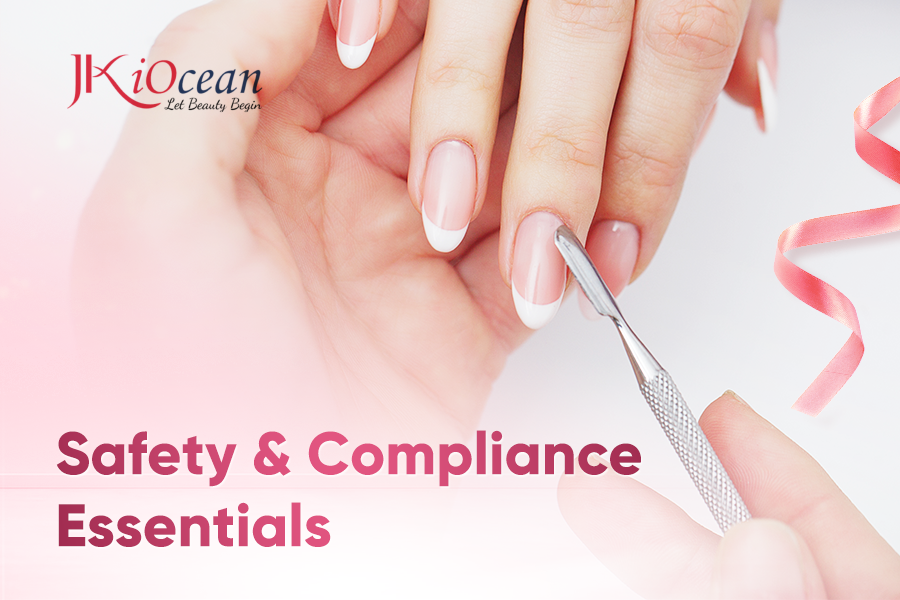
Safety & Compliance Essentials (Don’t Skip These)
-
Cure correctness: Right lamp + right time = fewer allergies and better wear.
-
Skin contact: Keep chemistry off skin; clean floods immediately.
-
Ventilation: Especially for heavy acrylic or removal days.
-
Label literacy: Follow disinfectant contact times; log sanitation cycles.
-
Waste handling: Soaked wipes and sharps in appropriate, closed containers.
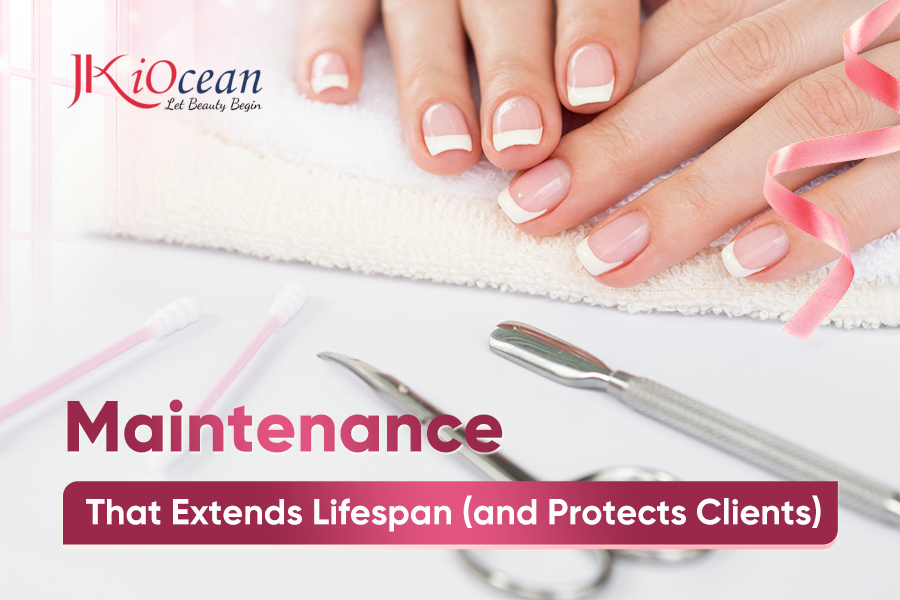
Maintenance That Extends Lifespan (and Protects Clients)
-
At every service: Place used tools in the Used tray, never back on the table.
-
Daily: Wash → immerse → dry → oil joints lightly → store closed; empty dust trays.
-
Weekly: Sharpen nippers if you feel tugging; deep-clean brush caps and palettes; audit drawer order.
-
Monthly: Replace dull bits/files; test lamp cure; refresh silica gel packs in drawers.
Rule of thumb: If a tool makes you press harder, it’s costing time and damaging nails. Sharpen or replace.
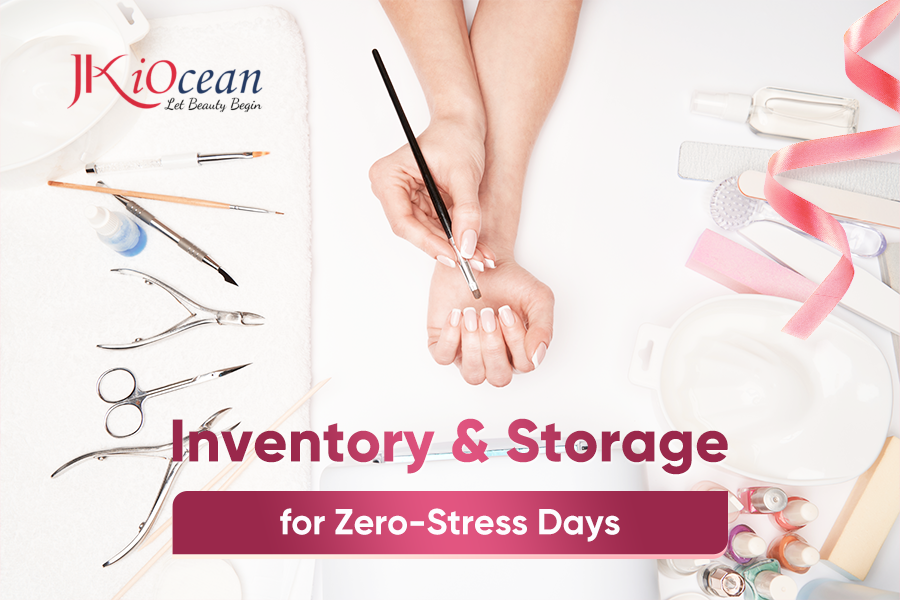
Inventory & Storage for Zero-Stress Days
-
Set par levels: e.g., 180 files (par 80). Reorder at 20.
-
FIFO for gels/liquids: mark purchase month on each bottle.
-
Zones: “Clean Metals,” “Files & Buffers,” “Chemistry,” “Bits & Bands,” “Sanitation.”
-
Protect edges: silicone caps for nippers; foam/elastic slots; no metal dogpiles.
-
Keep gels cool & dark: never open pots near an active lamp.
Troubleshooting Quick-Ref
-
Lifting at cuticle: residual cuticle, product touched skin, or under-cure. Improve push/clean; float product; verify lamp.
-
Chipping tips/sidewalls: apex too thin or edges not capped. Rebalance structure; cap every layer.
-
Heat spikes: layers too thick or lamp too intense. Soft-cure first; use thinner passes.
-
Rough cuts with nippers: dull or misaligned jaws, stop and service the tool.
-
Dust everywhere: upgrade to an extractor; replace filters; slow your e-file passes.
FAQ (Snippet-Friendly)
What’s the key difference between tools, materials, and equipment in nail care?
Tools are hand instruments (pusher, nipper, files), materials are consumables (gels, primers, tips), equipment are devices (lamps, e-files, disinfectant systems).
Which file grit is safest for natural nails?
240 grit (or a glass file). Coarser grits can fray and thin the free edge.
Do I need both tips and forms?
Not always. Tips are fast and uniform; forms give custom architecture and a clean underside. Choose based on your menu and style.
How do I know my lamp is curing correctly?
Match the brand’s wavelength and timing; watch for under-cure signs (dull patches, separation). Replace aging units that lose intensity.
Is an e-file mandatory?
No, but it speeds removal/refinement once you’re trained. Use safety bits and appropriate RPMs.
Understanding tools materials and equipment in nail care isn’t about collecting more, it’s about building a system that flows: clean prep, precise structure, controlled chemistry, and consistent cures. When every item has a job, is maintained on schedule, and is used in the right order, your sets last longer, appointments run smoother, and client nails stay healthier.
Clean chain. Correct cure. Sharp tools. That’s the formula for professional results every time.