
 3D Gel
 Accessories
 Acrylic Brushes
 Art Brushes
 Clippers
 Design
 French Brushes
 Builder Gel
 Nail Tip Cutter
 Nippers
 Pusher
 Scissors
 Tweezers
Apr
Blogs
Clippers for Nails: How to Choose the Right Nail Clippers and Cut Cleanly Without Splitting
If you’re searching for clippers for nails, you probably want a simple outcome: a clean cut, smooth edges, and nails that don’t split or snag the next day. Nail clippers seem basic, but the wrong type—or the right type used incorrectly—can cause tearing, cracking, ingrowns (especially on toes), and uneven shapes that require aggressive filing afterward.
This guide covers the real essentials: the different types of nail clippers, how to choose quality clippers, how to clip nails safely for fingers and toes, common mistakes, and maintenance tips that keep clippers sharp longer.
What Are Nail Clippers Used For?
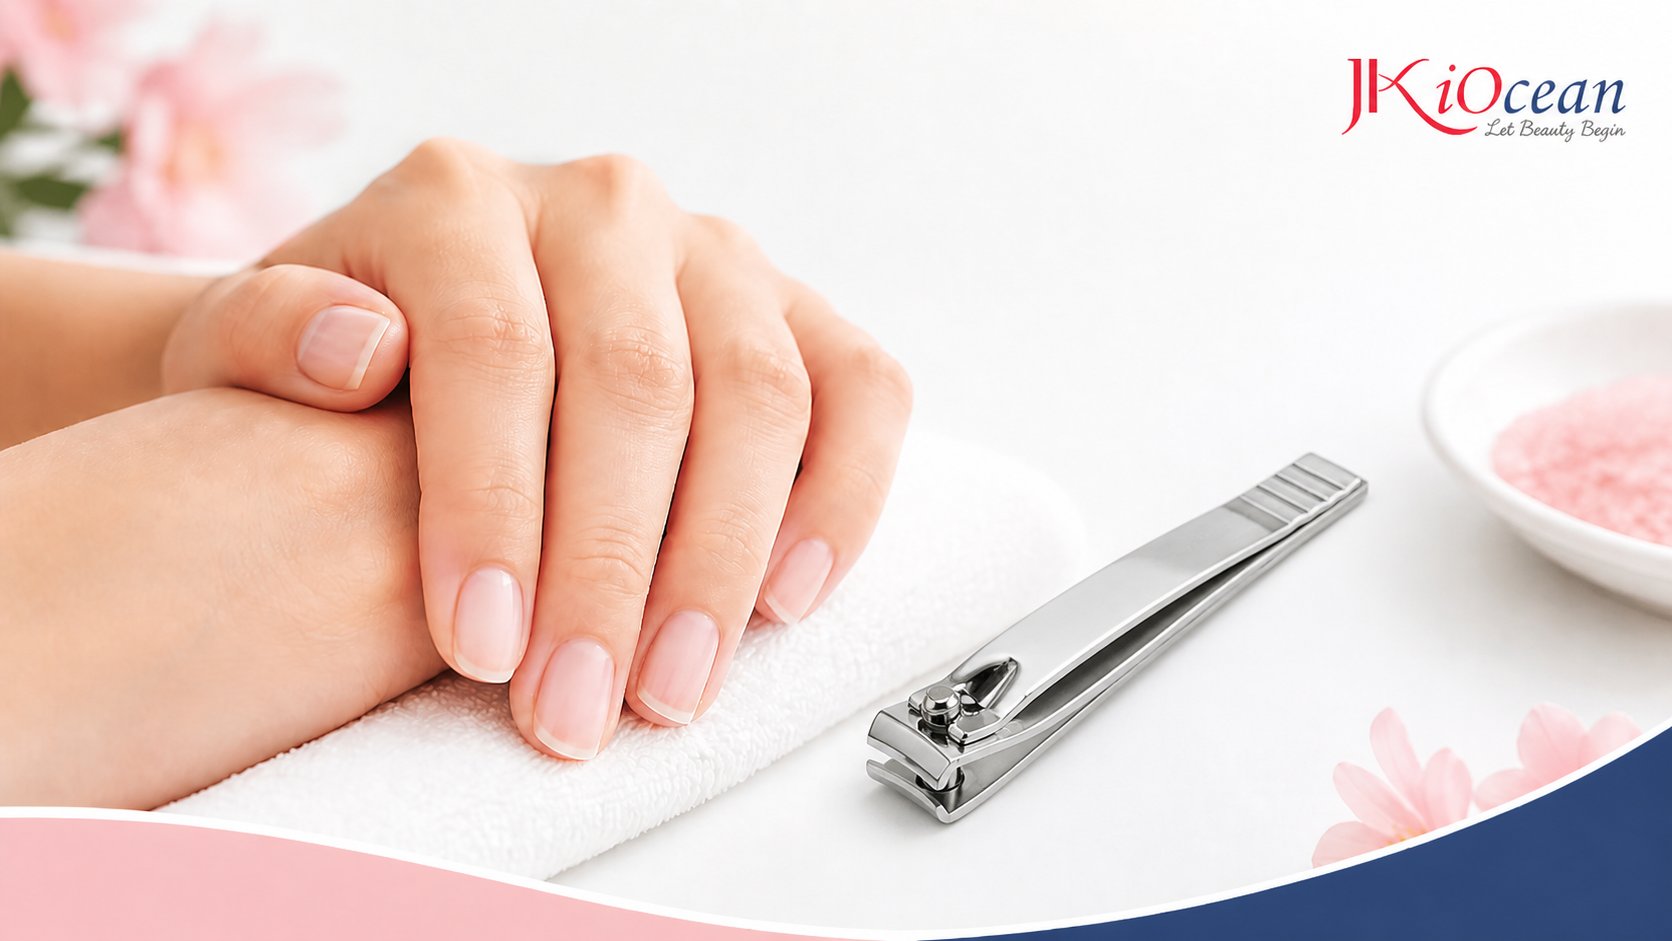
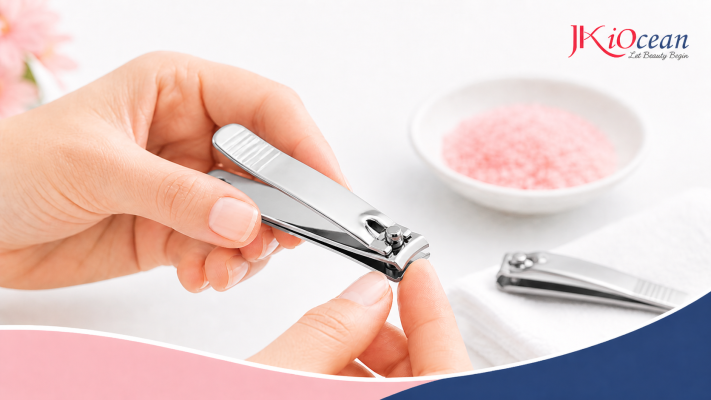
Clippers for nails are designed to trim the nail’s free edge efficiently and safely. Their job is to remove length. The file’s job is to refine shape. When you use clippers correctly, you cut with minimal stress to the nail plate, then finish with a light file to prevent snags.
Clippers are commonly used for:
- Routine nail maintenance (fingers and toes)
- Prepping nails before polish, gel, or enhancements
- Trimming after soak-off removal (when length feels brittle)
- Quick repairs when a nail catches or breaks unevenly
Types of Clippers for Nails (and When to Use Each)
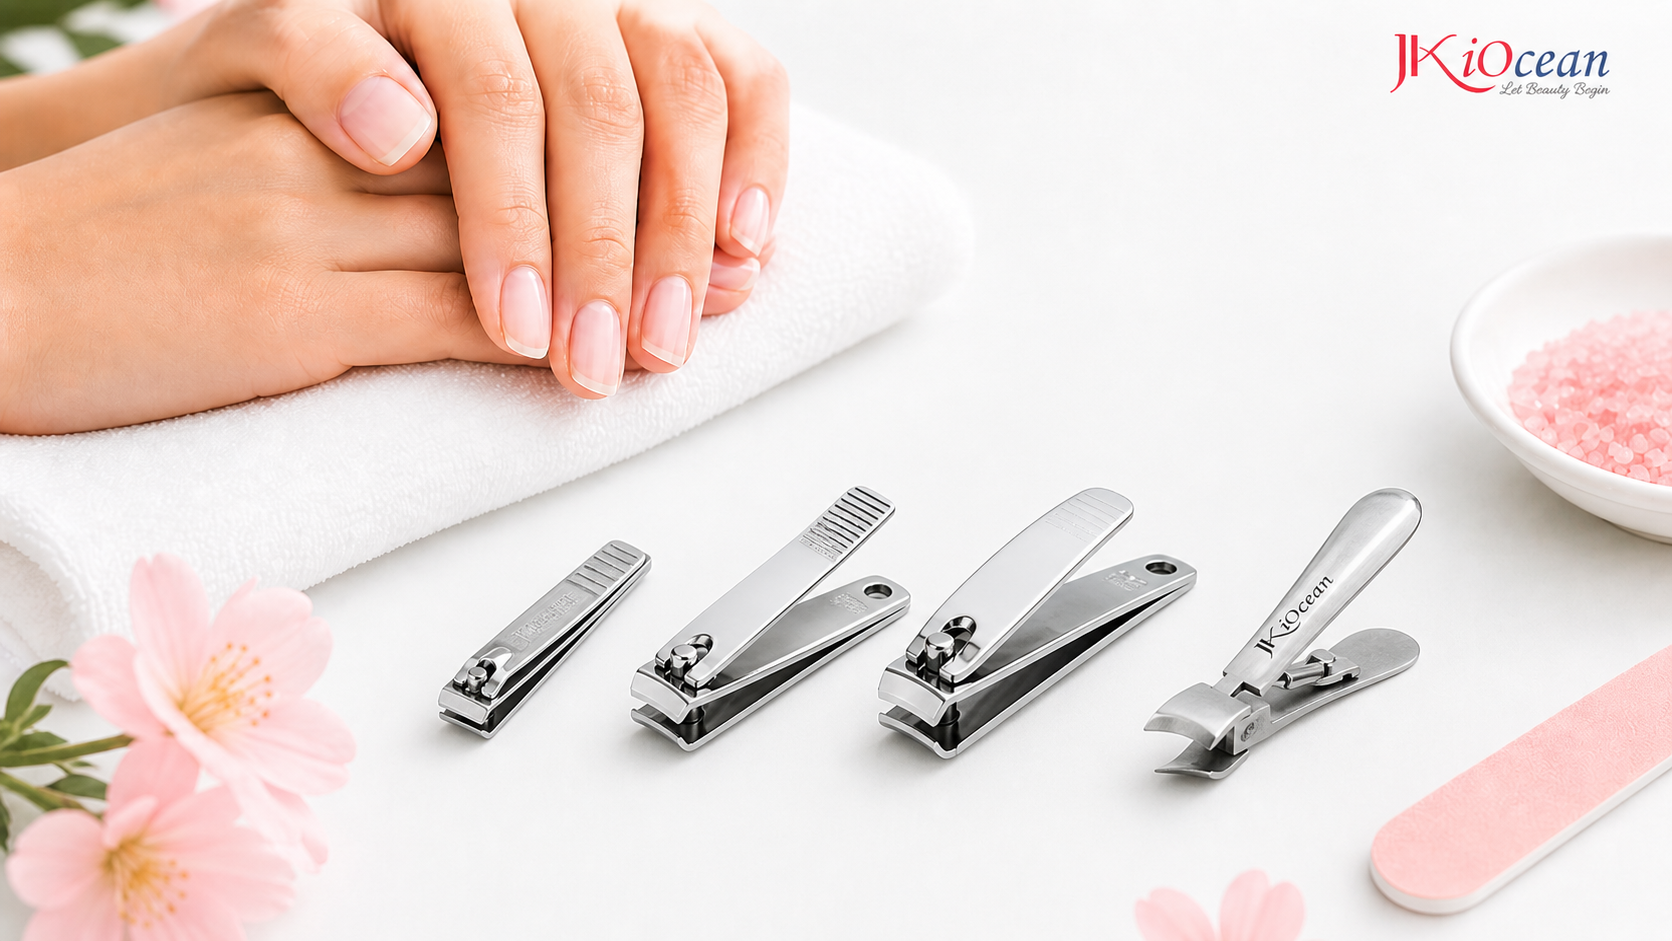
Standard fingernail clippers
Best for: everyday fingernail trimming.
Features: smaller jaw, curved blade for natural finger nail shape.
Toenail clippers (wide jaw, heavy duty)
Best for: thicker toenails.
Features: wider opening, stronger leverage, often straighter cut.
Angled clippers
Best for: precision work near corners or side edges.
Use carefully: angled heads can tempt people to cut too deep into corners on toes.
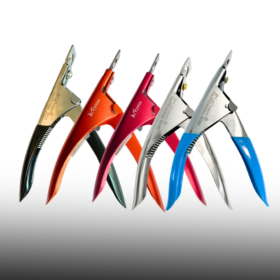
Guillotine-style clippers
Best for: specific preferences; less common in pro nail stations.
Note: can crush thick nails more than standard lever clippers.
Nippers (for nails) vs clippers
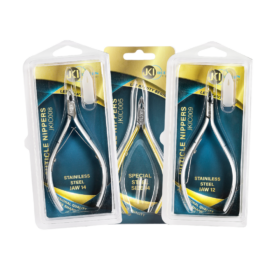
If you see “nail nippers” sold for toes, those are heavy-duty cutters for thick nails. They are not the same as cuticle nippers (skin trimming). For most people, a wide-jaw toenail clipper is enough.
How to Choose Quality Nail Clippers
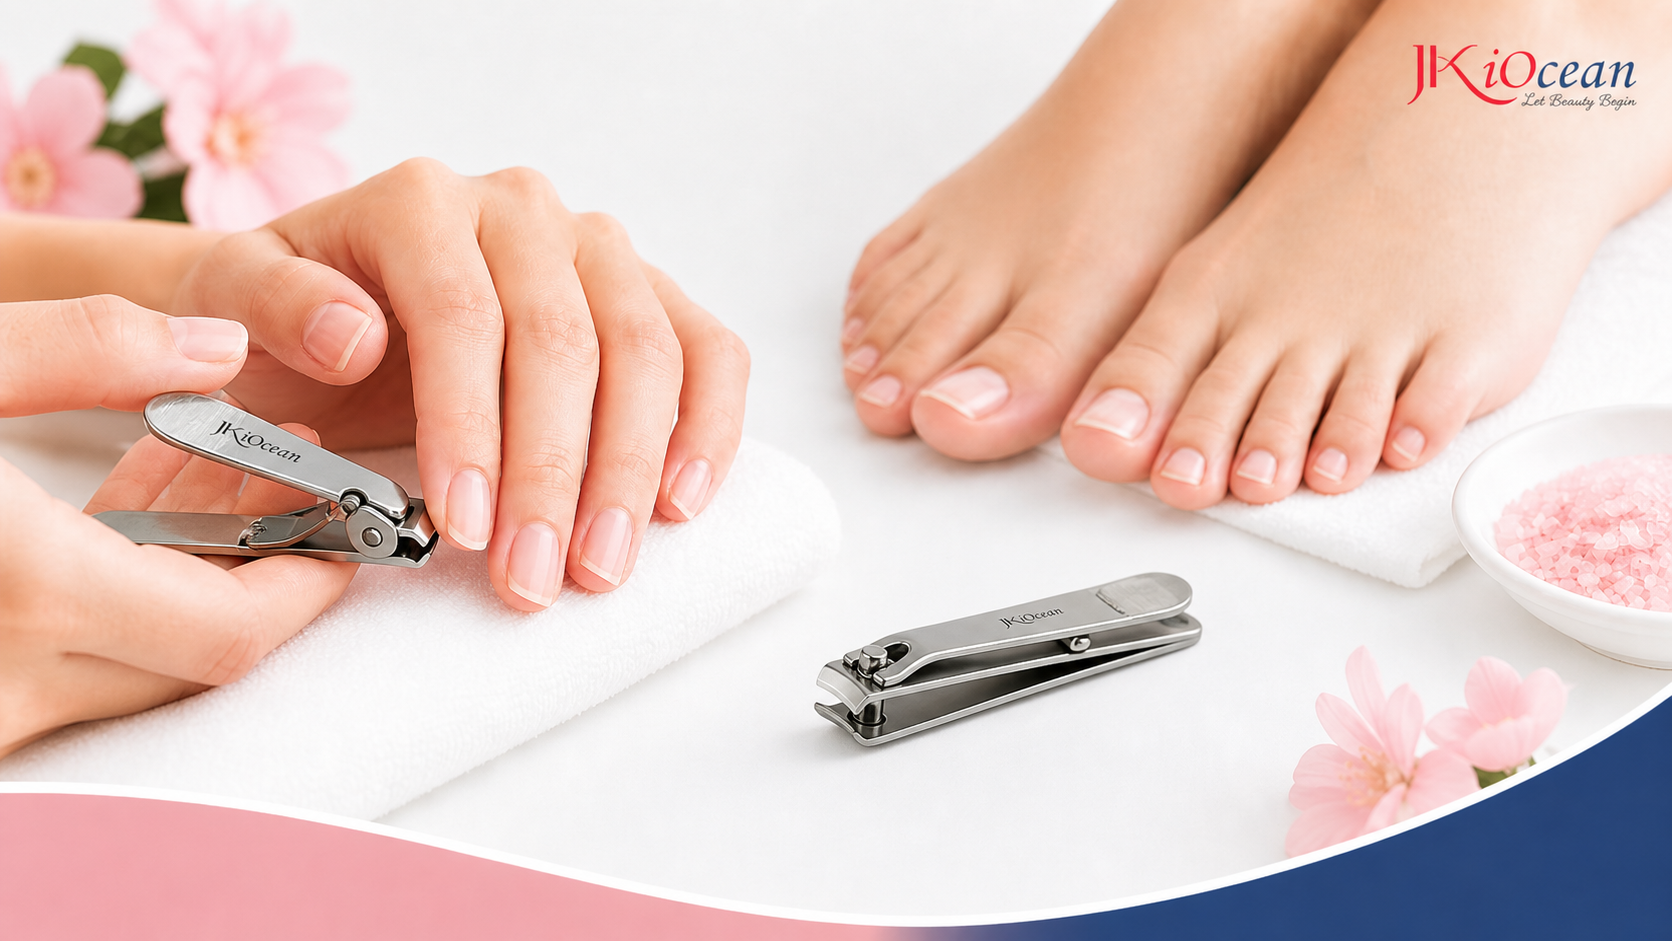
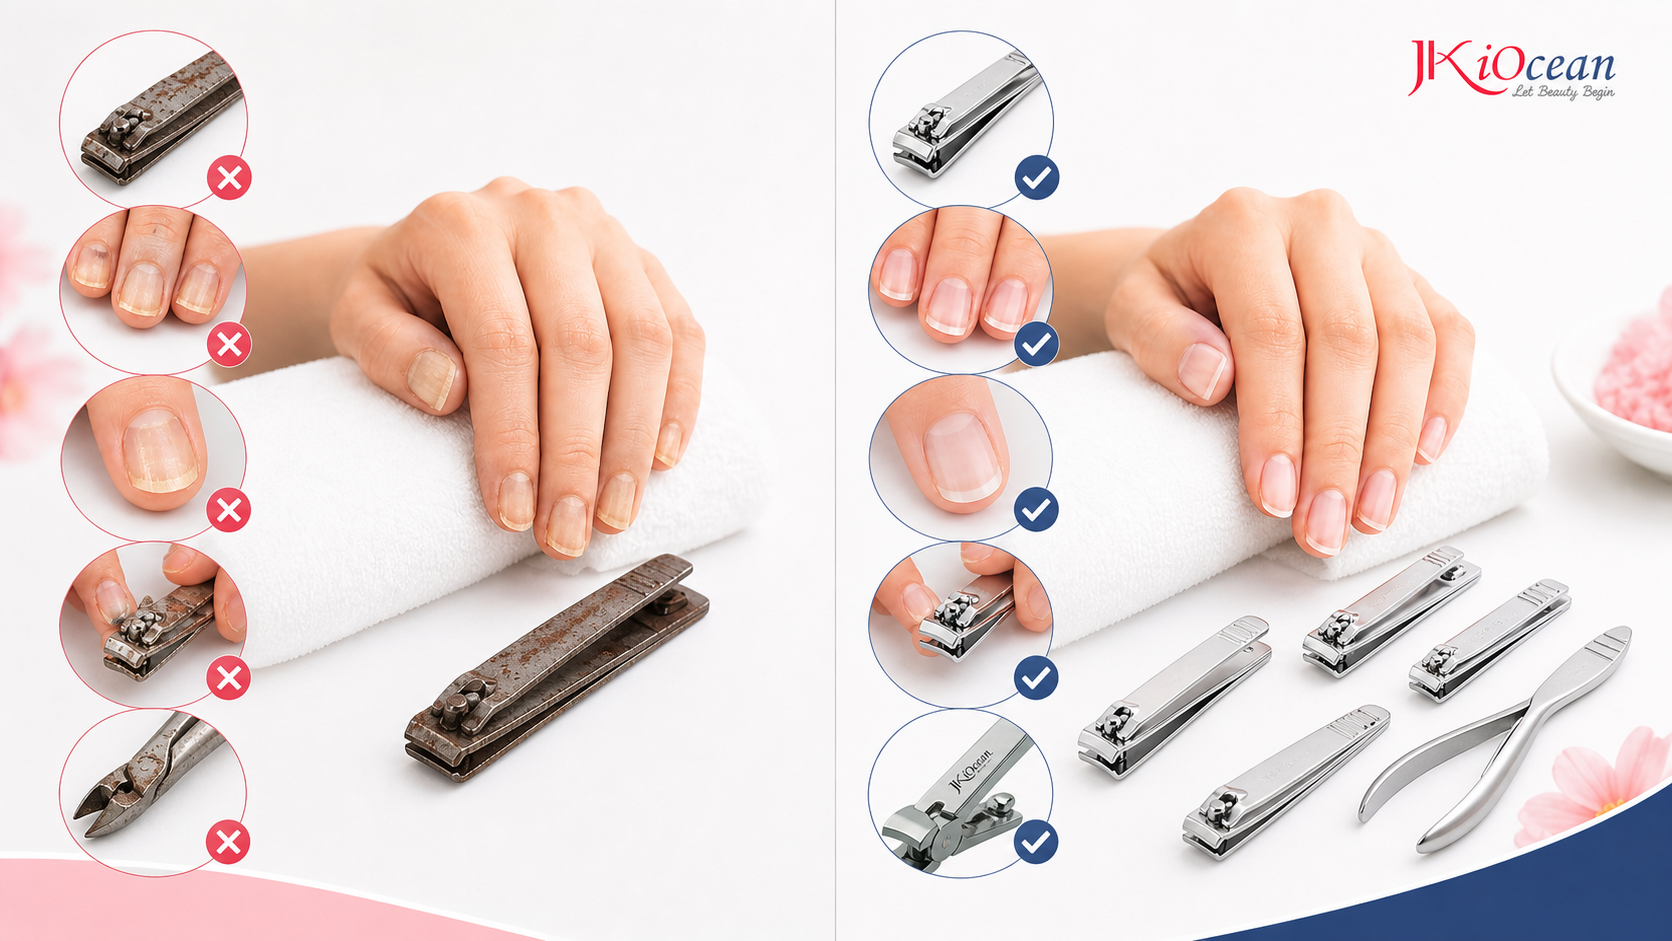
Not all clippers cut cleanly. Use this checklist in-store or online:
Blade alignment
Close the clipper and look at the blades. They should meet evenly with no visible gap. Misalignment causes tearing and jagged edges.
Sharpness and cutting feel
A good clipper cuts smoothly with a controlled “snap.” If it feels like it crushes, bends, or slips, it will damage the nail edge over time.
Stainless steel body
Stainless steel resists rust and disinfects better—important for both salons and home use.
Comfortable leverage
If you need excessive force, the clipper will cause uneven pressure and cracking. Look for a stable lever and a grip that doesn’t strain your hand.
Size match
Fingernail clippers should feel compact and precise. Toenail clippers should feel sturdier with a wider jaw.
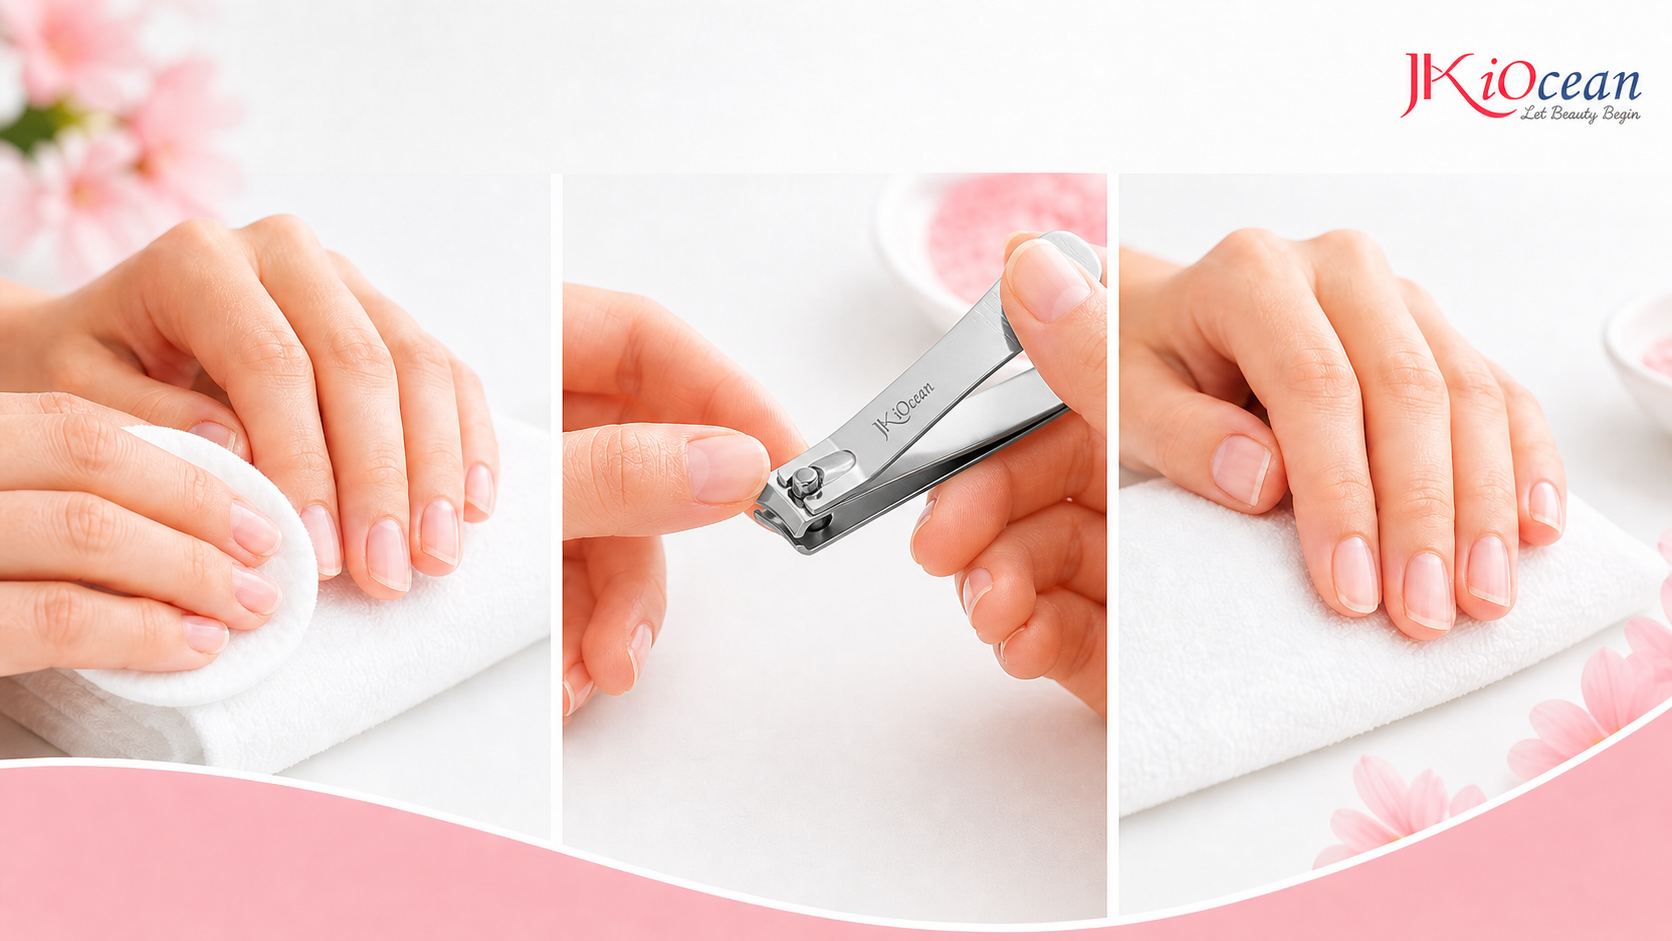
The Best Way to Clip Fingernails (Step-by-Step)
Step 1: Clip on dry nails
Dry nails are stronger and less likely to tear. Clipping after a long shower can cause bending and splitting.
Step 2: Cut in small sections
Instead of one big cut, take 2–4 smaller cuts across the free edge. This reduces stress and prevents cracks.
Step 3: Follow the natural curve lightly
Fingernails can be trimmed with a gentle curve, but don’t over-round the corners.
Step 4: Finish with a file
Use a 240 grit file to smooth the edge. One-direction filing prevents snags.
Pro tip: If you like longer nails, clip less and file more. Clipping is for length control, filing is for shaping.
The Best Way to Clip Toenails (And Avoid Ingrowns)
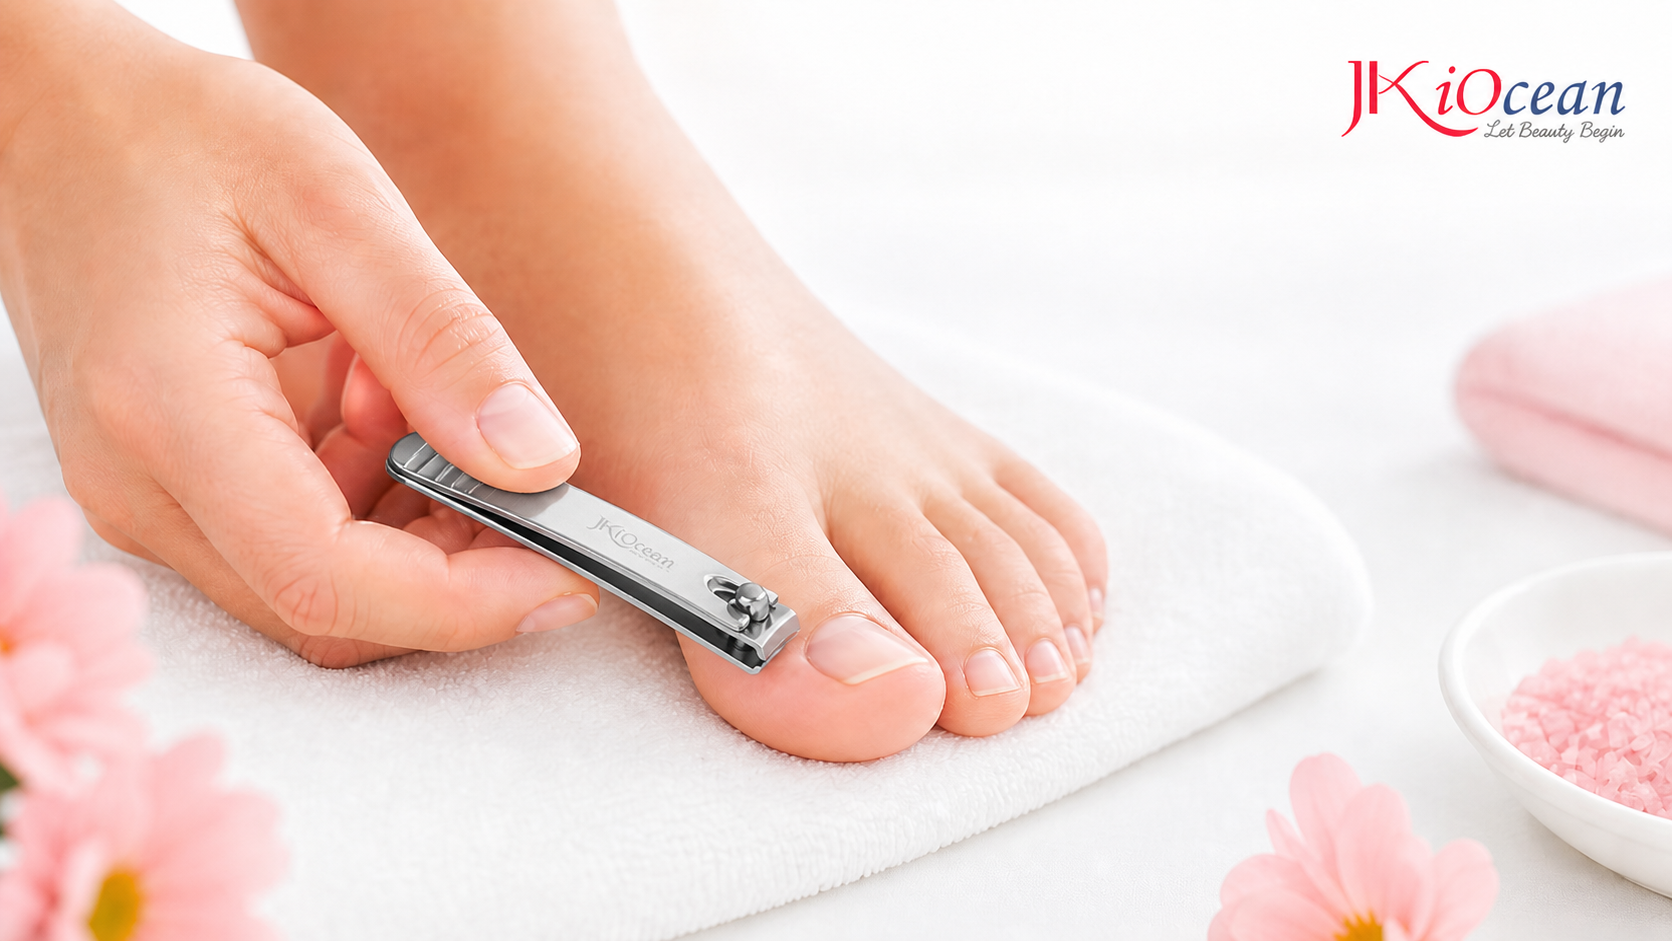
Toenails need a different approach.
Step 1: Clip straight across
This is the #1 ingrown prevention rule. A straight cut reduces the chance of the nail growing into the skin.
Step 2: Don’t cut too short
Leave a small free edge. Cutting too short can expose sensitive nail bed and encourage ingrown edges.
Step 3: Soften corners with a file
Instead of cutting deeply into corners, file them slightly smooth. The goal is comfort, not a rounded “U” shape.
Step 4: Watch for warning signs
If a toe is red, swollen, painful, or leaking fluid, don’t attempt deep trimming. Seek professional or medical help.
Common Clipper Mistakes (and How to Fix Them)
Mistake 1: Cutting wet nails
Result: tearing and peeling.
Fix: clip on dry nails, especially toes.
Mistake 2: Big single cuts
Result: cracked corners and uneven edges.
Fix: take small bites and refine with a file.
Mistake 3: Over-rounding toenails
Result: ingrowns.
Fix: straight cut + file corners gently.
Mistake 4: Using one clipper for everything
Result: poor control and more force.
Fix: keep a separate fingernail clipper and wide-jaw toenail clipper.
Mistake 5: Using dull clippers
Result: jagged edges that snag and split.
Fix: replace or sharpen. Don’t force a dull cut.
How to Clean and Store Nail Clippers
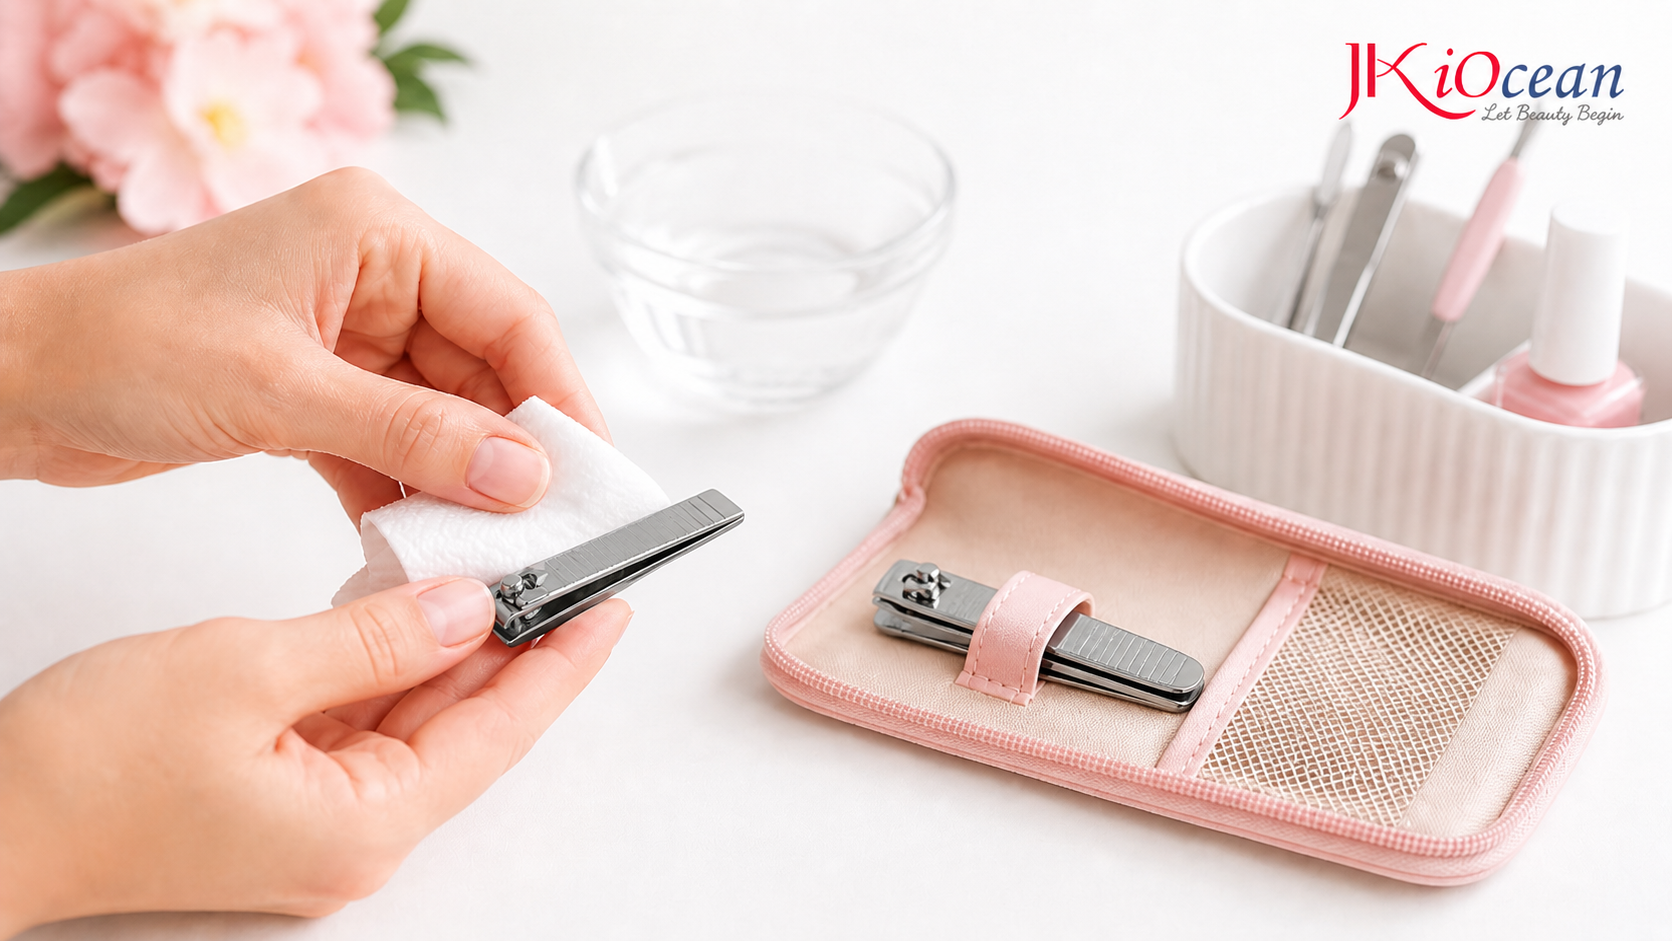
Clean clippers last longer and cut better.
- Rinse off visible debris
- Wash with soap and water
- Disinfect with alcohol or approved disinfectant
- Dry fully to prevent rust
- Store in a clean, closed case
If you share clippers in a household, sanitize after every use to reduce cross-contamination risk.
When to Replace Nail Clippers
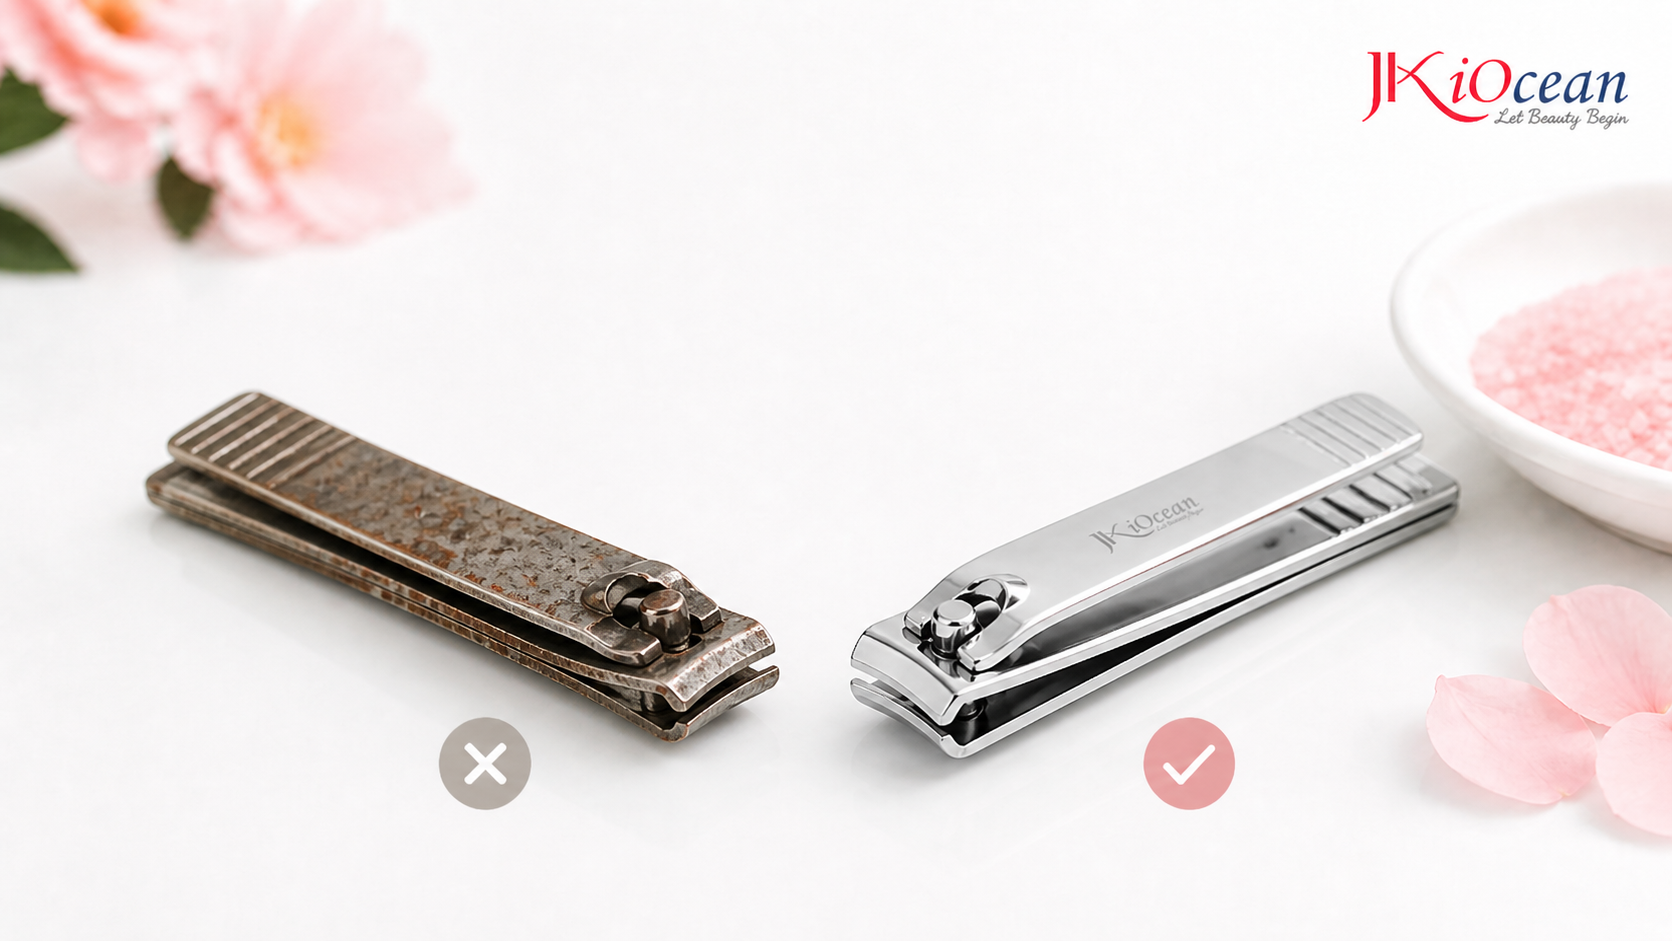
Replace clippers if:
- They tug instead of cutting cleanly
- The blades don’t meet evenly
- The lever feels loose or wobbly
- You see repeated splitting after clipping
- Rust appears near the hinge or cutting edges
A good clipper should feel stable and predictable every time.
The best clippers for nails are the ones that match your nail type and let you cut cleanly with minimal stress. For fingers, use controlled small cuts and refine with a file. For toes, trim straight across and file corners to avoid ingrowns. Keep clippers clean, dry, and stored properly, and they’ll reward you with smoother edges and fewer breaks.
Better clipping isn’t about cutting more—it’s about cutting smarter.