
 3D Gel
 Accessories
 Acrylic Brushes
 Art Brushes
 Clippers
 Design
 French Brushes
 Builder Gel
 Nail Tip Cutter
 Nippers
 Pusher
 Scissors
 Tweezers
Apr
Blogs
T.I.P.S. for Nails: A Simple, Pro-Level Method for Stronger, Cleaner, Longer-Lasting Nails
If you searched “t.i.p.s. for nails”, you’re probably looking for practical advice you can actually use—without scrolling through generic beauty fluff. This guide uses a simple framework built around the letters T.I.P.S. to help you get better nail results whether you’re a nail technician or doing nails at home.
You’ll learn how to prevent lifting, reduce breakage, improve cuticle appearance, and make polish or gel last longer—by focusing on what truly matters: prep, structure, product control, and aftercare. Let’s break it down.
What Does “T.I.P.S. for Nails” Mean?
In this article, T.I.P.S. stands for:
- T = Tidy Prep (clean plate, clean cuticles, clean edges)
- I = Ideal Structure (shape + apex + stress area strength)
- P = Product Control (thin layers, correct cure, clean margins)
- S = Seal & Support (cap edges, protect skin, maintain hydration)
It’s a simple checklist you can apply to natural nails, gel polish, builder gel, acrylic, polygel, and even press-ons.
T = Tidy Prep (The Step Most People Rush)
A manicure isn’t ruined by “bad color.” It’s ruined by poor prep. Prep is where adhesion starts, and where lifting usually begins if something is missed.
Clean the nail plate properly
Wash hands, dry thoroughly, then remove oils with a nail cleanser (or 70% isopropyl alcohol). Oil is the silent enemy of long wear.
Remove invisible cuticle from the nail plate
Many people only push back cuticles and stop. The real issue is cuticle residue on the nail plate. Use a gentle pusher at a shallow angle and clean the sidewalls. That thin layer can cause gel to lift at the cuticle within days.
Shape the free edge before product
A crisp shape holds better. Use the correct grit:
- 240 grit for natural nails
- 180 for refining overlays
Avoid coarse files on natural nails—over-filing leads to peeling.
Dust removal matters more than you think
Dust trapped under gel is like tiny bubbles. Brush it off and cleanse again before base coat.
Pro tip: Your prep should look “boring.” Clean, matte, dry, and tidy—then product sticks like a dream.
I = Ideal Structure (Strength Comes from Shape, Not Thickness)
Whether you’re wearing natural nails or enhancements, the way you shape the nail determines durability.
Don’t over-thin the sides
Many breakages happen because sidewalls are filed too narrow. Keep them straight and balanced.
Build a stress-area mindset
The stress area is where nails flex most—usually 1/3 back from the free edge. If you do gel overlays, builder gel, or acrylic, this area needs support.
Apex placement is not optional for extensions
An apex is the slight peak that strengthens the nail. Even short overlays benefit from subtle structure—especially for clients who type, clean, or wear tight shoes.
Match shape to lifestyle
- Short square/squoval: durable, low maintenance
- Almond: elegant but needs stronger structure
- Long coffin/stiletto: high style, higher upkeep
Pro tip: If a client breaks nails often, shorten the length first before changing products.
P = Product Control (Thin Layers, Clean Margins, Correct Cure)
If your nails chip, wrinkle, or lift early, product control is the missing link.
Thin layers win
Thick layers don’t cure evenly and can cause peeling. Apply base thin, color thin, top coat thin. If you need opacity, add another thin coat.
Keep product off the skin
Flooding cuticles leads to lifting. Use a clean-up brush to fix edges before curing, not after.
Cure correctly (especially for gel)
Under-curing causes softness, dullness, and separation. Follow the gel brand’s cure time and make sure your lamp actually cures evenly. If you notice repeated lifting across many clients, test your lamp output or replace it.
Learn the difference between “self-leveling” and “runny”
Builder gel and liquid builder gel are meant to smooth themselves. That doesn’t mean you should overload the brush. Use a slip layer, then guide the bead and let it settle.
Pro tip: If you’re doing art, flash-cure complex details for a few seconds so they don’t shift while you work.
S = Seal & Support (The Finish That Makes It Last)
A manicure is not finished when the top coat cures. It’s finished when the nail is protected and supported.
Cap the free edge
This is one of the easiest, most overlooked “tips for nails.” Every layer—base, color, top—should seal the free edge.
Don’t over-buff before top coat
A super matte surface can help adhesion, but over-buffing weakens the plate. Smooth gently, don’t thin.
Cuticle oil is not a “nice extra”
Hydrated cuticles produce fewer hangnails, look cleaner, and reduce picking. Encourage daily cuticle oil—especially for people who wash hands often.
Protect nails from chores
Gloves for cleaning and dishwashing extend wear more than most people expect. Water and chemicals weaken both natural nails and coatings.
Pro tip: If someone gets lifting within a week, ask about hot baths, cleaning chemicals, or using nails as tools.
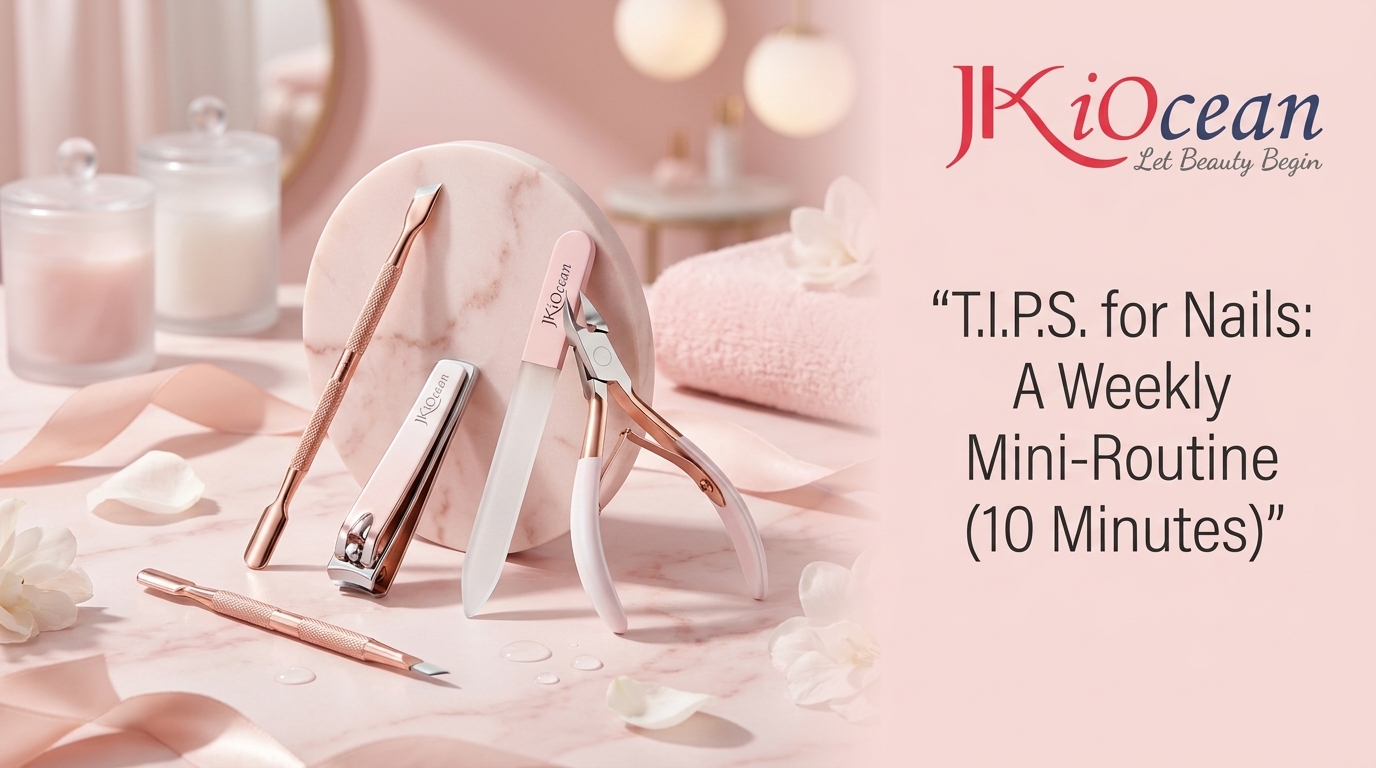
T.I.P.S. for Nails: A Weekly Mini-Routine (10 Minutes)
- File edges lightly with 240 grit
- Apply cuticle oil and massage (1–2 minutes)
- Push back cuticle gently after shower (no cutting unless hangnails)
- Buff very lightly if needed
- Re-topcoat if wearing polish or gel polish for extra durability
This routine keeps nails looking fresh without full removal and reapplication.
FAQ (Snippet-Friendly)
Why do my gel nails lift at the cuticle?
Usually cuticle residue on the nail plate, product touching skin, or under-curing. Focus on tidy prep and clean margins.
What’s the easiest way to stop chipping?
Thin layers + cap the free edge + correct cure time + avoid soaking hands in hot water for long periods.
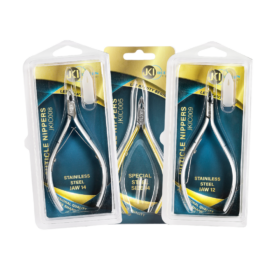
Do I need cuticle nippers to get neat cuticles?
Not always. Many people can achieve a clean look with pushing and oil. Nippers are for lifted dead skin only.
If you remember only one thing from this t.i.p.s. for nails guide, let it be this: better nails come from better systems, not stronger products. When you master Tidy Prep, Ideal Structure, Product Control, and Seal & Support, you’ll see fewer chips, less lifting, cleaner cuticles, and nails that look professional longer—whether you’re doing simple polish or full enhancements.